I made curtains! Sort of. We have a lot of naked windows in our house, and quite frankly, it is inappropriate.
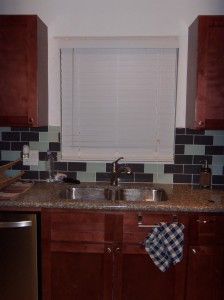
It took a few months to get blinds up, but it has taken much longer to make respectable window treatments. Suffice it to say that working toilets were more of a priority. We have been stalled on the second bathroom renovation since we have gone as far as we feel comfortable without Miguel’s supervision, and he is obviously busy with the holidays (as are we). So at some point in January Miguel will come over for ribs and his favorite kettle-cooked chips, and will guide us through the process of disconnecting the power main, cutting the metal sheathing to shorten it about 6 inches, and moving the breaker box over so it sits in the new wall we are building. If none of this makes sense, don’t worry – we don’t understand either.
I found a curtain on clearance at Target, which I thought would be perfect for the kitchen. The only problem was that it was one huge panel, and we have one small window.
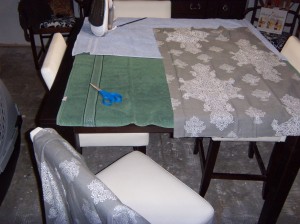
I’ve read several tutorials on no-sew hem tape, and figured it was worth a shot. First I had to locate the iron and dust it off. Then I realized I had no ironing board, so I improvised by covering the dining room table with towels.
When The Boy read this post, he said, “Sweetheart, you probably shouldn’t be using that table as an ironing board,” at which point I realized that I had done this while he was gone and did not plan on telling him. Oops!
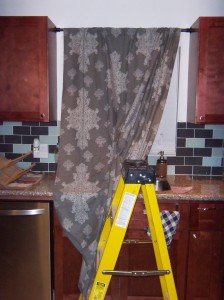
Then I laid out my panel, and decided to first cut it to length. That way, when I separated it into two panels, they would both be the same length. I measured the window, figured out where I wanted the curtain to fall, and made little marks on each side of the curtain.
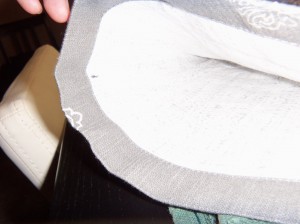
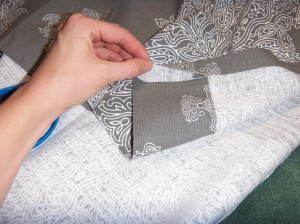
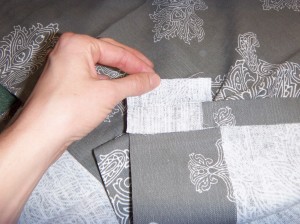
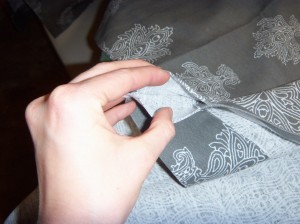
Then I cut it, and used the tape and iron to “hem” it. This worked surprisingly well! The bond was very strong and I was pleasantly surprised.

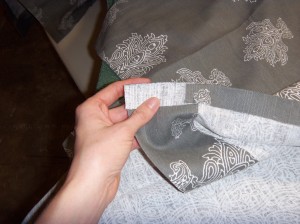
Next I cut the large but shortened panel in half lengthwise, to make it into two shortened panels. This was pretty easy, since I folded it in half and cut along the fold. By this time I was a professional hem tape user. One minor complication I did not consider in advance was the sealing of the entry point for the curtain rod.
A few snips of the offending material, and it was ready to go.
I was also surprised when I held it up to the window and realized that I marked where I wanted the curtain to end, and did not account for the ½ inch or so of folded over hem. Oops again. Luckily, I had devised a very lazy scheme of hanging the curtain, which involved a spare shower curtain tension rod placed between the two cabinets on either side of the sink. I moved the rod down ½ inch, and bam!
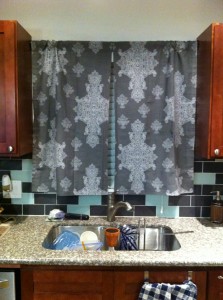
Ignore all of the strange items in the sink. I have no idea what was going on.
Lazy + Ingenuity = Perfection. That is MY version of mathification. I am also happy to report that this will be the last crappy picture I will offend your eyes with. (More on that tomorrow!)
This entire project took about an hour, which is not bad for a beginner who does not excel at measuring, cutting in a straight line, or ironing. I think it is a huge improvement, and it might be the most decorating I’ve ever done. All in all – quite a success.

I love the print you chose! They came out wonderful. I only have blinds in the house right now too since we moved in. UGH need to start curtain project STAT.
Merry Christmas!
It only took me a year and a half, so no rush! Merry Christmas