
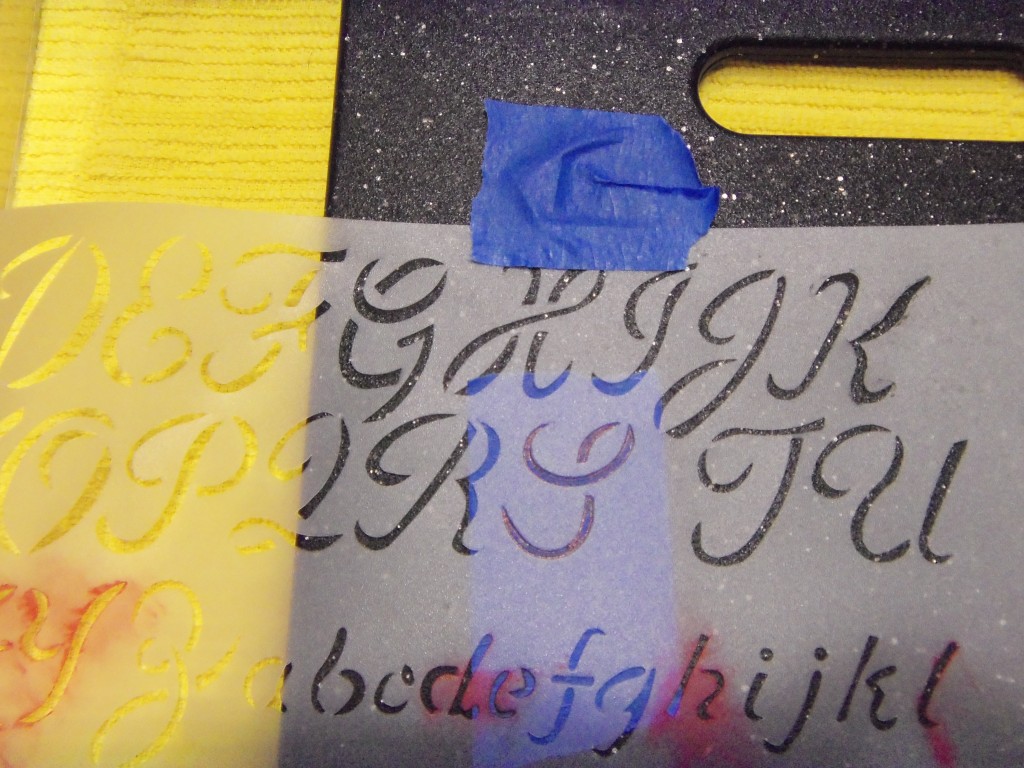
This pin shows you how to etch glass using a product you can find at Michael’s, Amazon, Hobby Lobby, etc. – Armour Etch. I grabbed an old glass vase and set up shop on the kitchen island. First I tried to tape a stencil onto the glass, but that was a catastrophe:
Fail number one.
Then I tried putting some painter’s tape on a cutting board, and cutting out the letter.
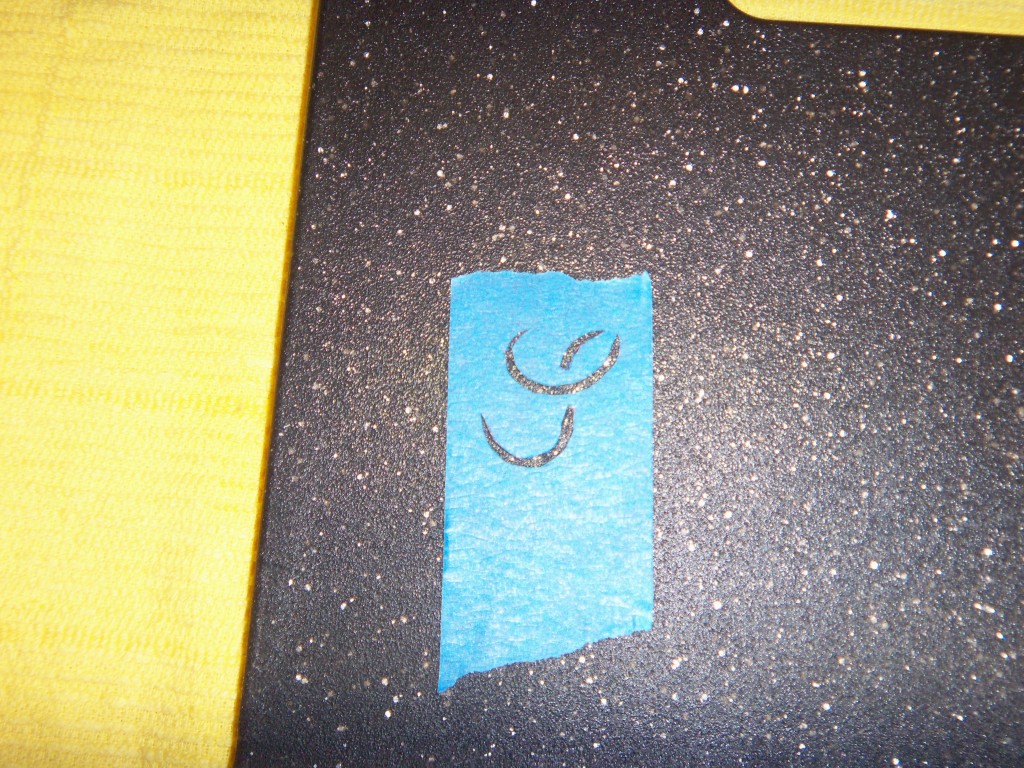
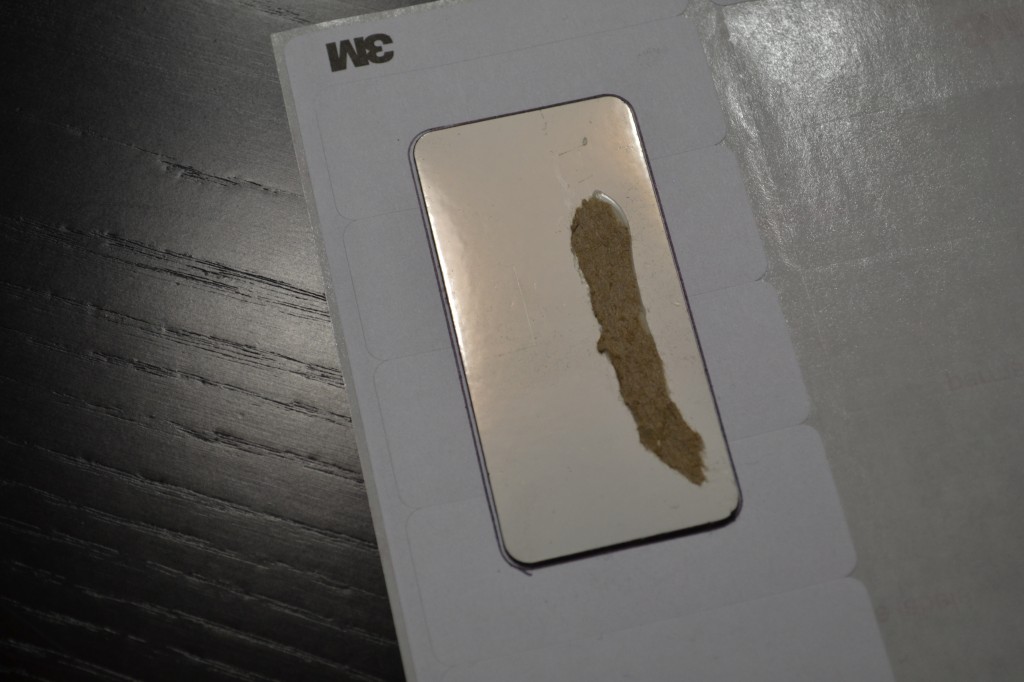
After doing a few letters (trying to spell my sister’s last name then giving up after the ST and doing another S) and rinsing it off, I had this:
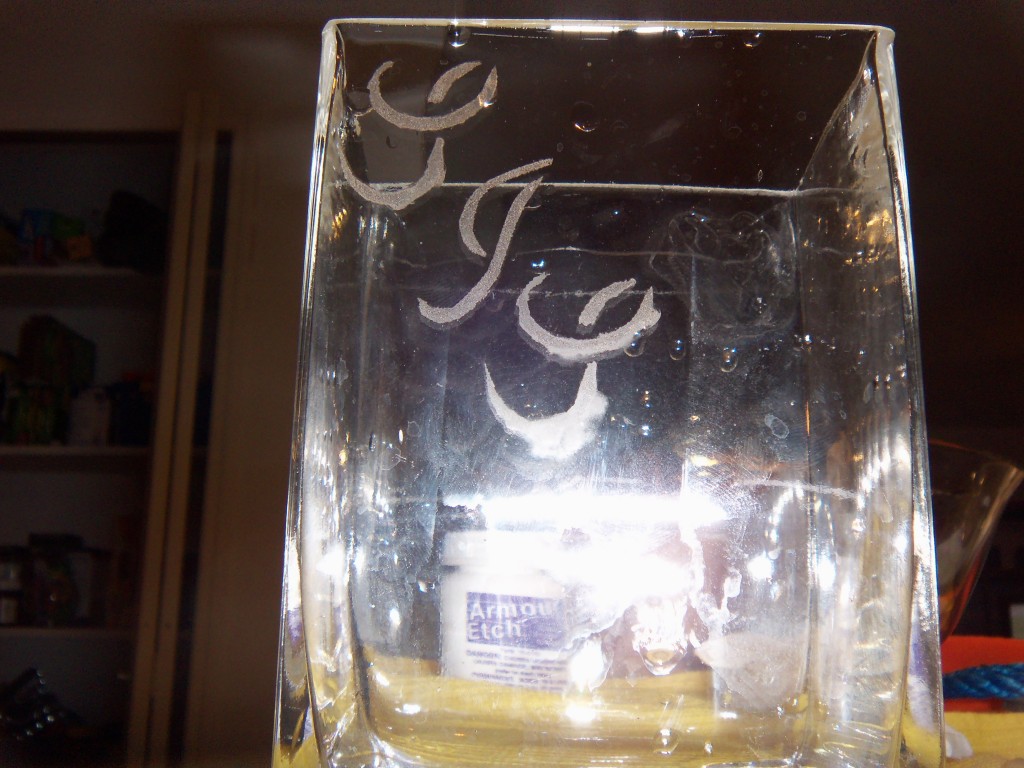
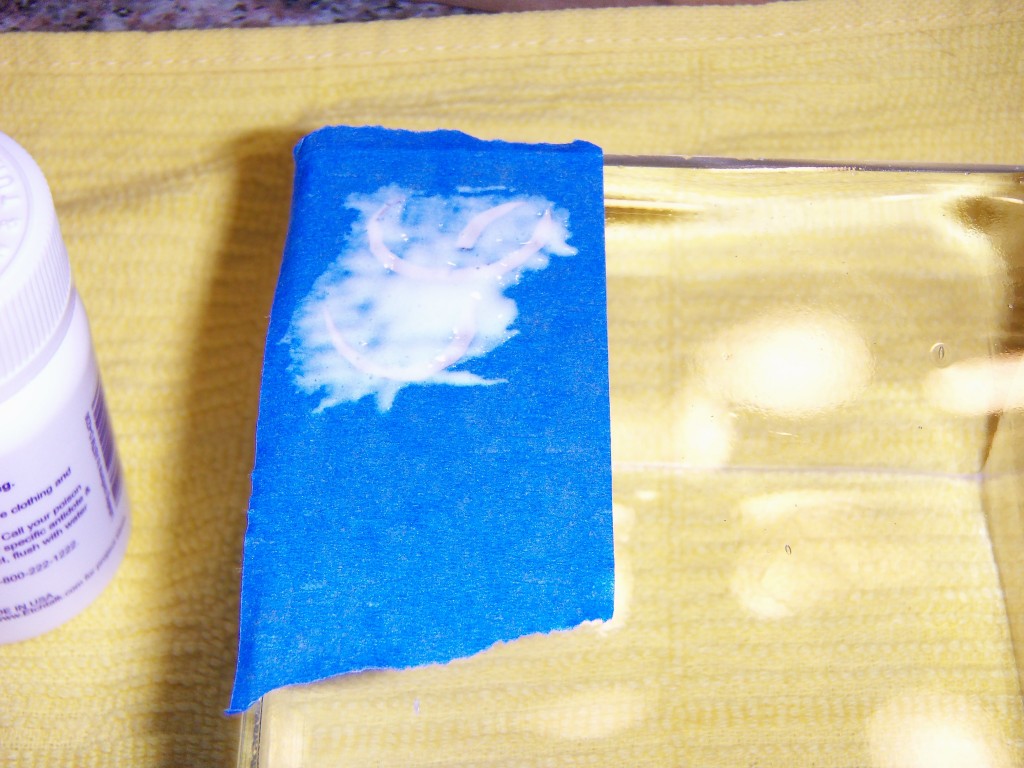
Fail number two. So I flipped it over and tried again. I thought perhaps I would get a better result if I covered a larger surface area. When in doubt, make sh!t up. Yeah.
A resounding “eh.” Less than spectacular. Certainly not something I would give as a gift (sorry, Steph!). Fail number three.
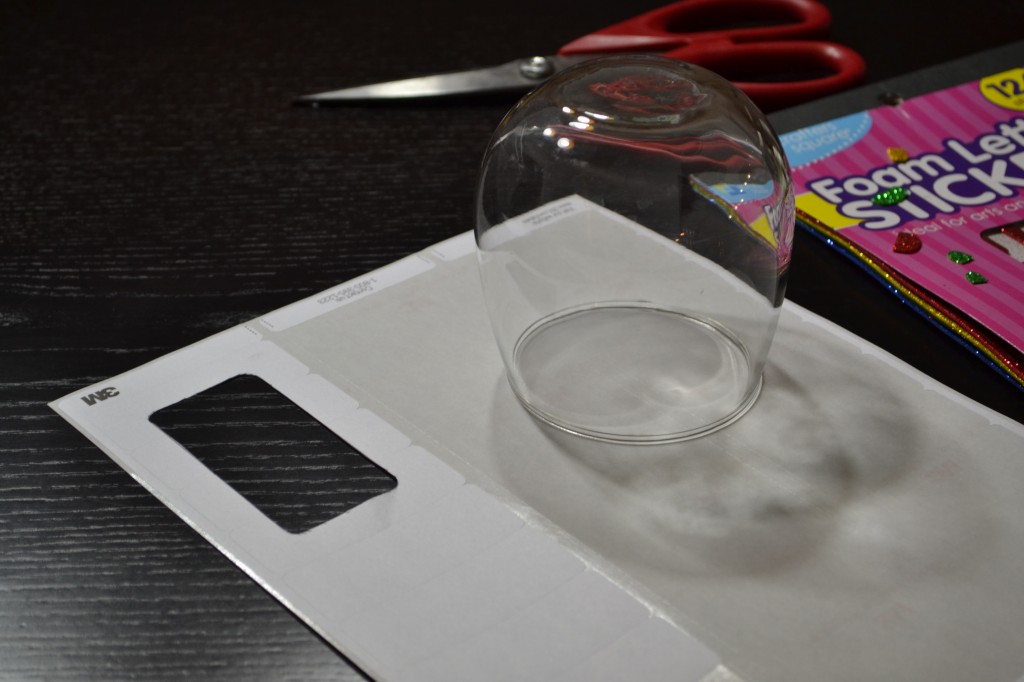
I was about to write this post, and in doing so, I linked to the Armour Etch page. It states that it will NOT work on Pyrex or plastices. Well … duh! Everyone knows that (sarcasm font). Since I have no idea if my cheap vase is Pyrex or plastice (?) I realized it was worthwhile to try a different glass. Enter my “good wine glass” – that I am currently drinking out of (not the one I etched, of course. The wine would have spilled – the horror!).
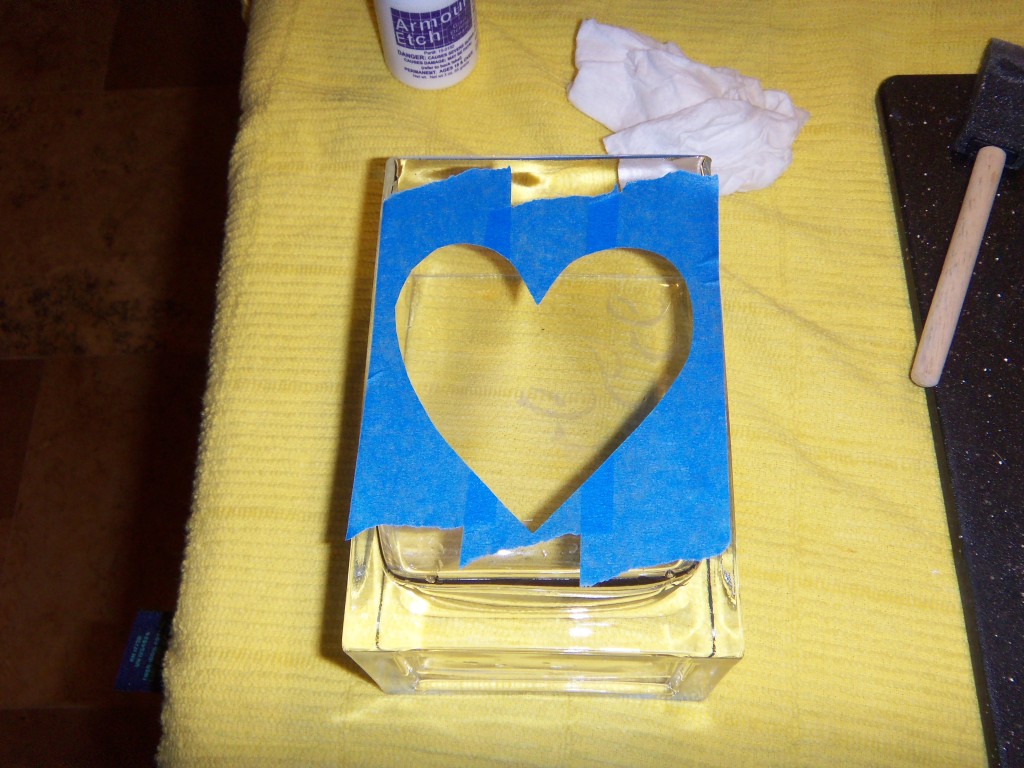
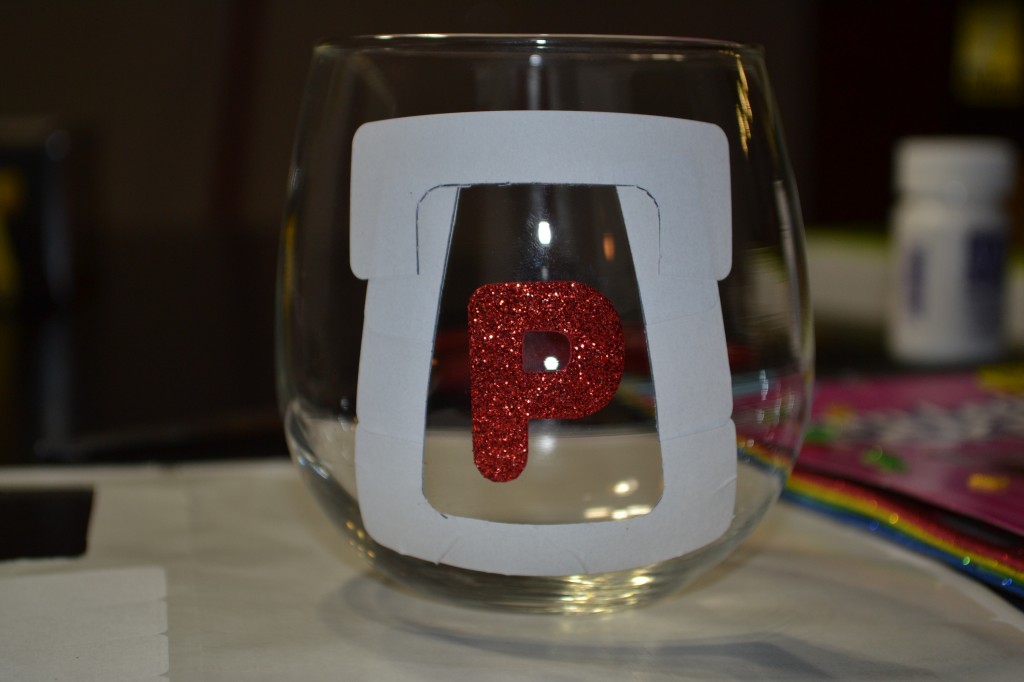
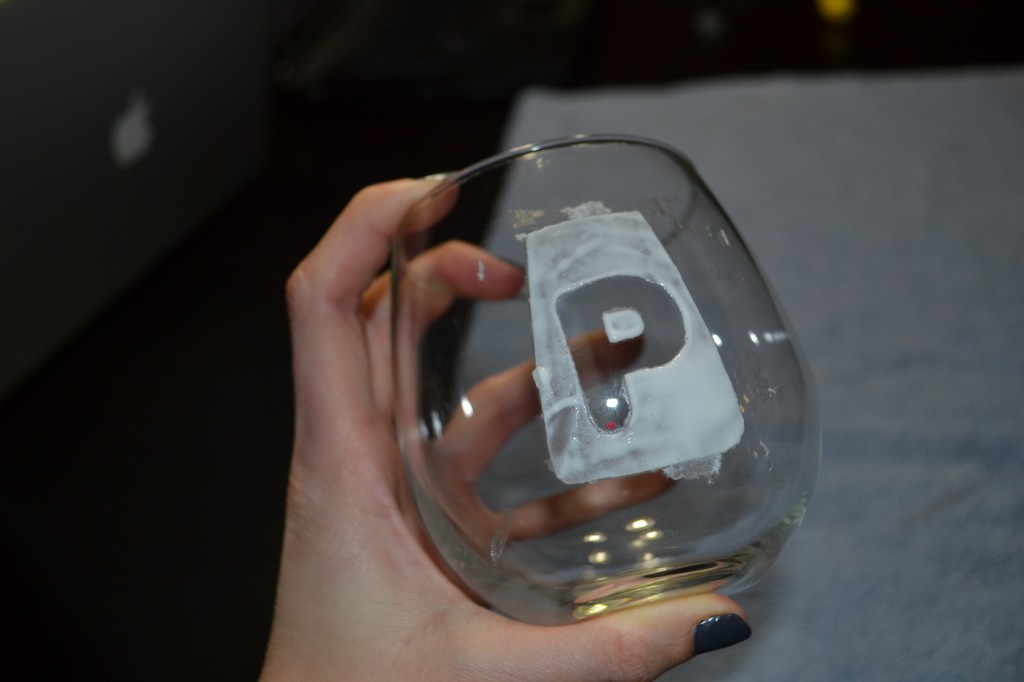
I first needed a large enough sticker to cut a shape out of. I found some address labels and a random item in our “put-all-your-crap-in-this-glass-bowl-by-the-door” treasure trove, and traced its outline. Please note that all previous pictures in this post were taken with the old camera, and the following pictures were taken with the new camera. Quite an improvement!
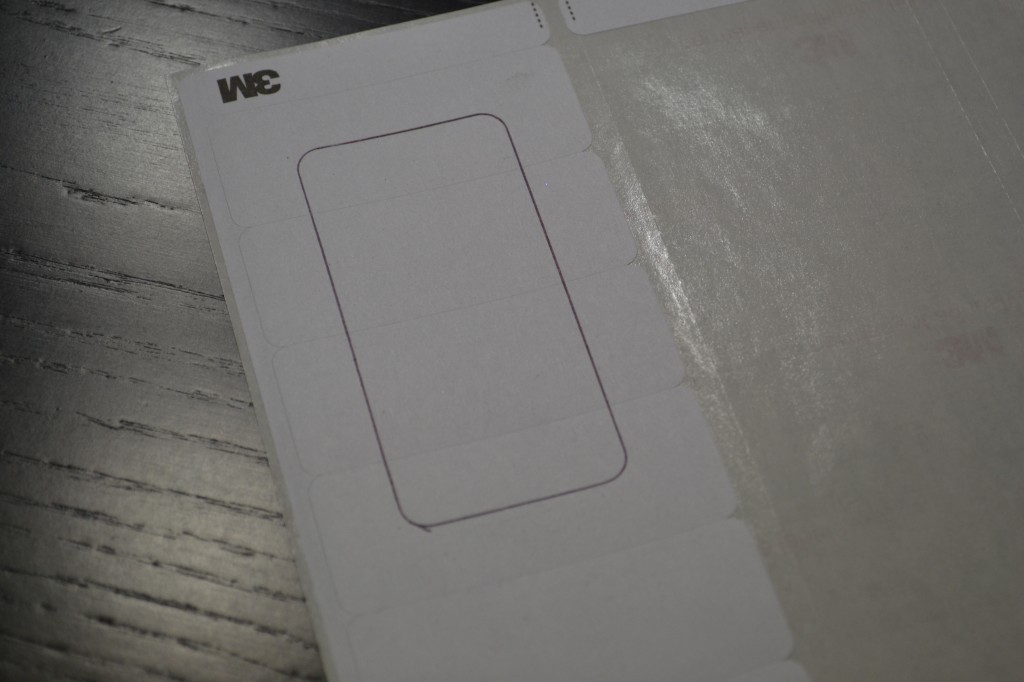
I know what you are thinking – this girl’s got mad tracing skills! (I know, right?!) I stabbed my creation in the middle and cut out the center:
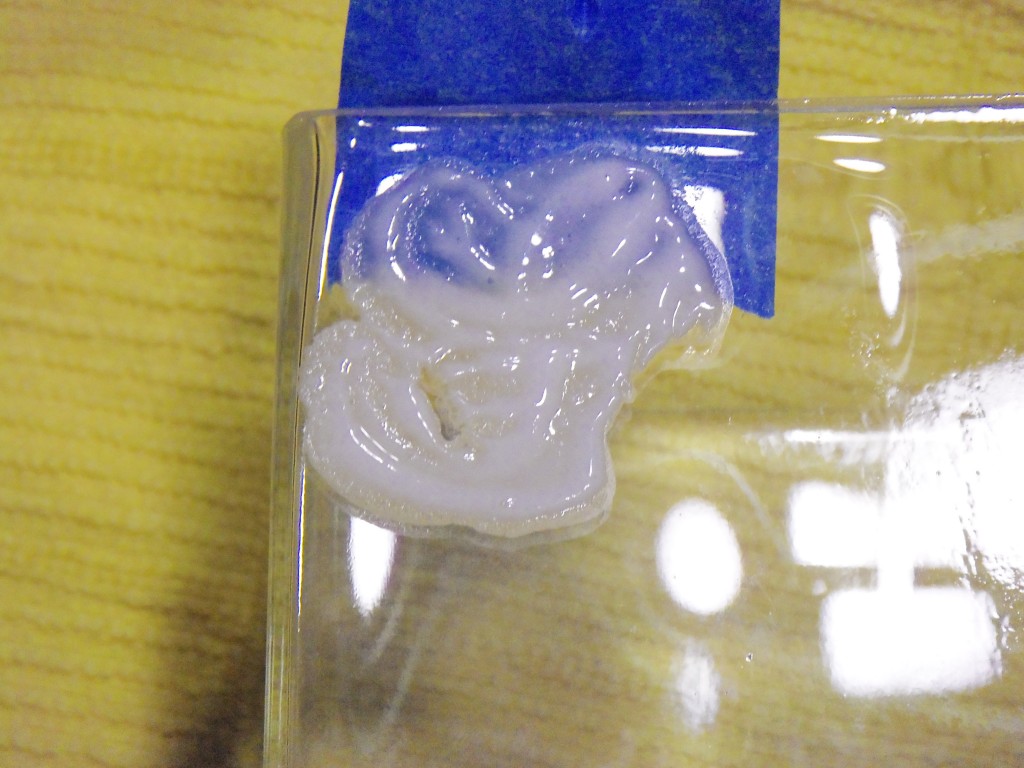
When I went to put it on the glass, I did it in sections, and realized the entire sticker was too large for the glass, and would not go on as a perfect square due to the shape of the glass. So I improvised, and kinda liked the way it ended up.
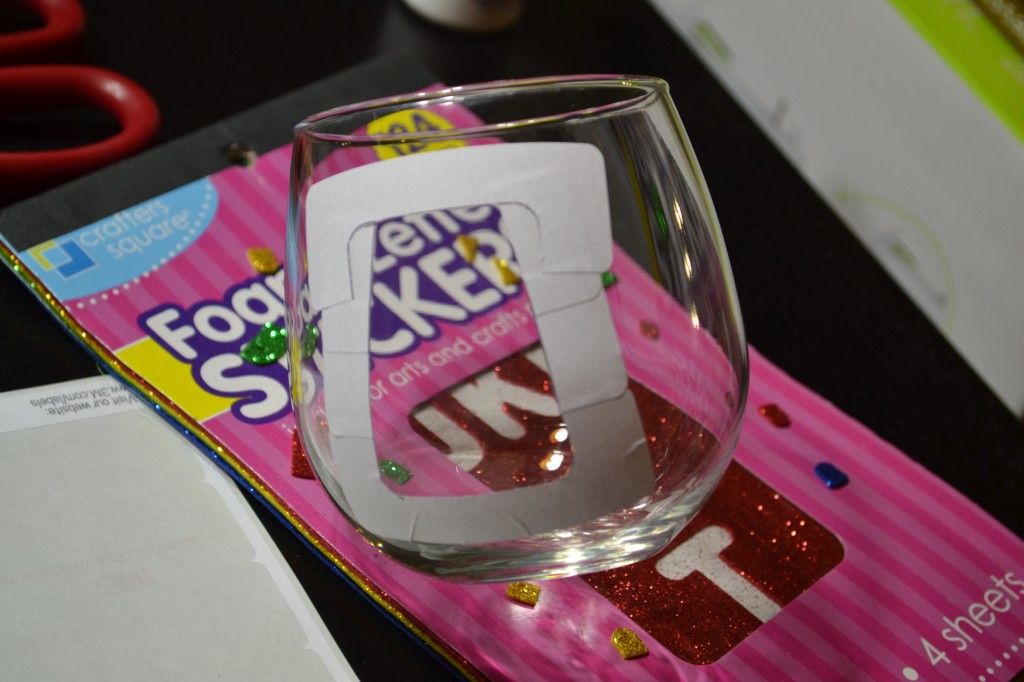
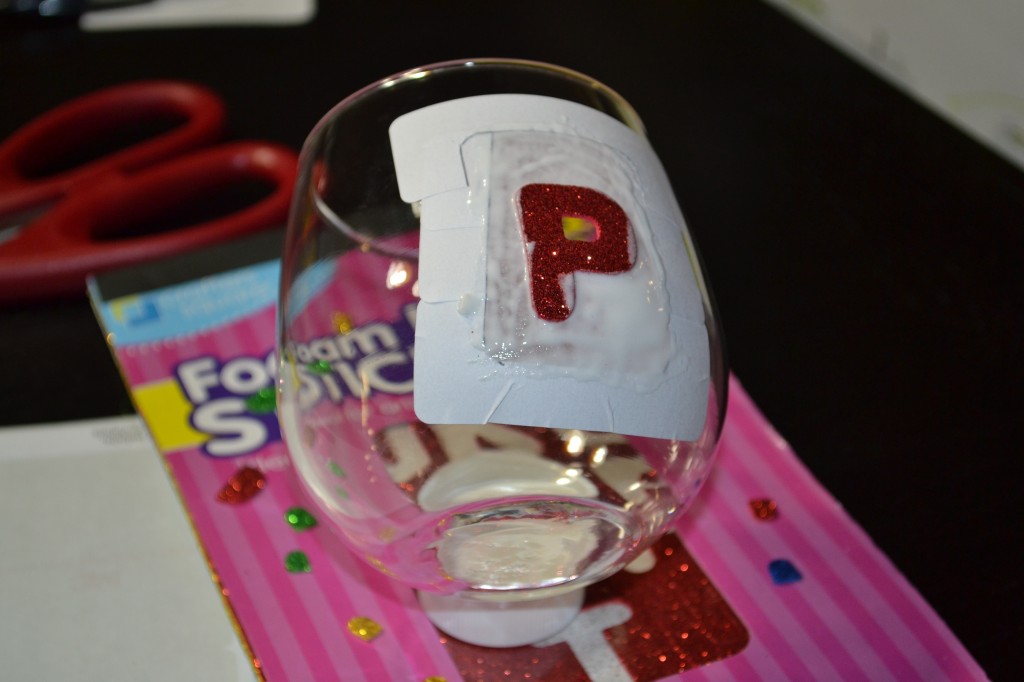
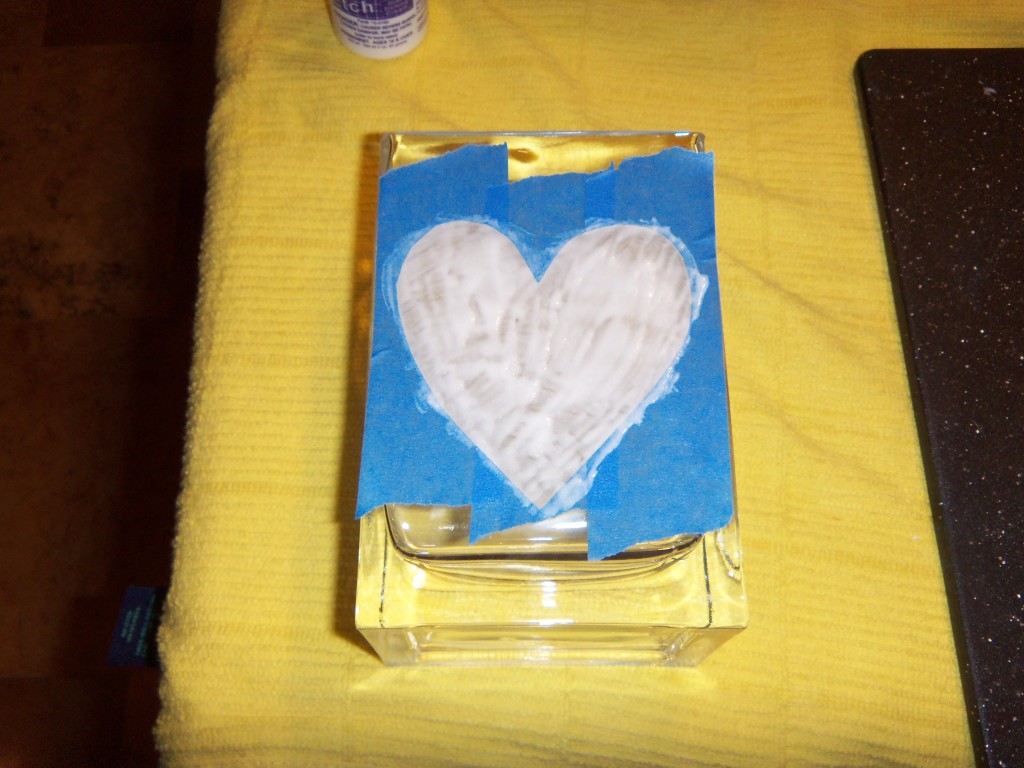
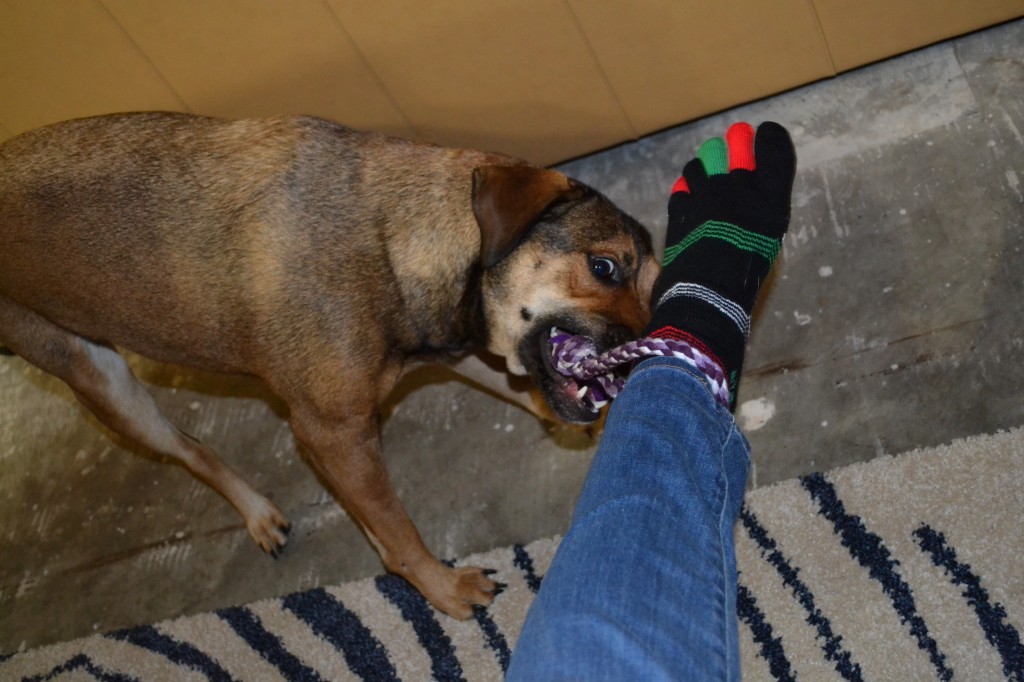
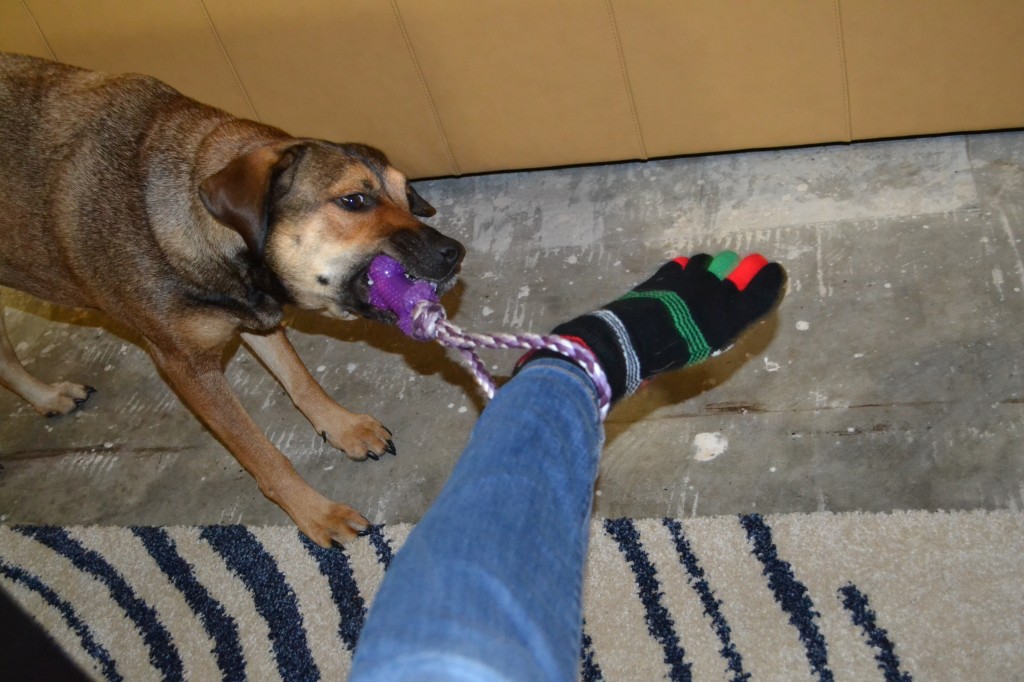
You might notice that I failed to glob the etching cream in the center of the “P.” I did not notice at first, but I suspect it is because I was simultaneously playing a vigorous game of tug-o-war (let’s face, I am a master of multi-tasking! Plus this was a bit of a leg work out. And yes, I am still rocking the Christmas socks):
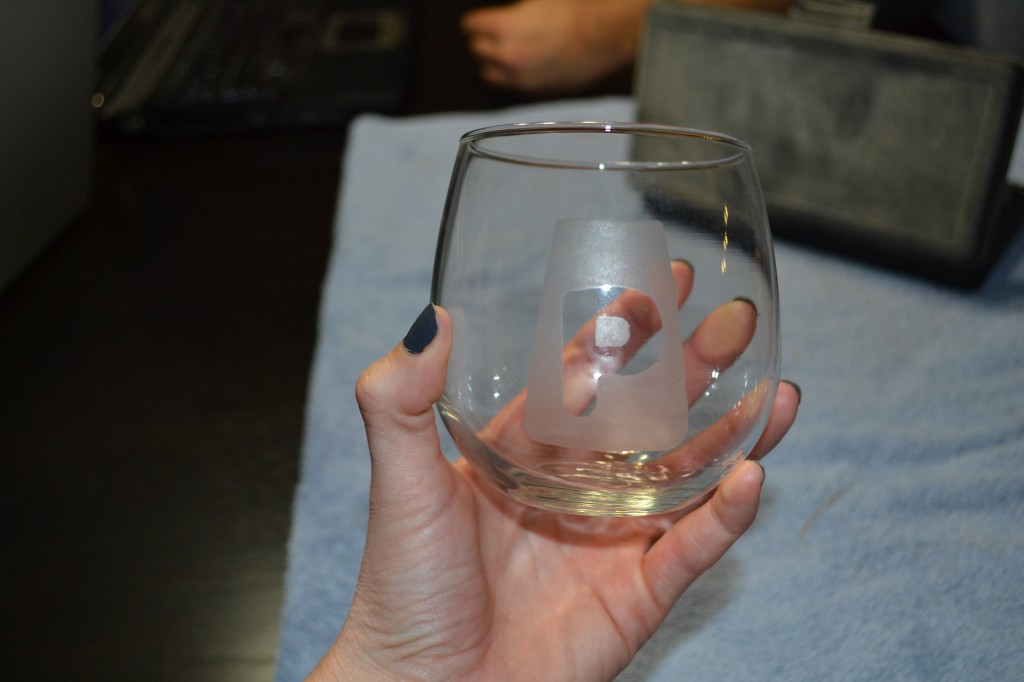
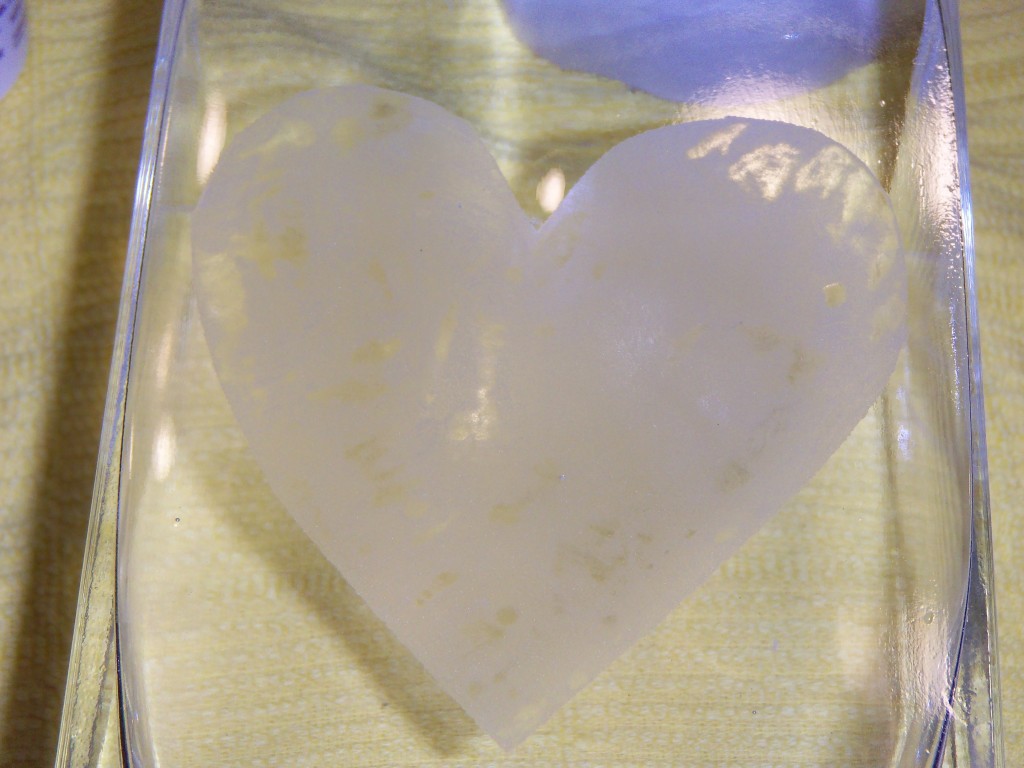
I think it turned out pretty good!! I love this shot below, because it shows The Boy hard at work in the background. He will be writing a post about that adventure soon.
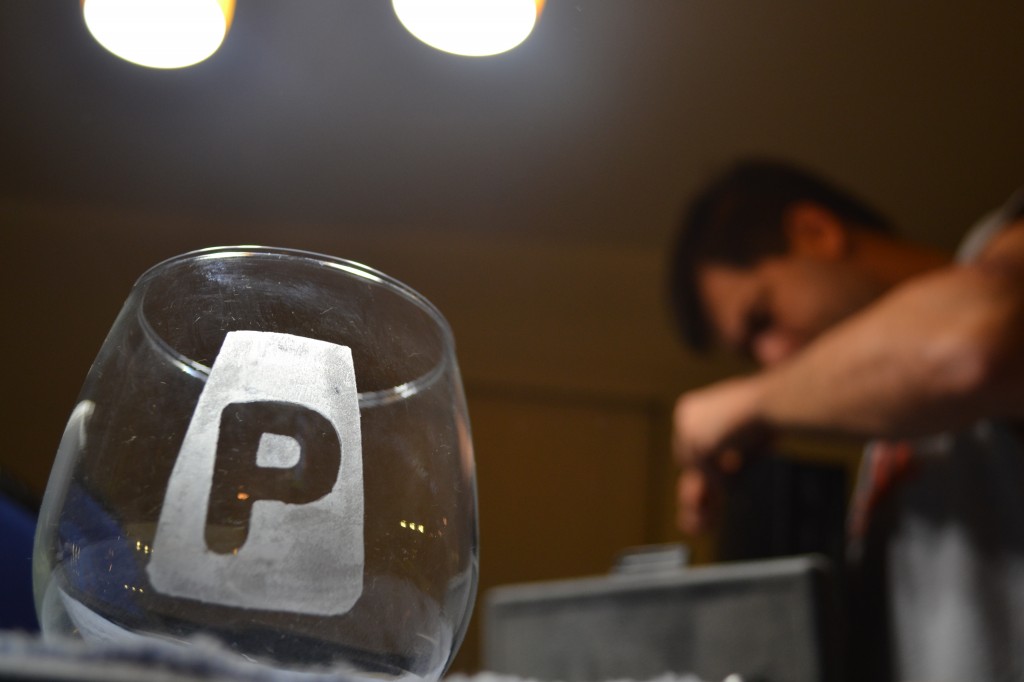
Thanks to The Boy for my ability to take much better photos!
I enjoyed reading your pin busters! Thanks for sharing. 🙁
Not sure why there is a “sad face” on my post, lol. Weird.
Loving your pin-busting experiments! I’ve busted several of my own the hard way (expecting something to work & it didn’t!)… Just FYI cause I’ve used this etching cream before, sometimes with success, sometimes not. It seems to work better if you use contact paper as your stencil & apply the etching cream LIBERALLY (if you can keep it from extending over the edges). The more intricate the design, the harder it is to get clean edges. It can get quite expensive between the cost of the cream & how many items you go through with bad results. I have found it much easier to do faux etching by cutting out shapes from clear contact paper, it’s just not washable 🙁 see pin here: http://pinterest.com/pin/426786502157155018/ This is my photo & bathroom so I know it works. It’s not perfect but it is a whole lot cheaper & easier!