Burnin’ Ring of Fire

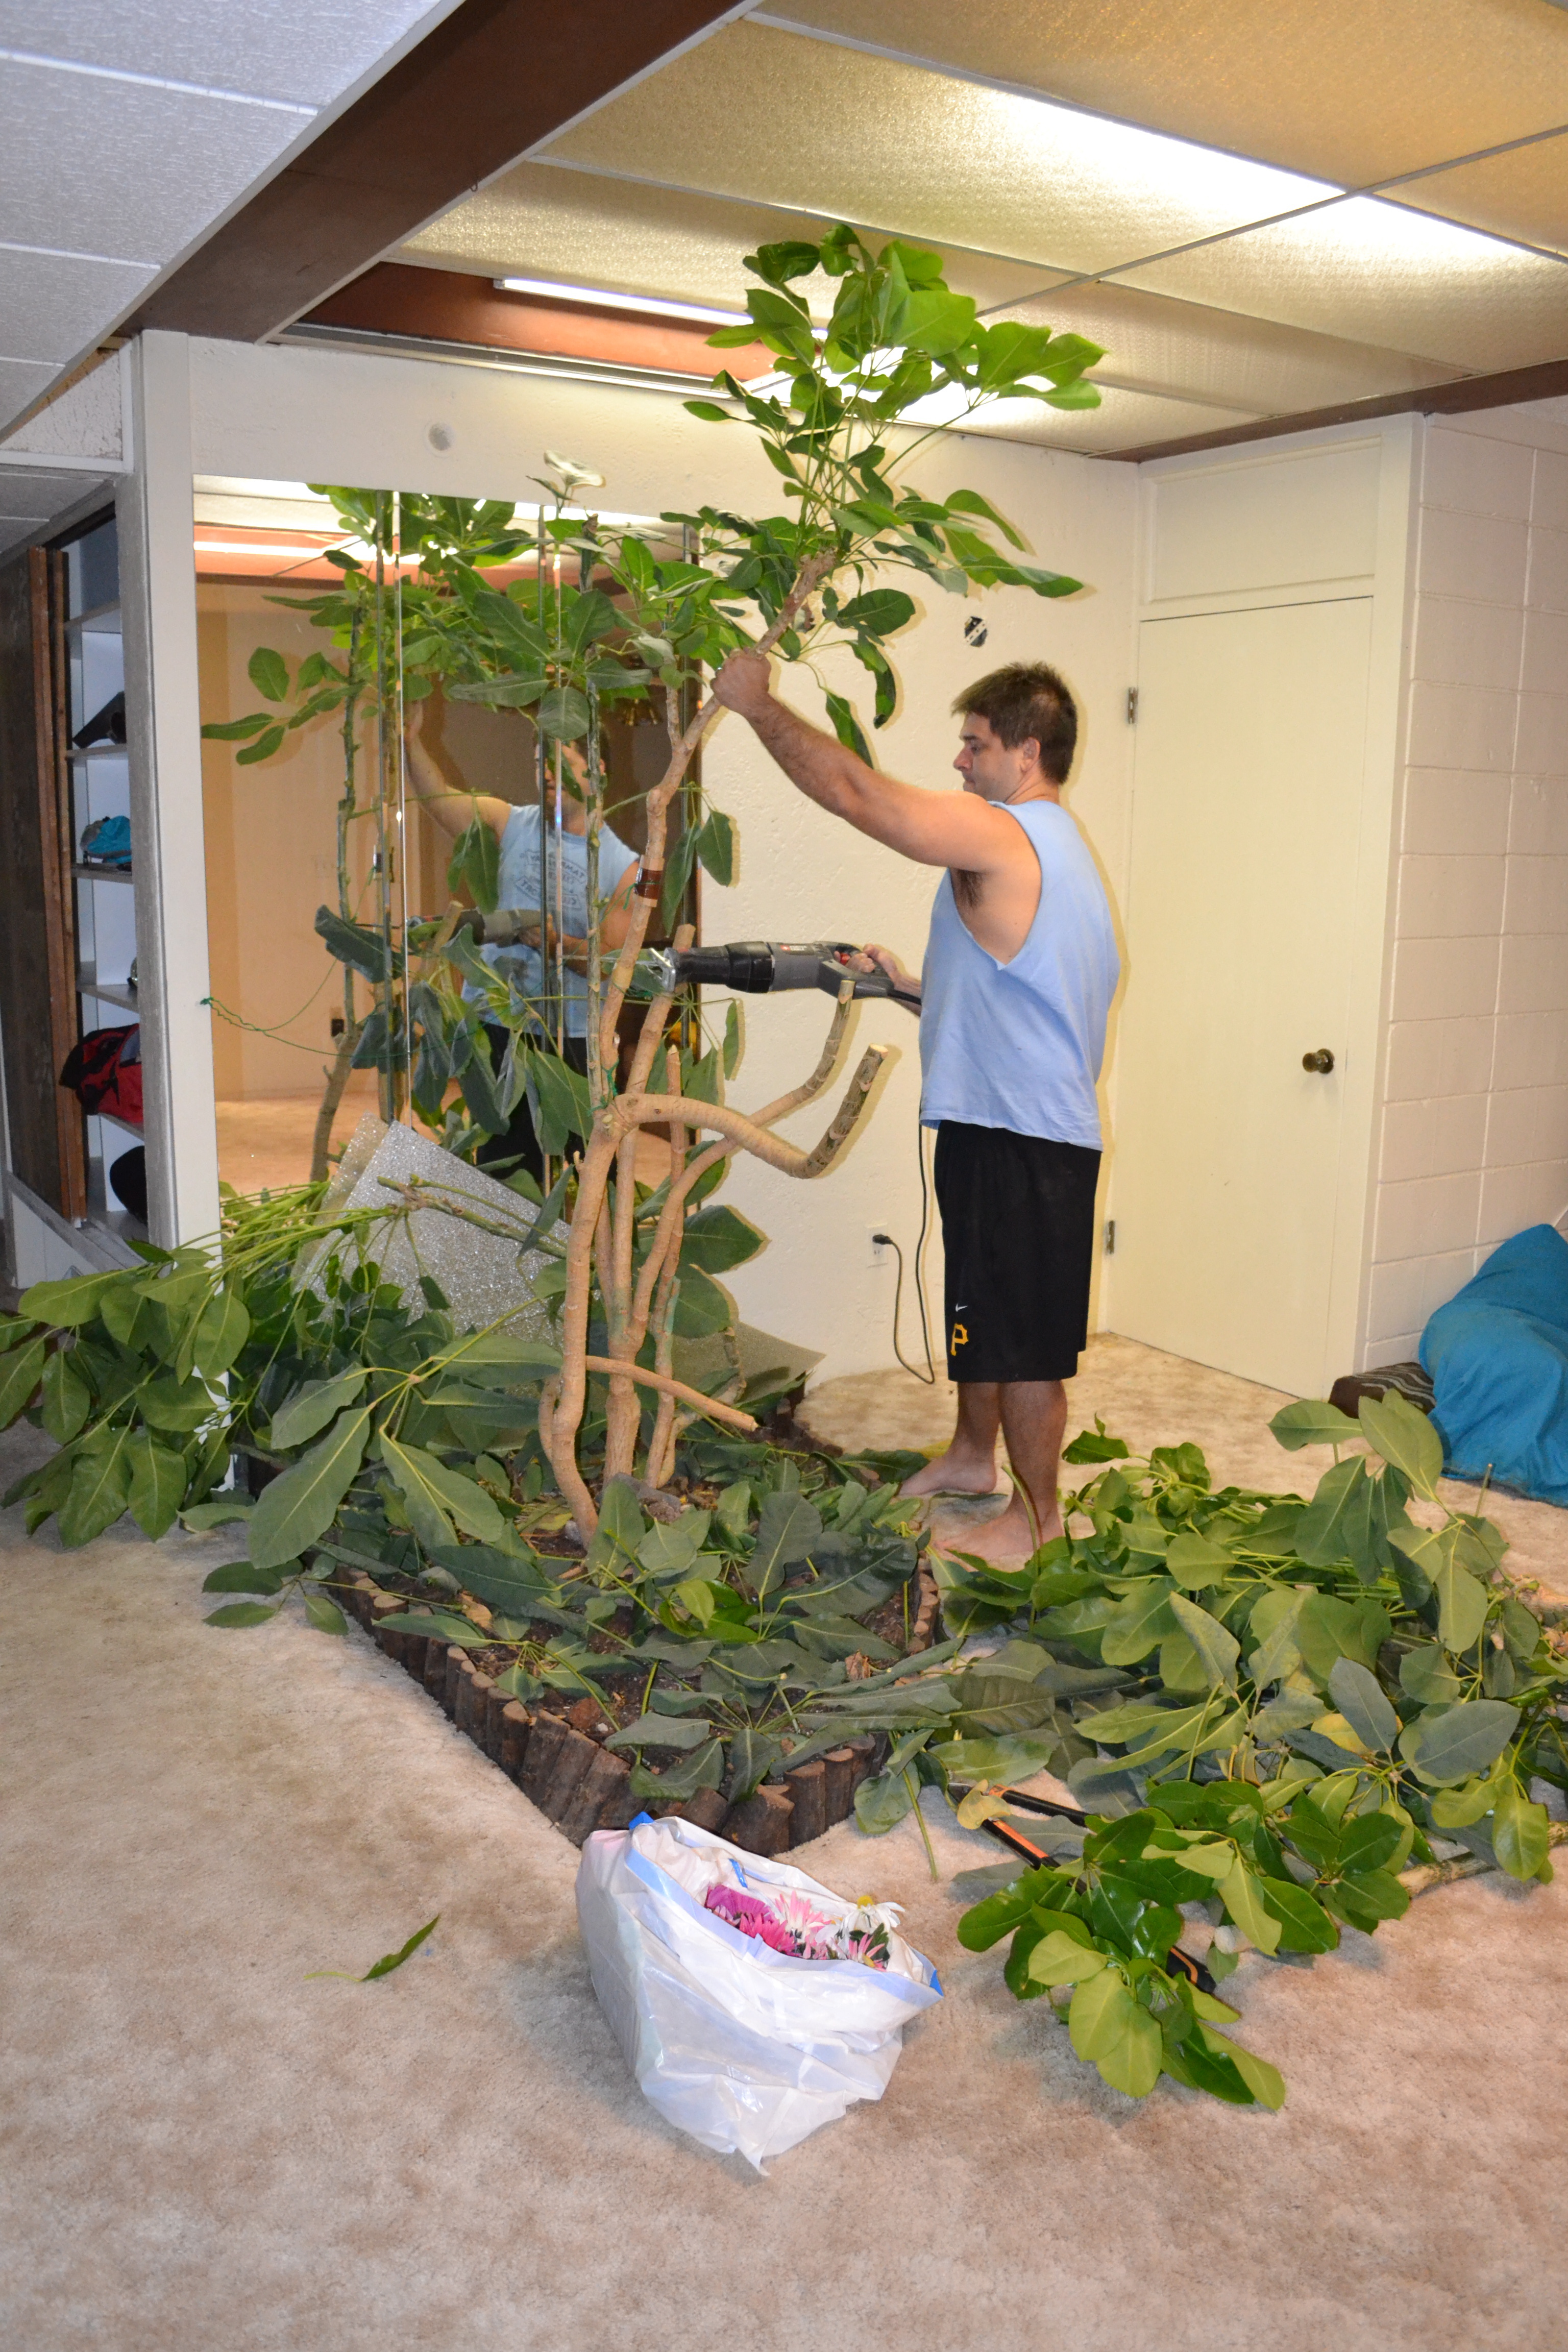
We are still in the “house tweaking” phase of the new house, awaiting construction to begin on the new peaked roof. It is delayed for several reasons, but mostly because FEMA is bananas. It is the federal government, so not very surprising. Architectural plans are being redrawn and new trusses designed, and I am sincerely hoping construction begins in a few weeks. Until then, we shall focus on the exterior.

Fire pit

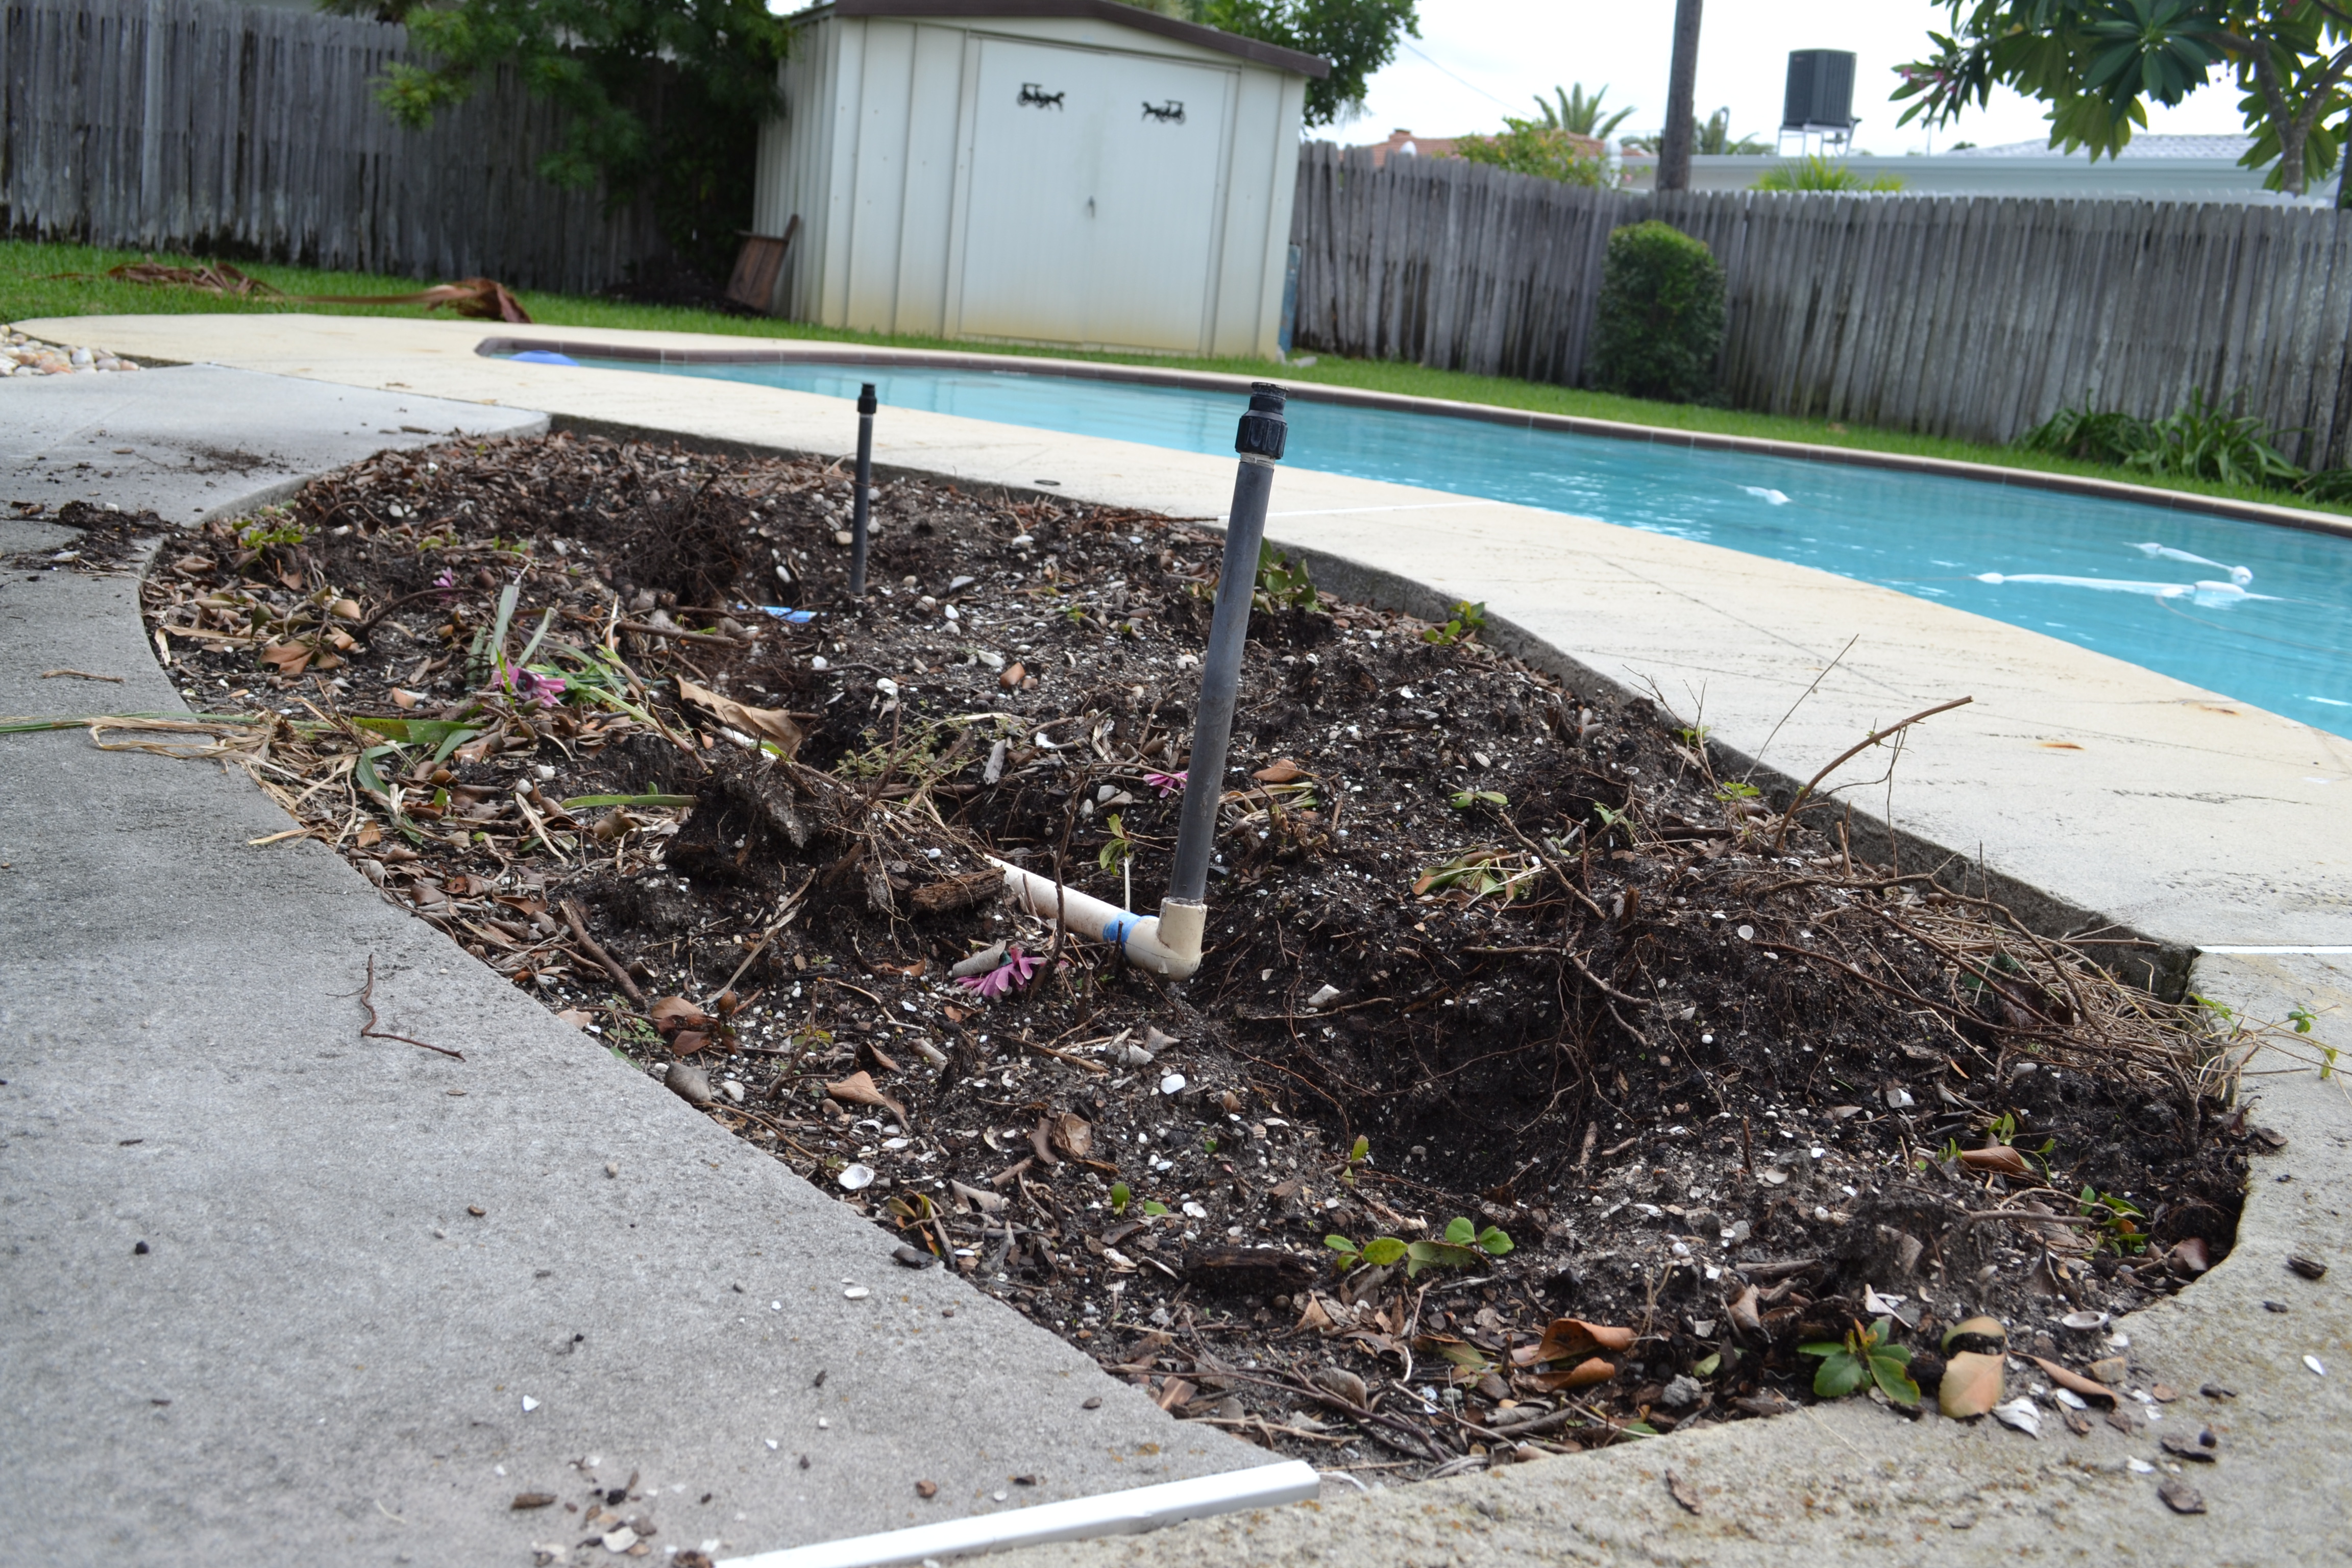
This funny shaped area (picture a wonky egg with corners) between the house and the pool had bushes in it, and as you can see, two sprinkler heads. The bushes obstructed the view from the pool of the TV we bring outside on weekends. An awful problem to have, I know. I took the bushes out one afternoon, and we had the epic idea to turn this area into a fire pit. A FIRE PIT! (<— this is not doing justice to my enthusiasm!)

First, we had to cap off these sprinklers, which was pretty simple.  We dug around to uncover the source pipe, cut it off, and capped it.

Fire Pit Fire Pit Fire Pit Fire Pit

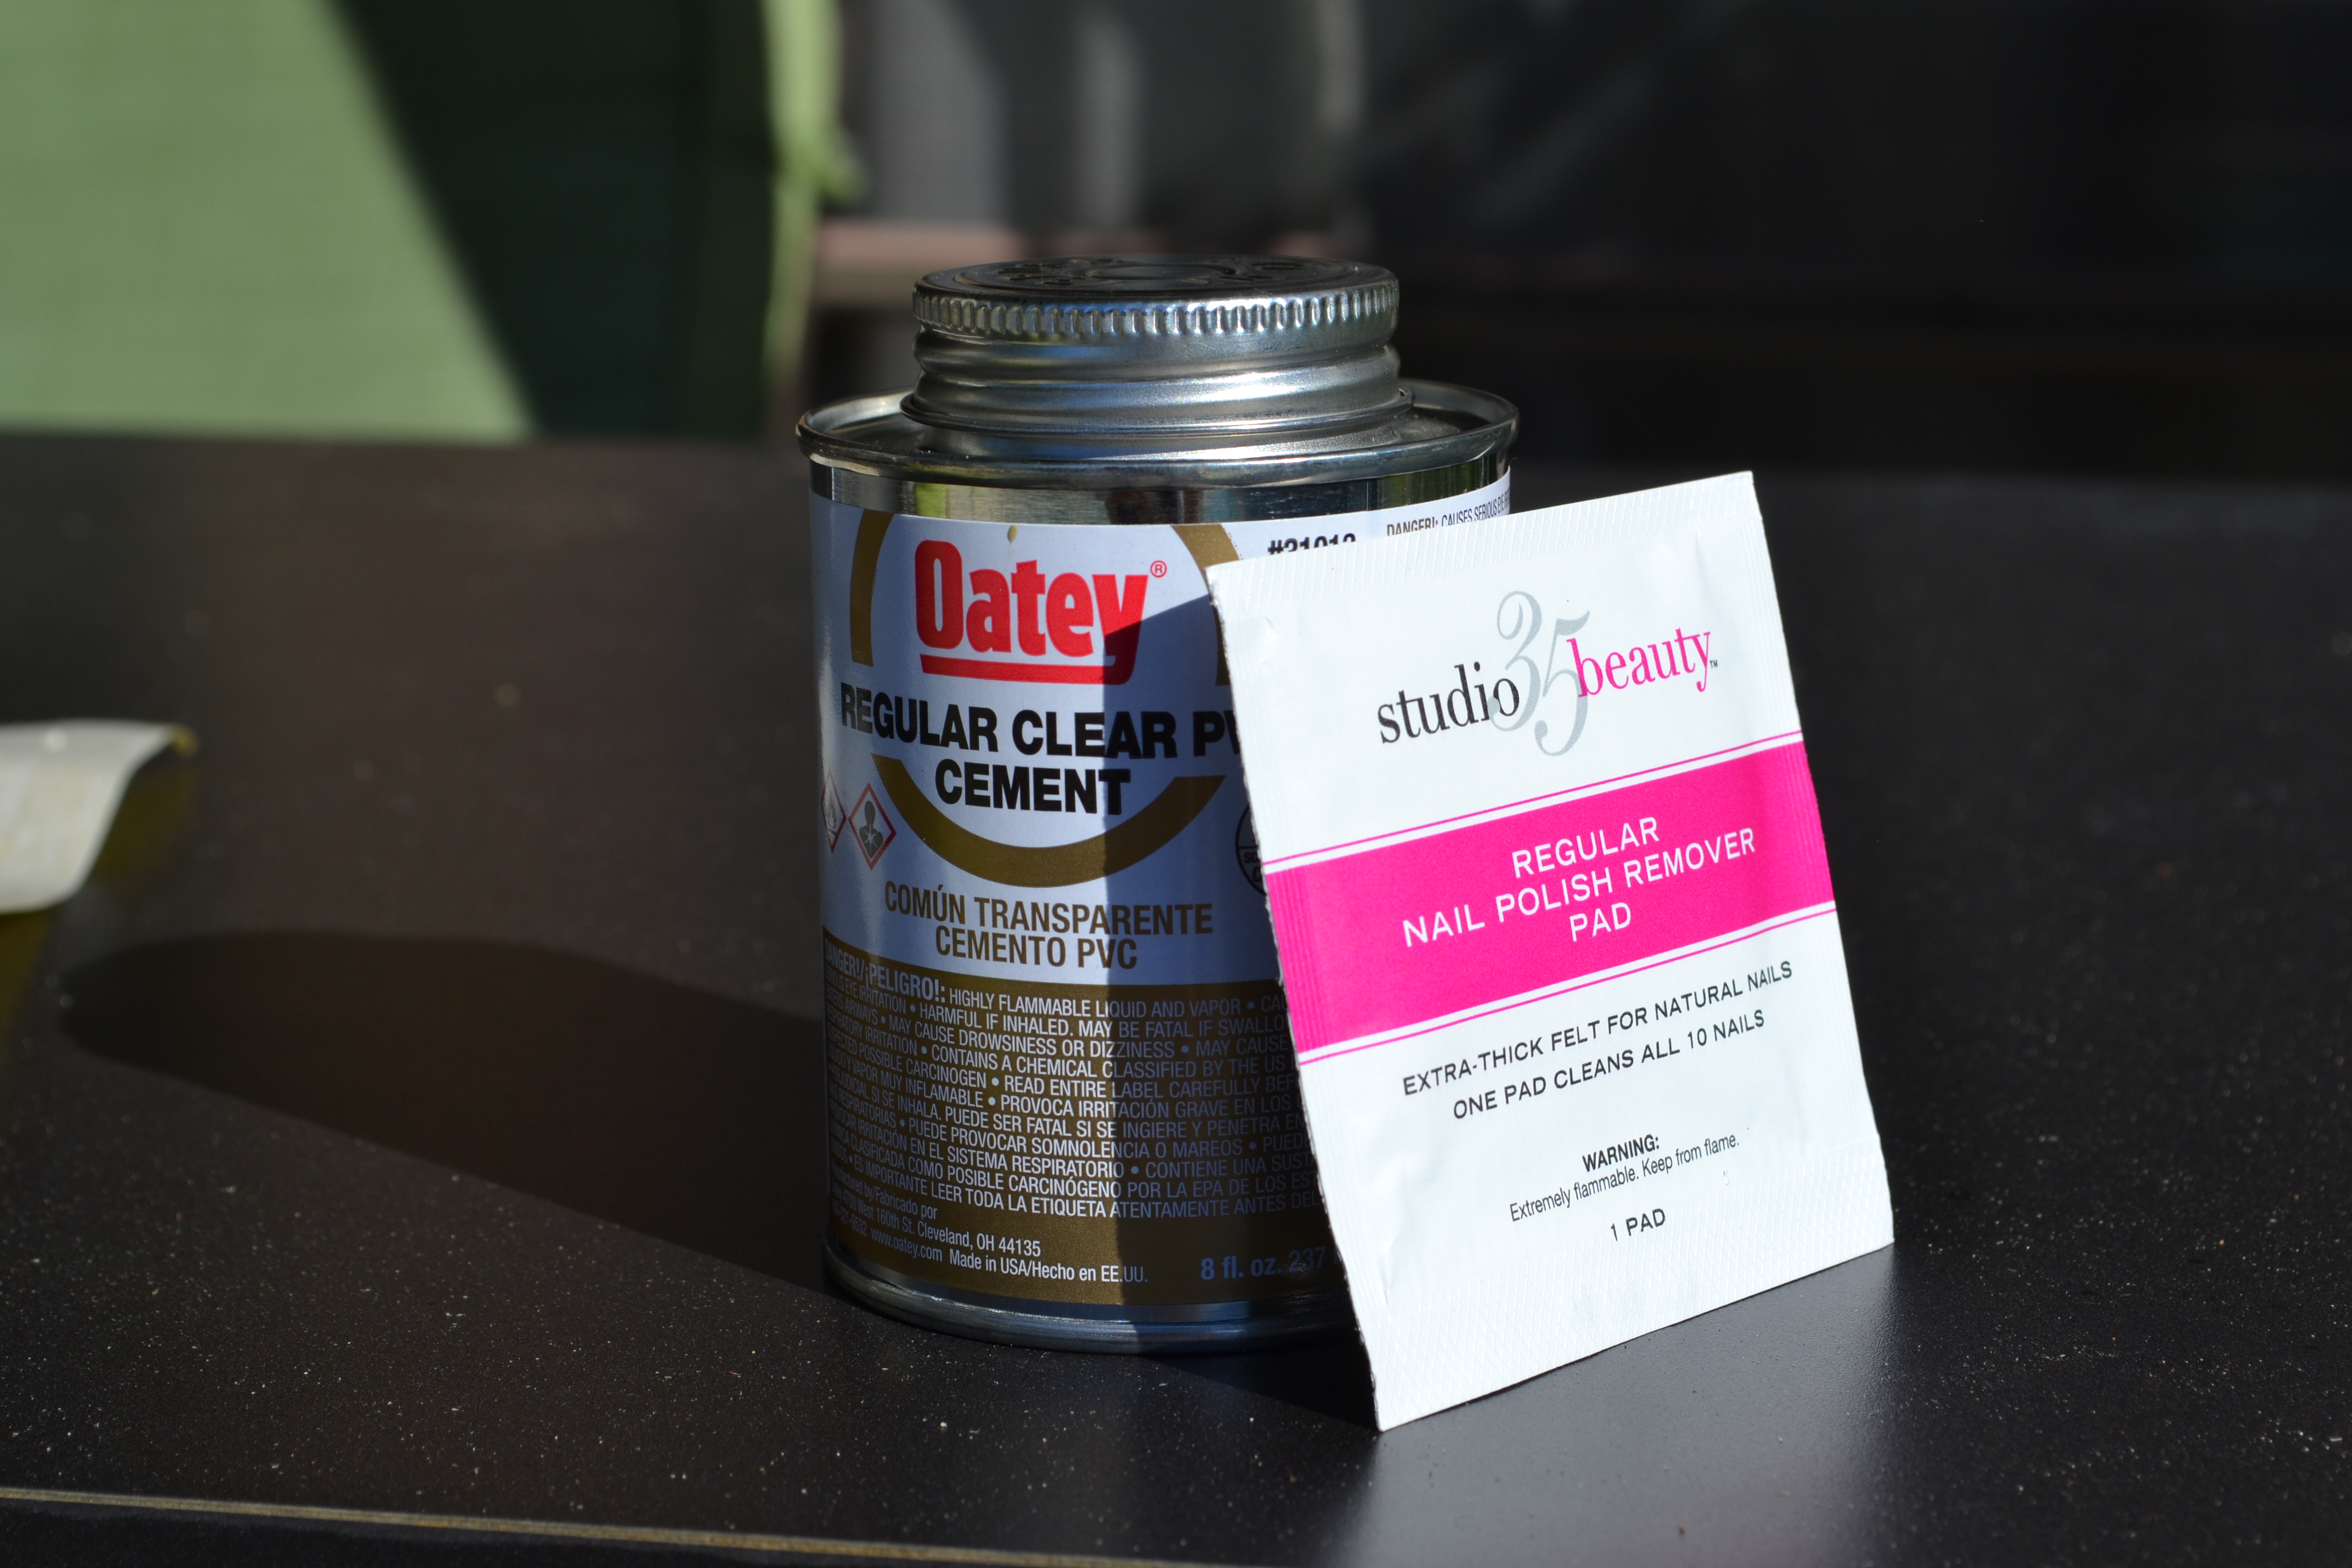
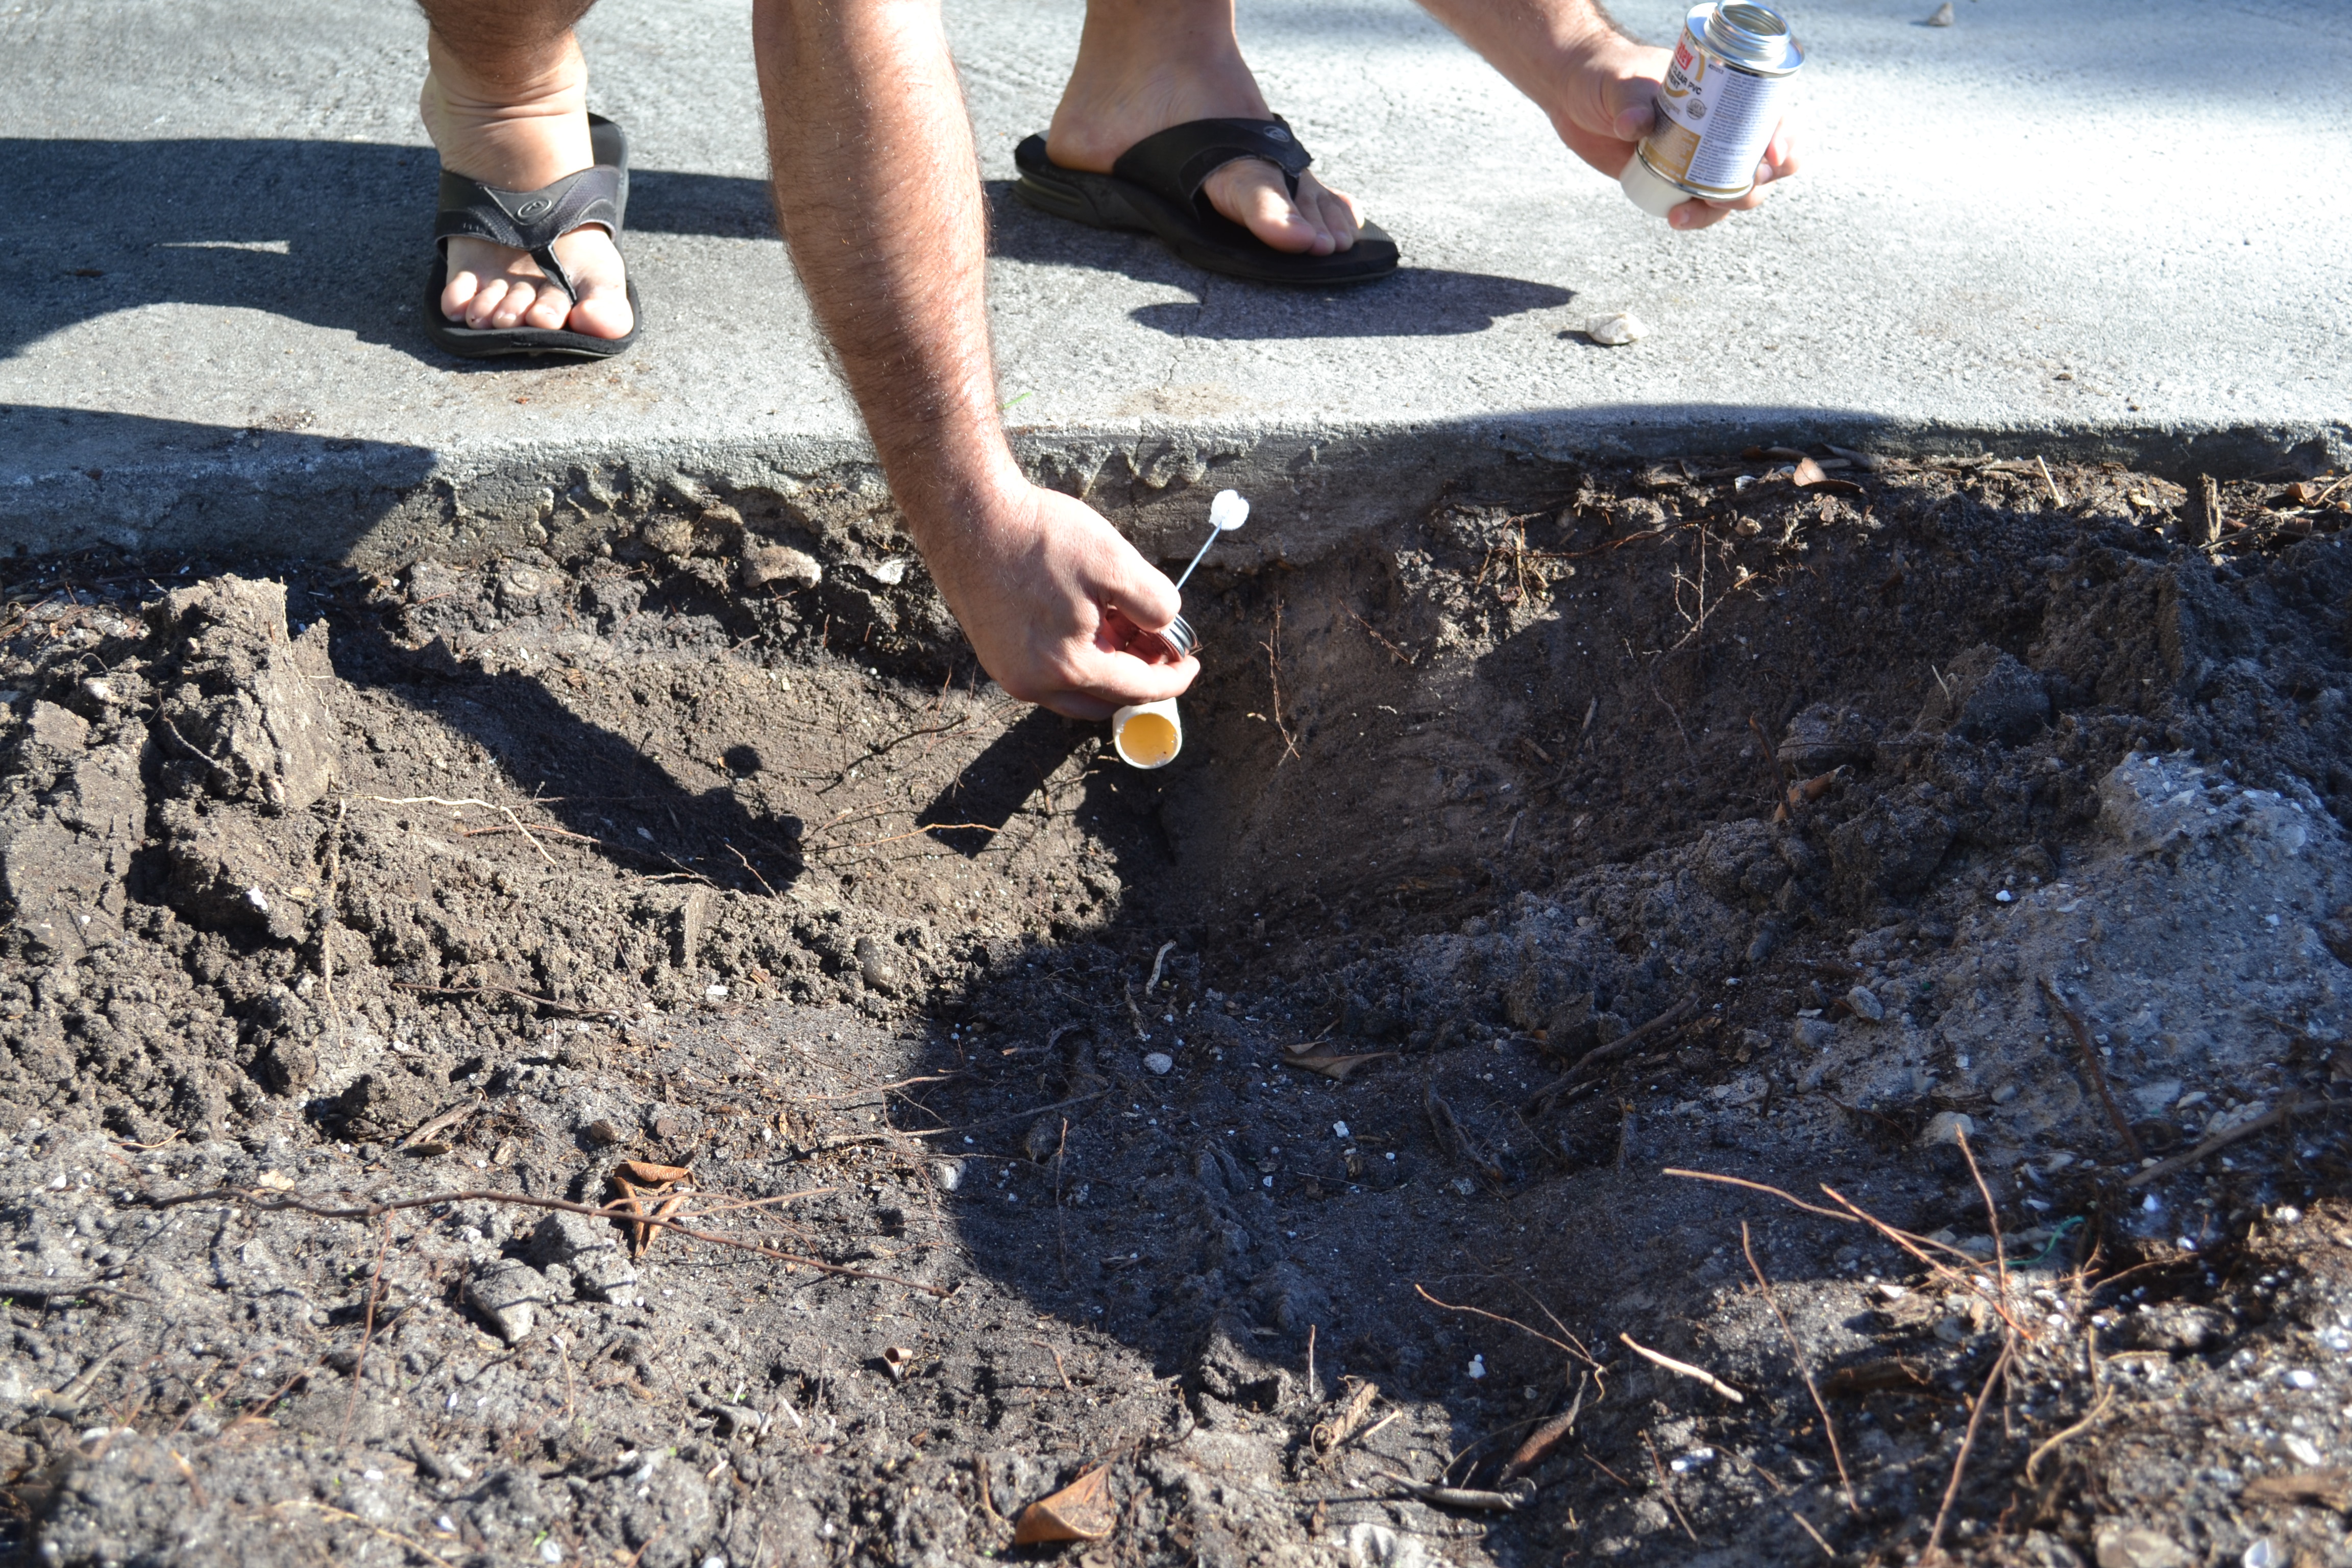
The nail polish remover was used to clean the pipe before applying the glue (which is actually a chemical solvent that melts the two plastics together). Be sure to use nail polish remover containing acetone.

Boom!  Fire pit building time!

Fire Pit

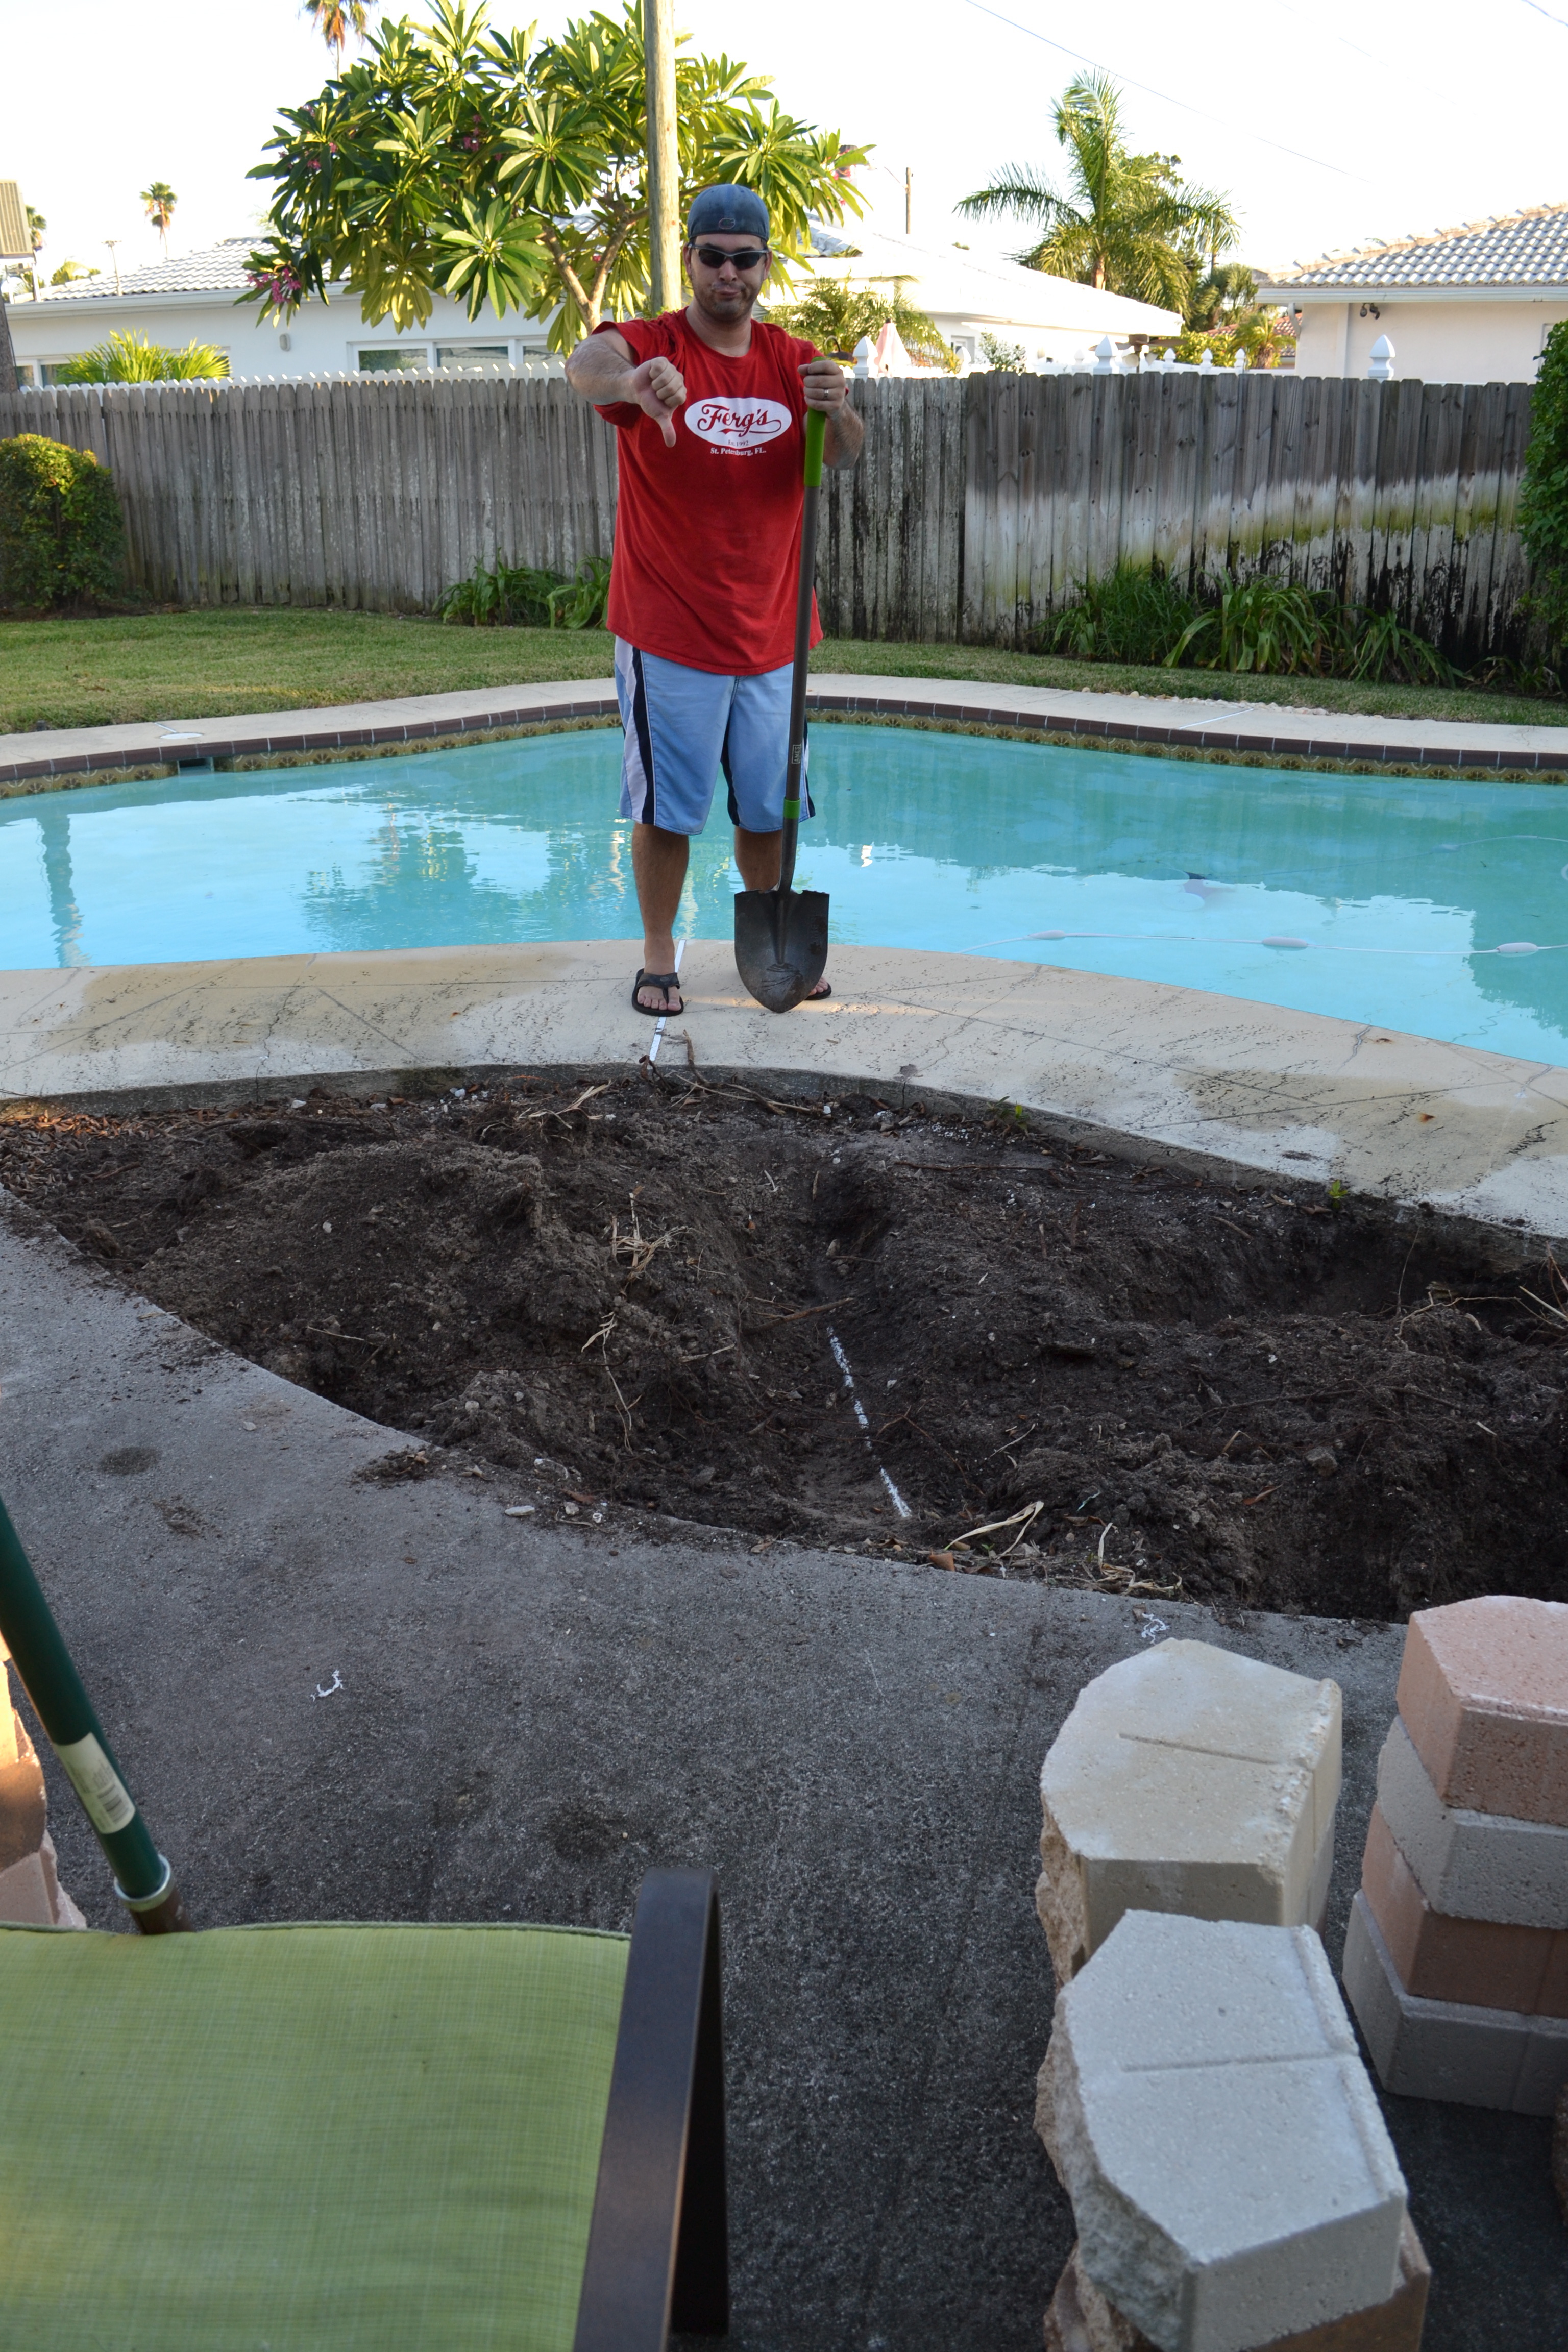
We decided to recess it into the ground a little bit so we didn’t end up removing TV-obstructing bushes and replacing them with a TV-obstructing fire pit. That’s when it happened.

Fire Pit
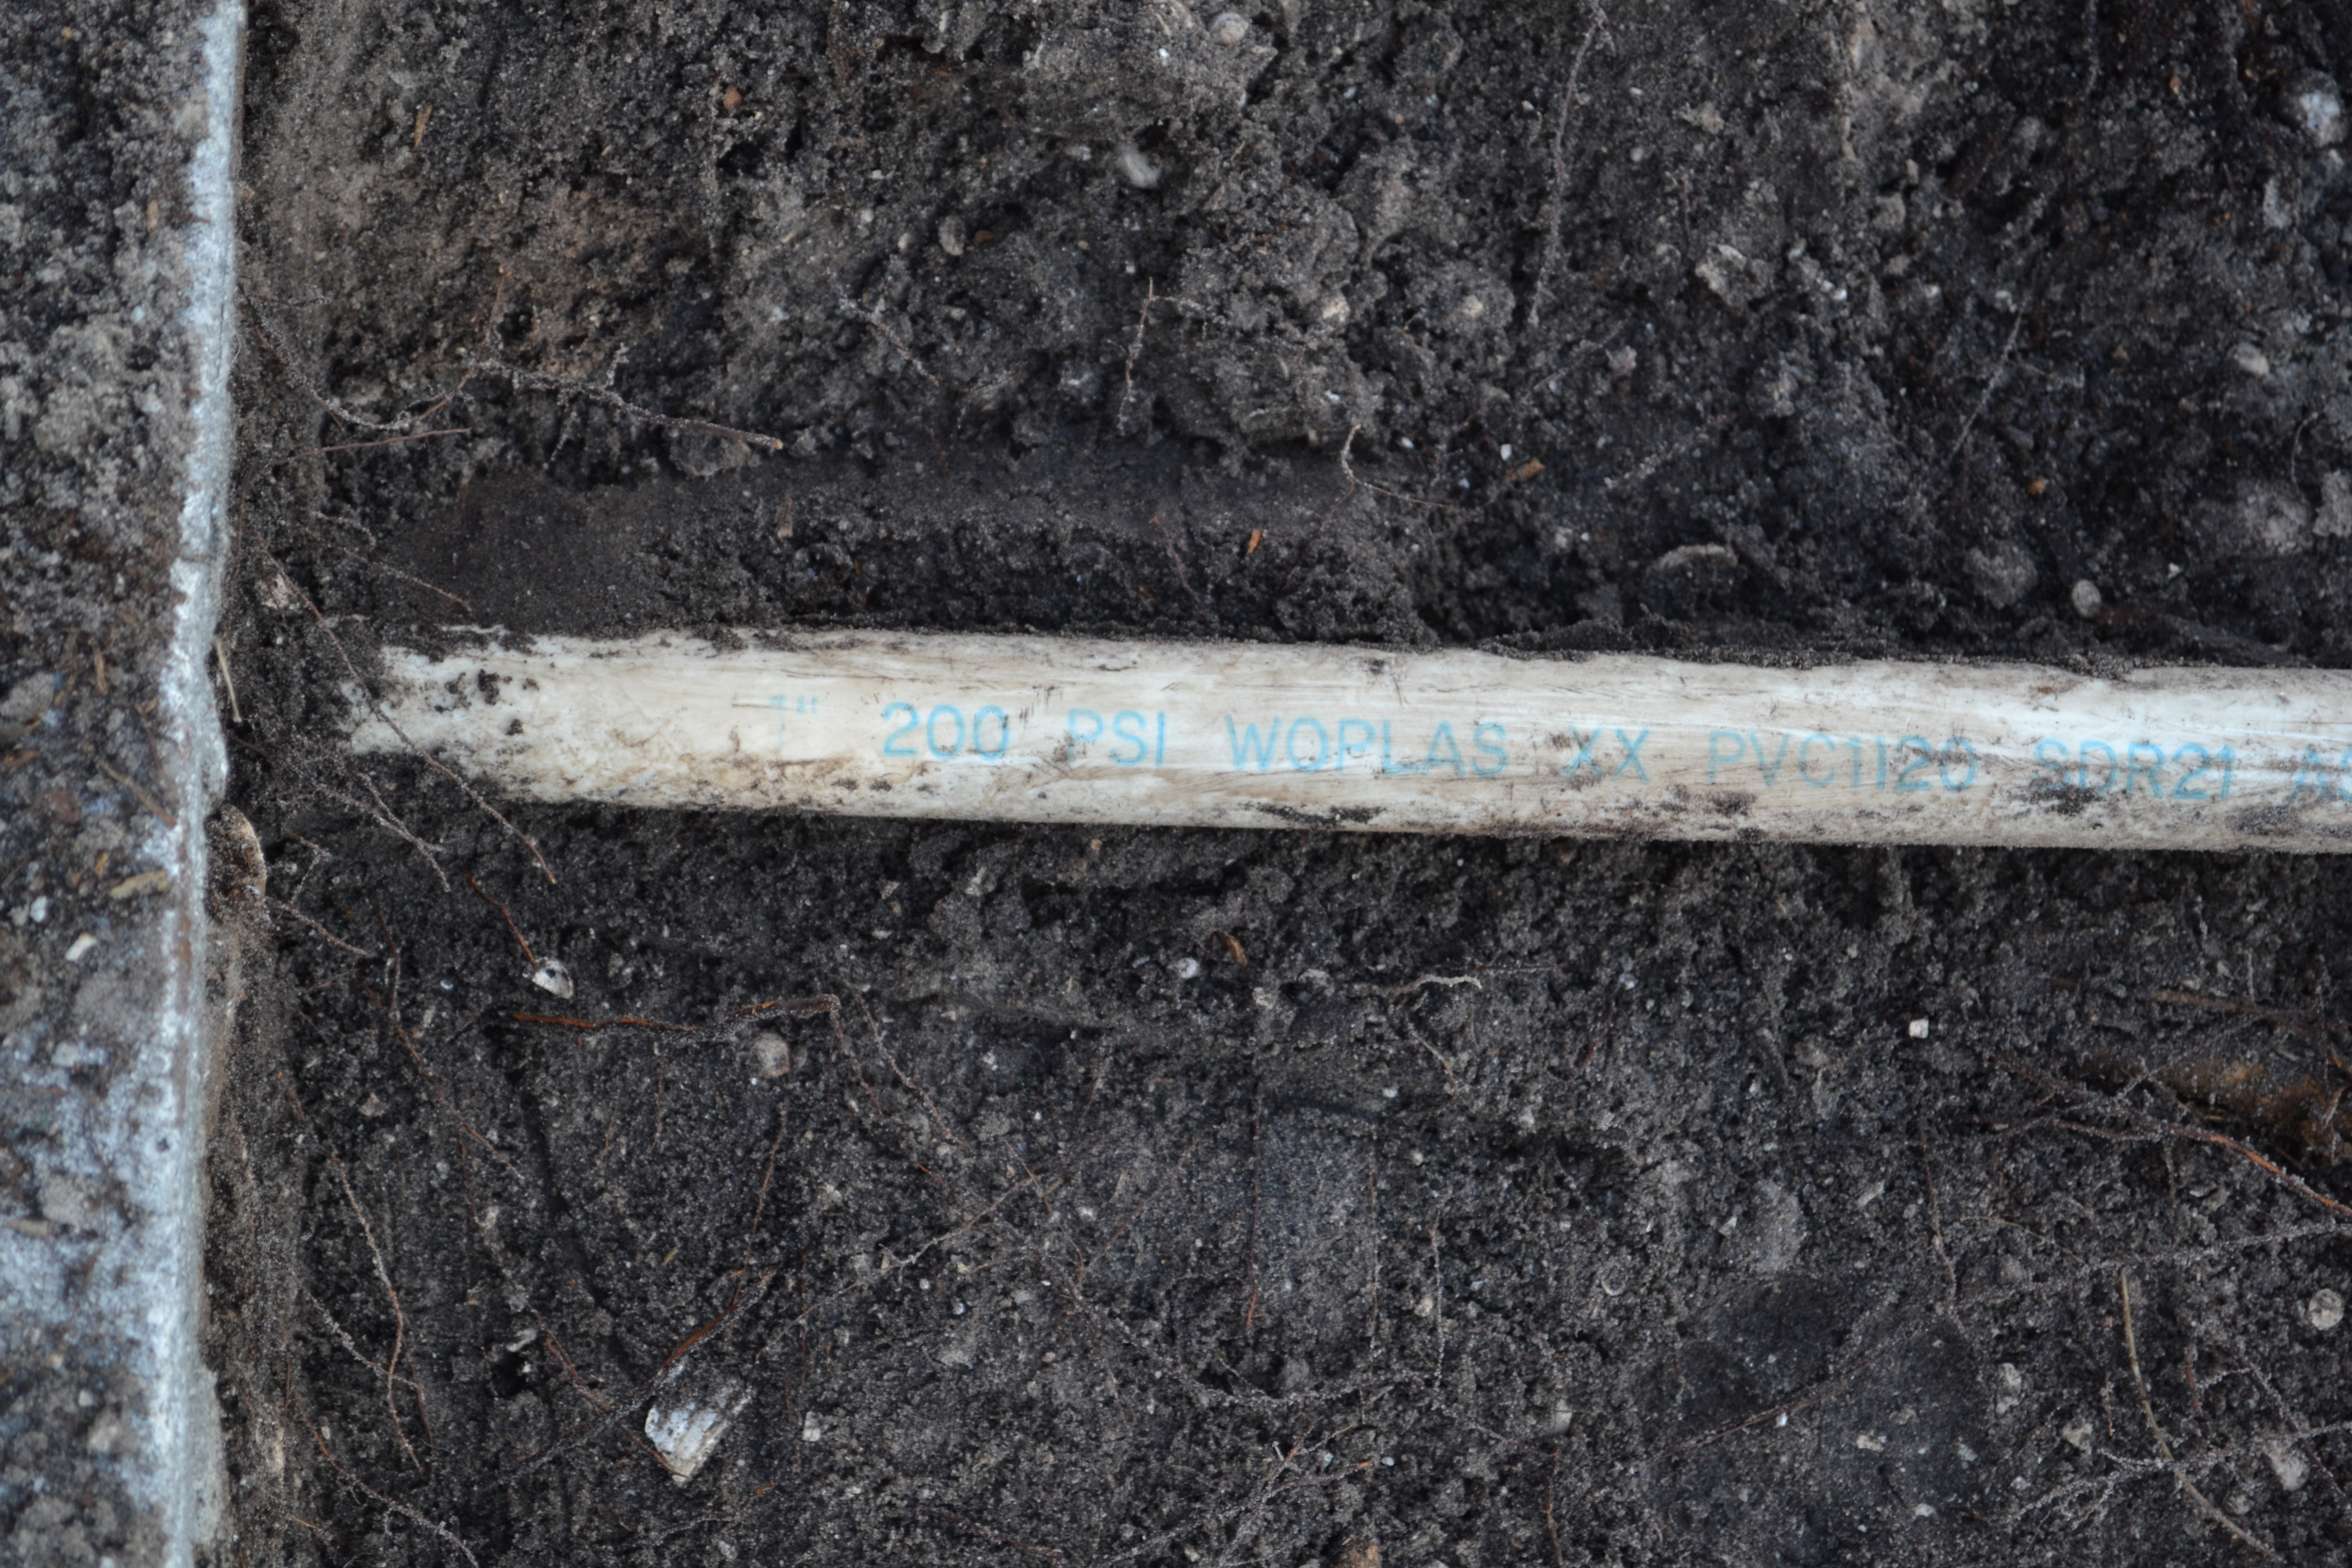
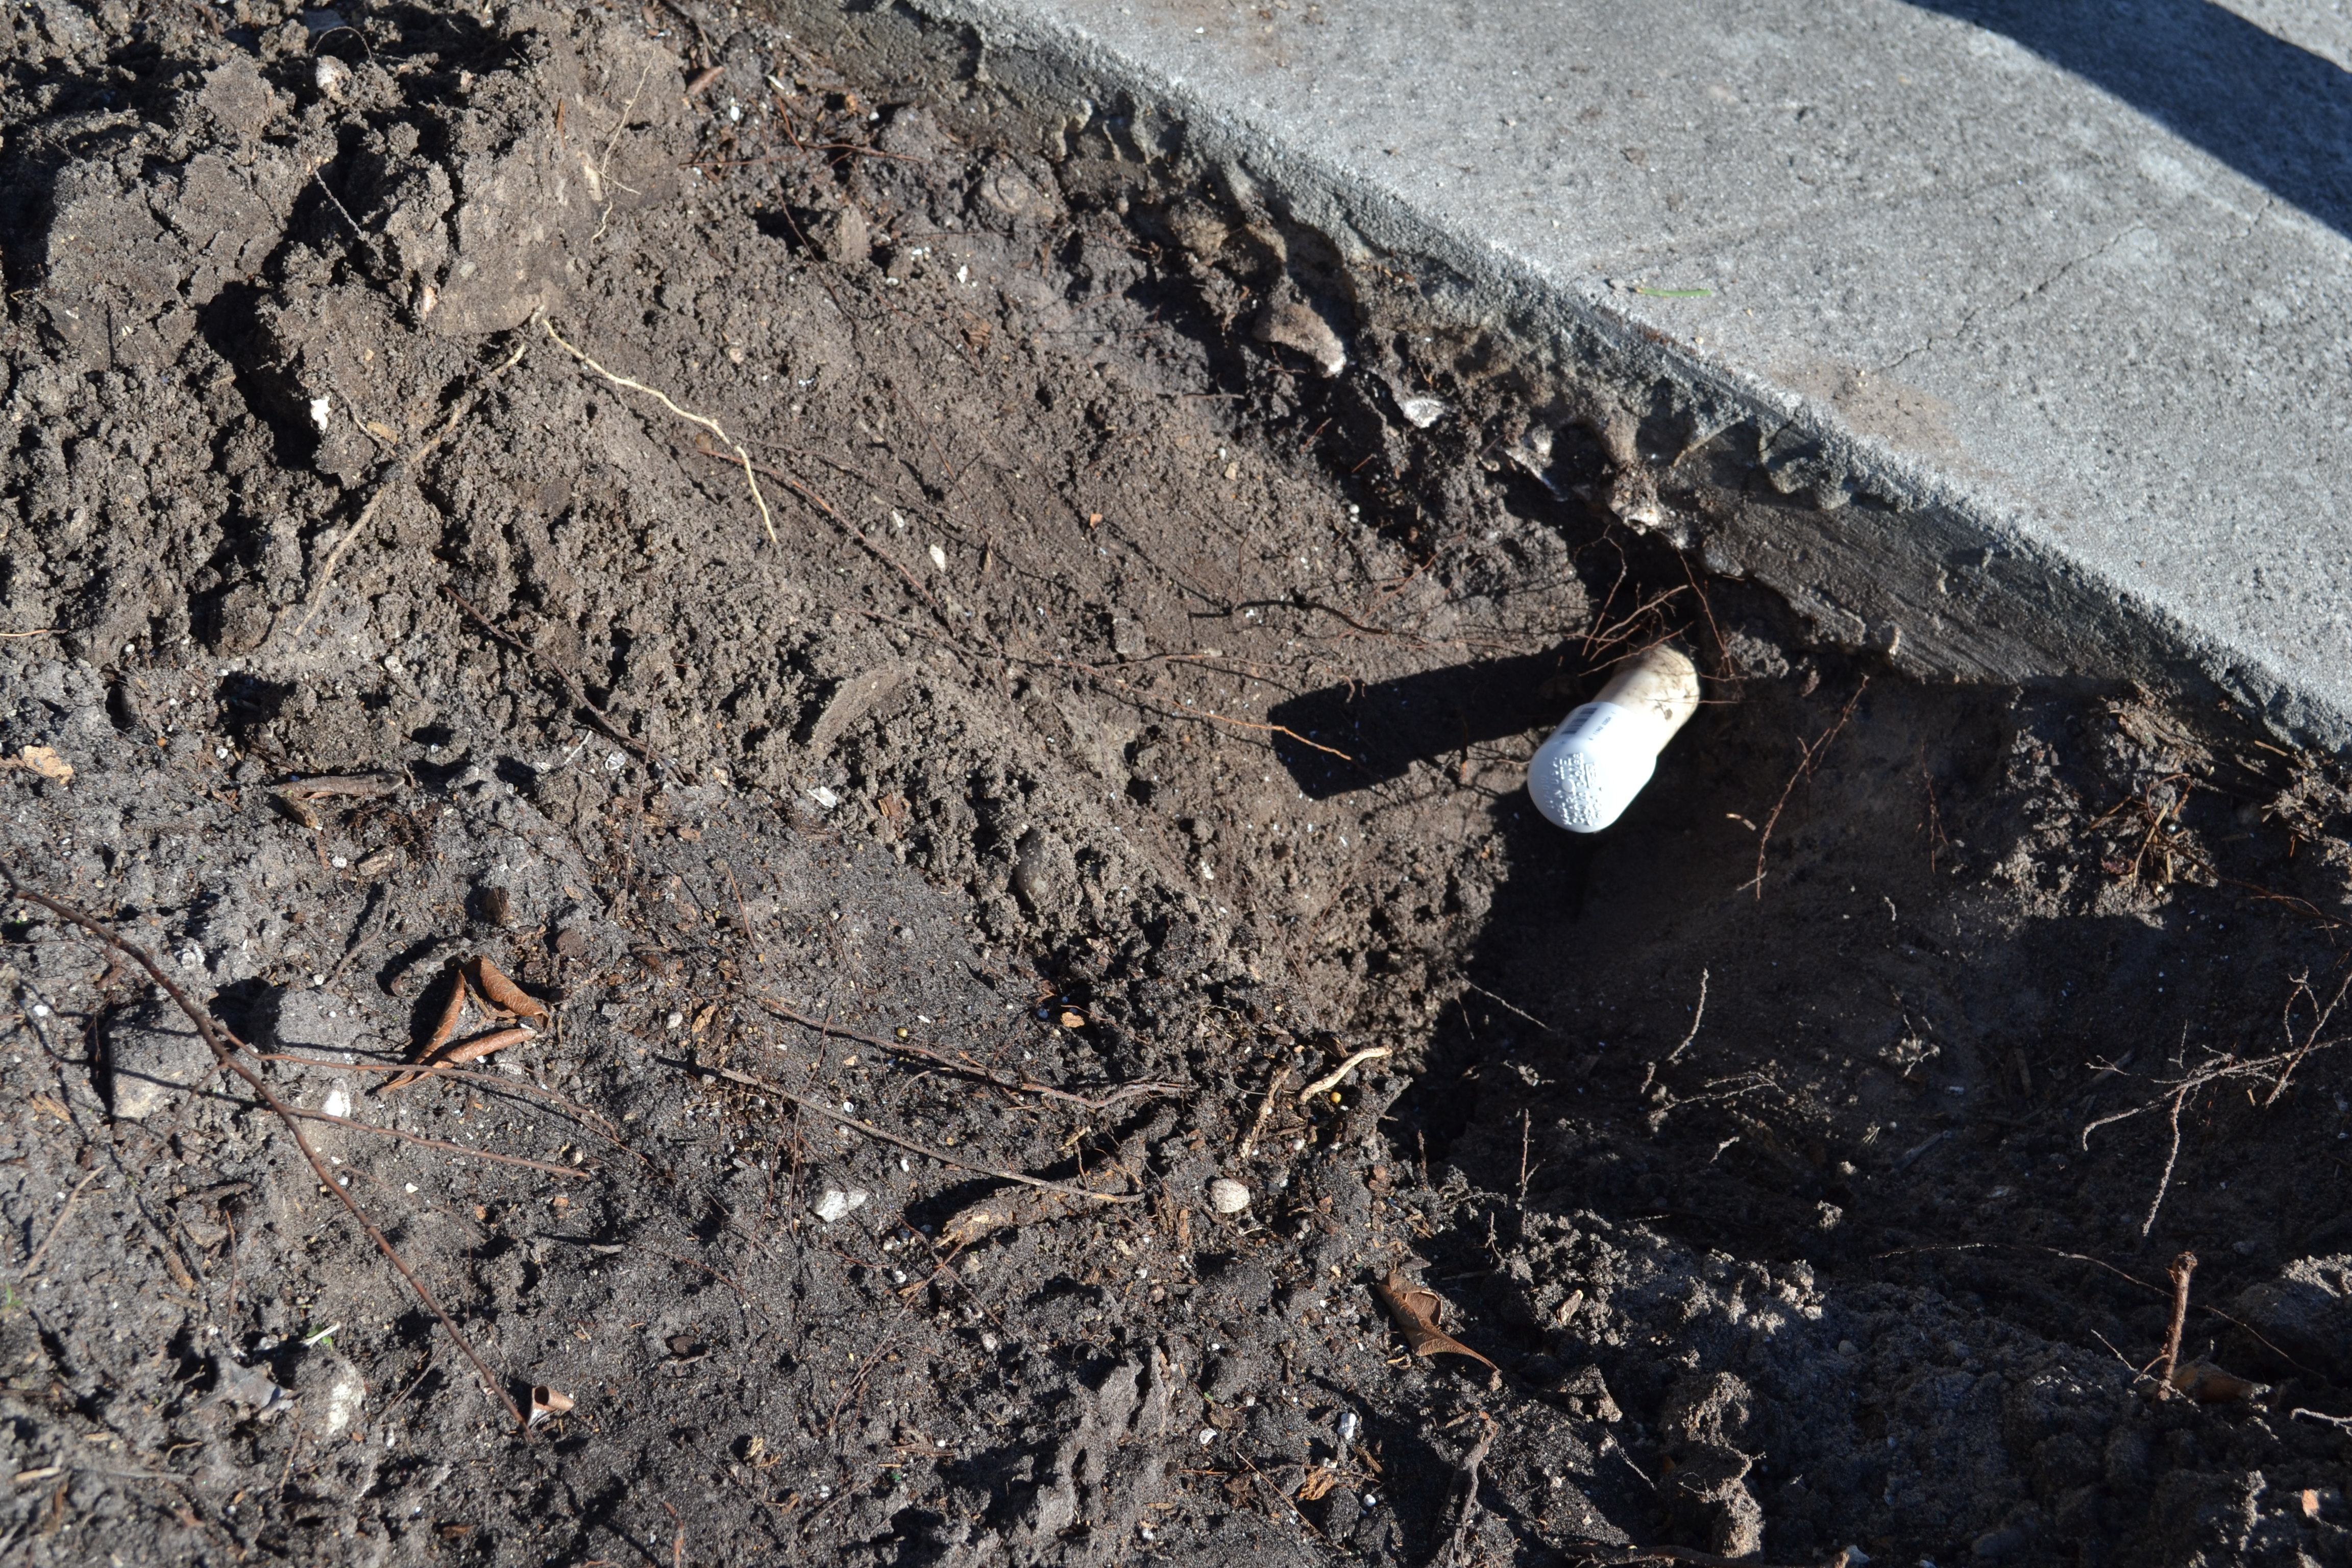
There are two problems in this picture.  First, we discovered ANOTHER pipe, that we didn’t know about, which feeds the circulatory system of the pool (I’m sure that is not the correct term, but I don’t know what the correct term is, and this is why we pay a pool guy). Our brainstorming ideas included (1) off setting the fire pit to one side to avoid contact with the pipe (hideous!); (2) putting down a thermal barrier of some sort (eh); or (3) giving up (nope!). Finally, the Boy had a great idea. Pavers!

DSC_0056

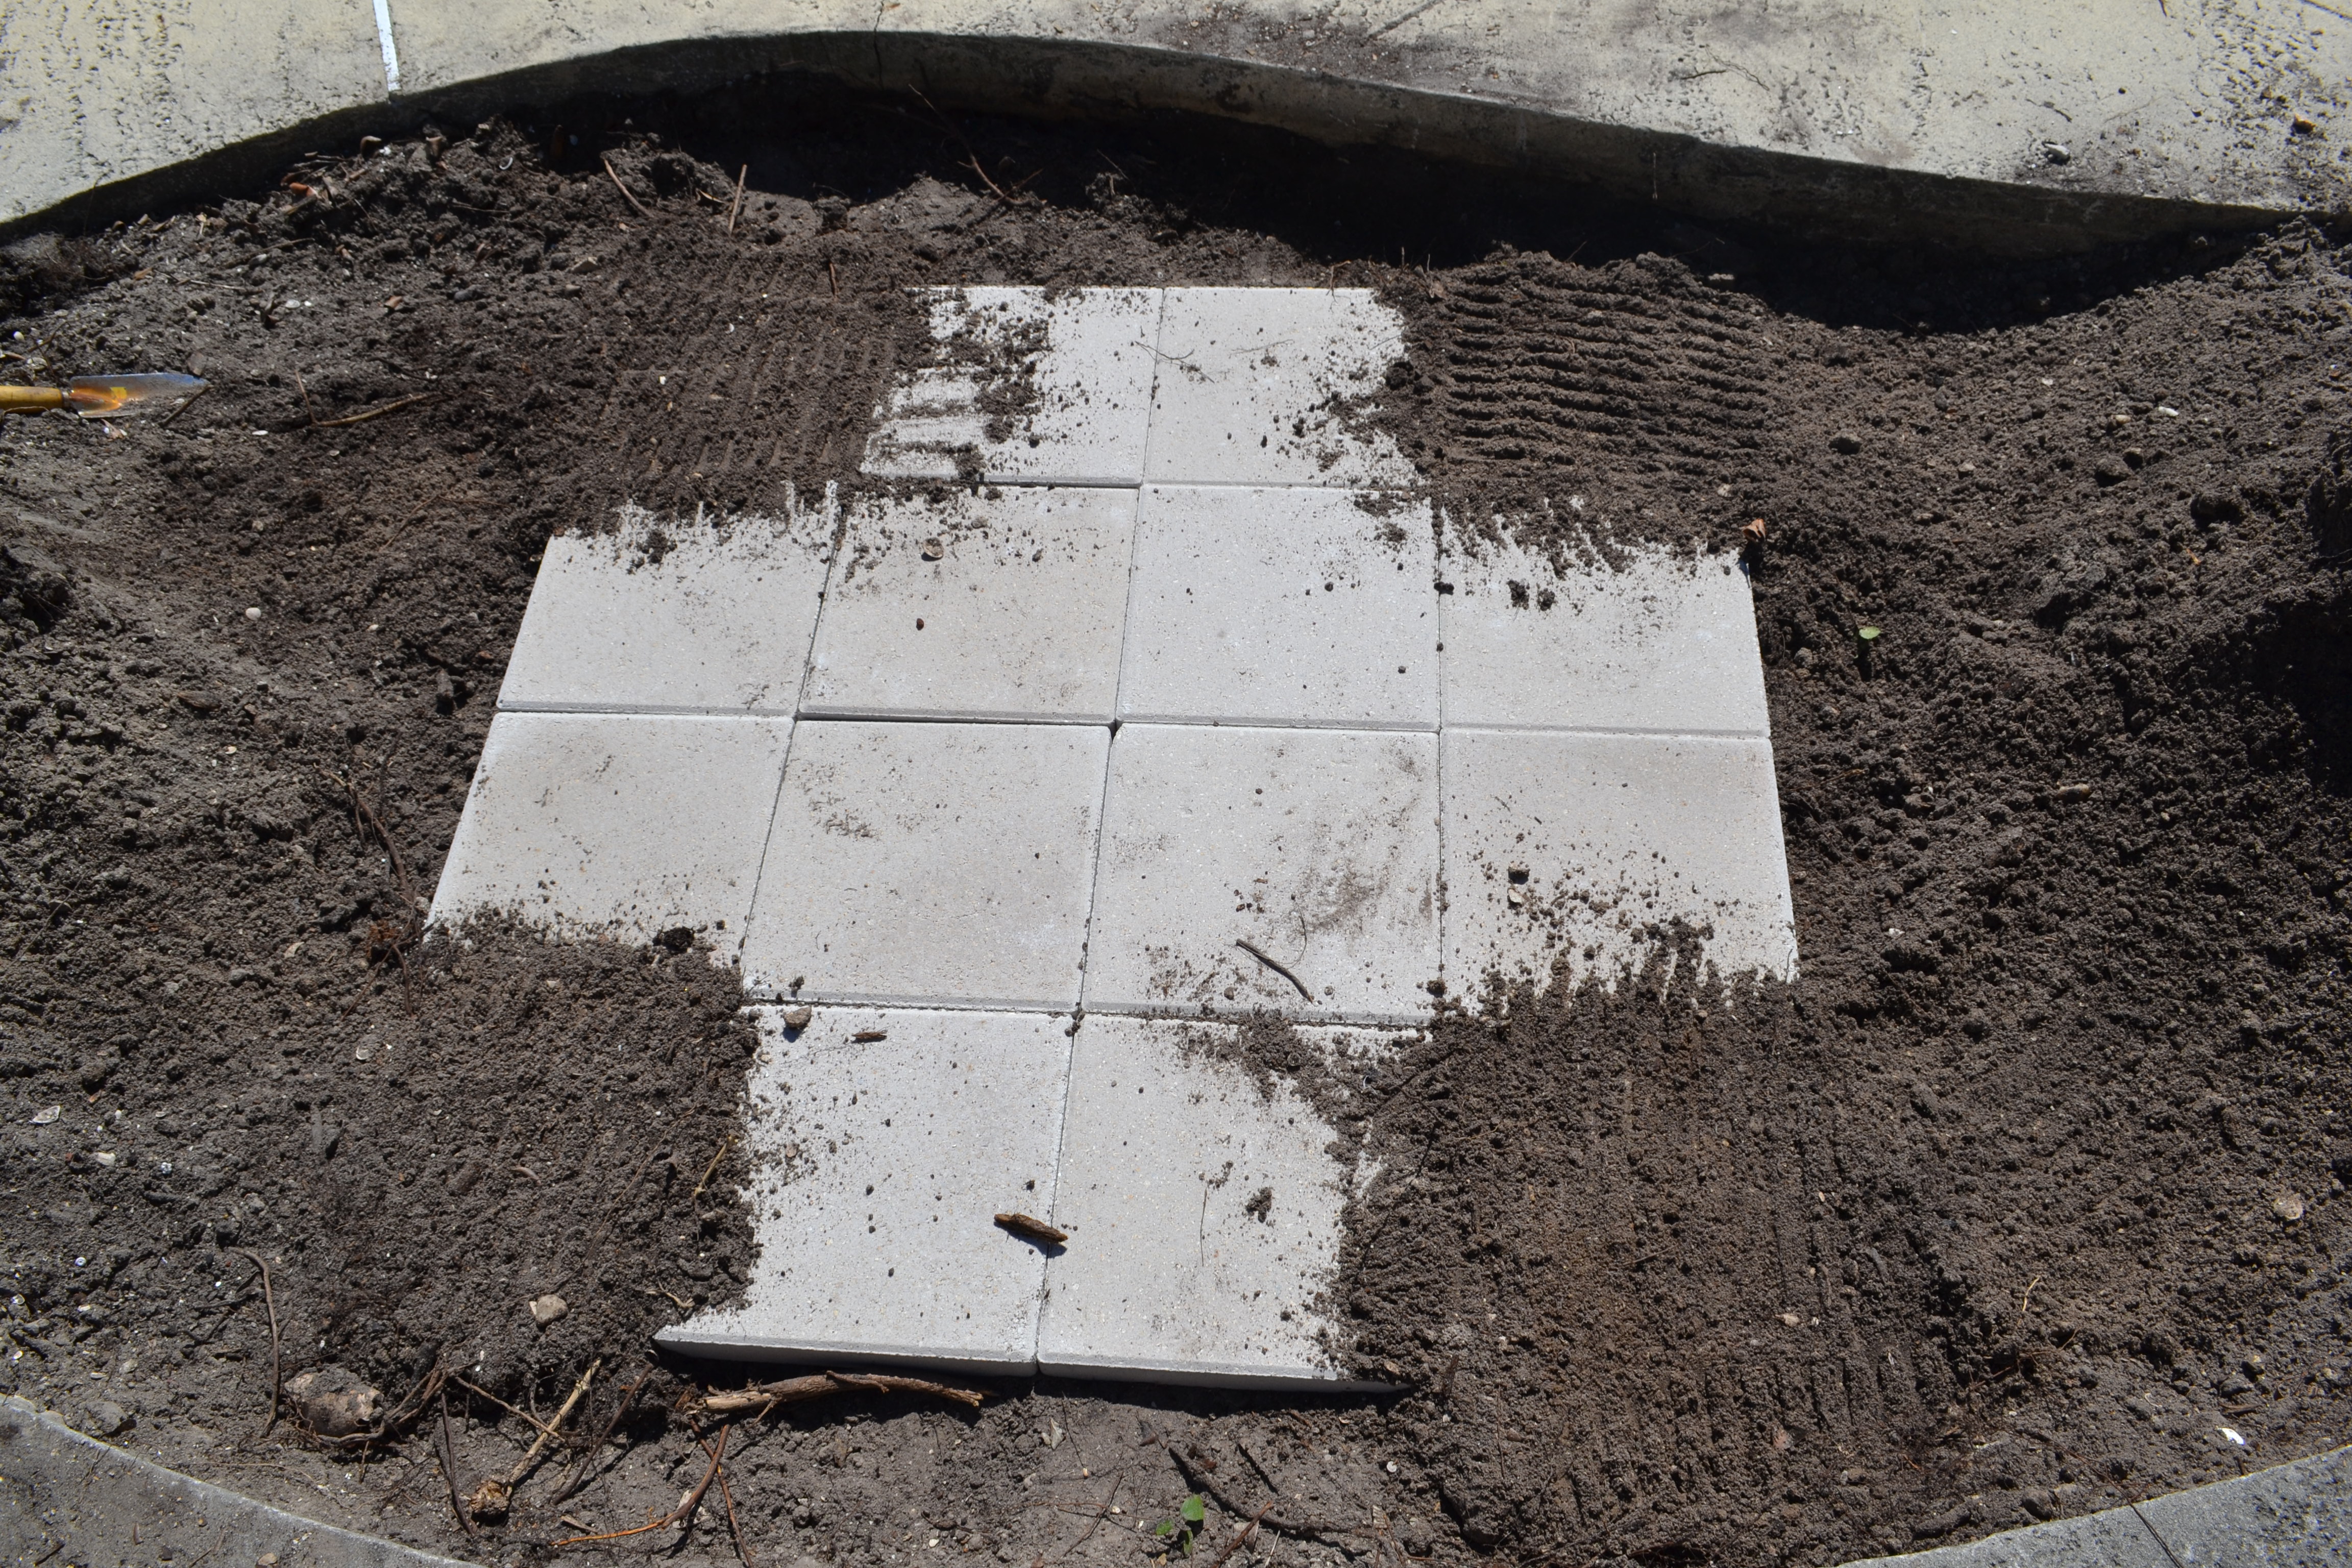
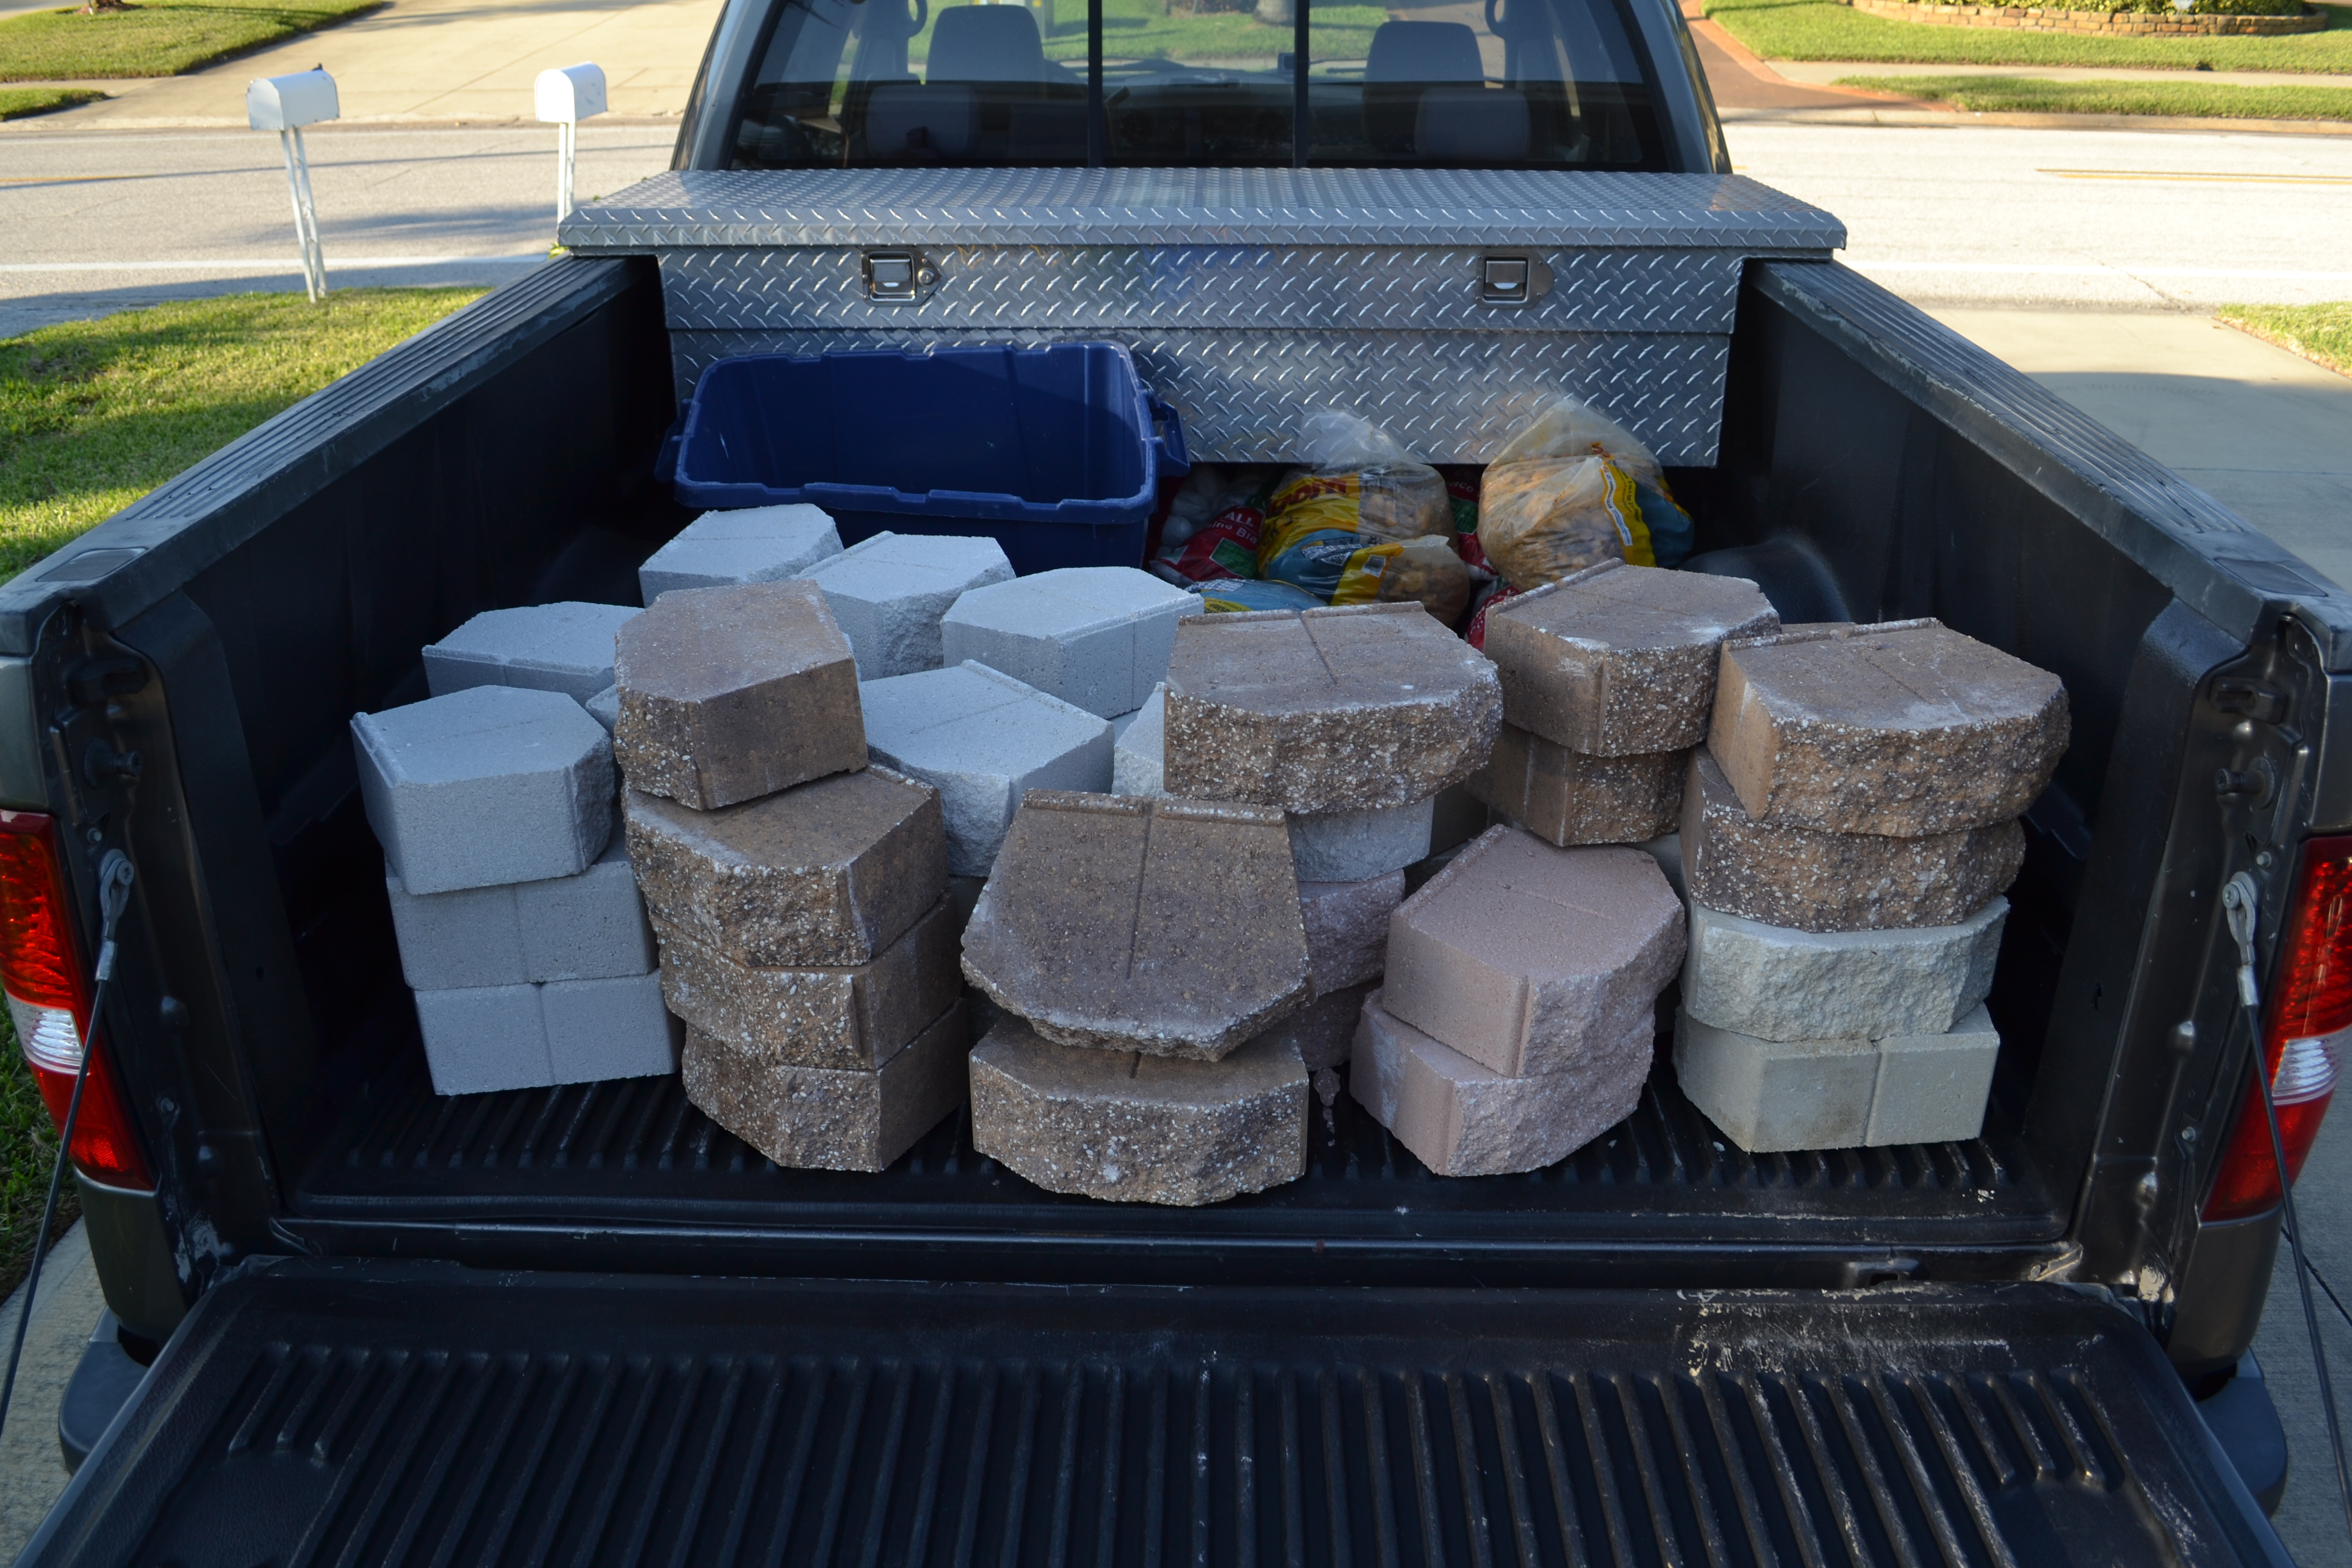
The second problem with the picture above is that the stones we bought have these raised lips on them (right side of the picture), so no matter how we stacked them, they didn’t sit flat. We later learned that this is because they are actually made for retaining walls, to be stacked with the lip down catching the back edge of the stone below it, and therefore able to withstand the pressure of earth pushing against it. We remedied this issue by getting a chisel, hammer, and whacking the lip off of every single stone. It was a bit time consuming, but fairly easy, and worked great.

DSC_0057

DSC_0058

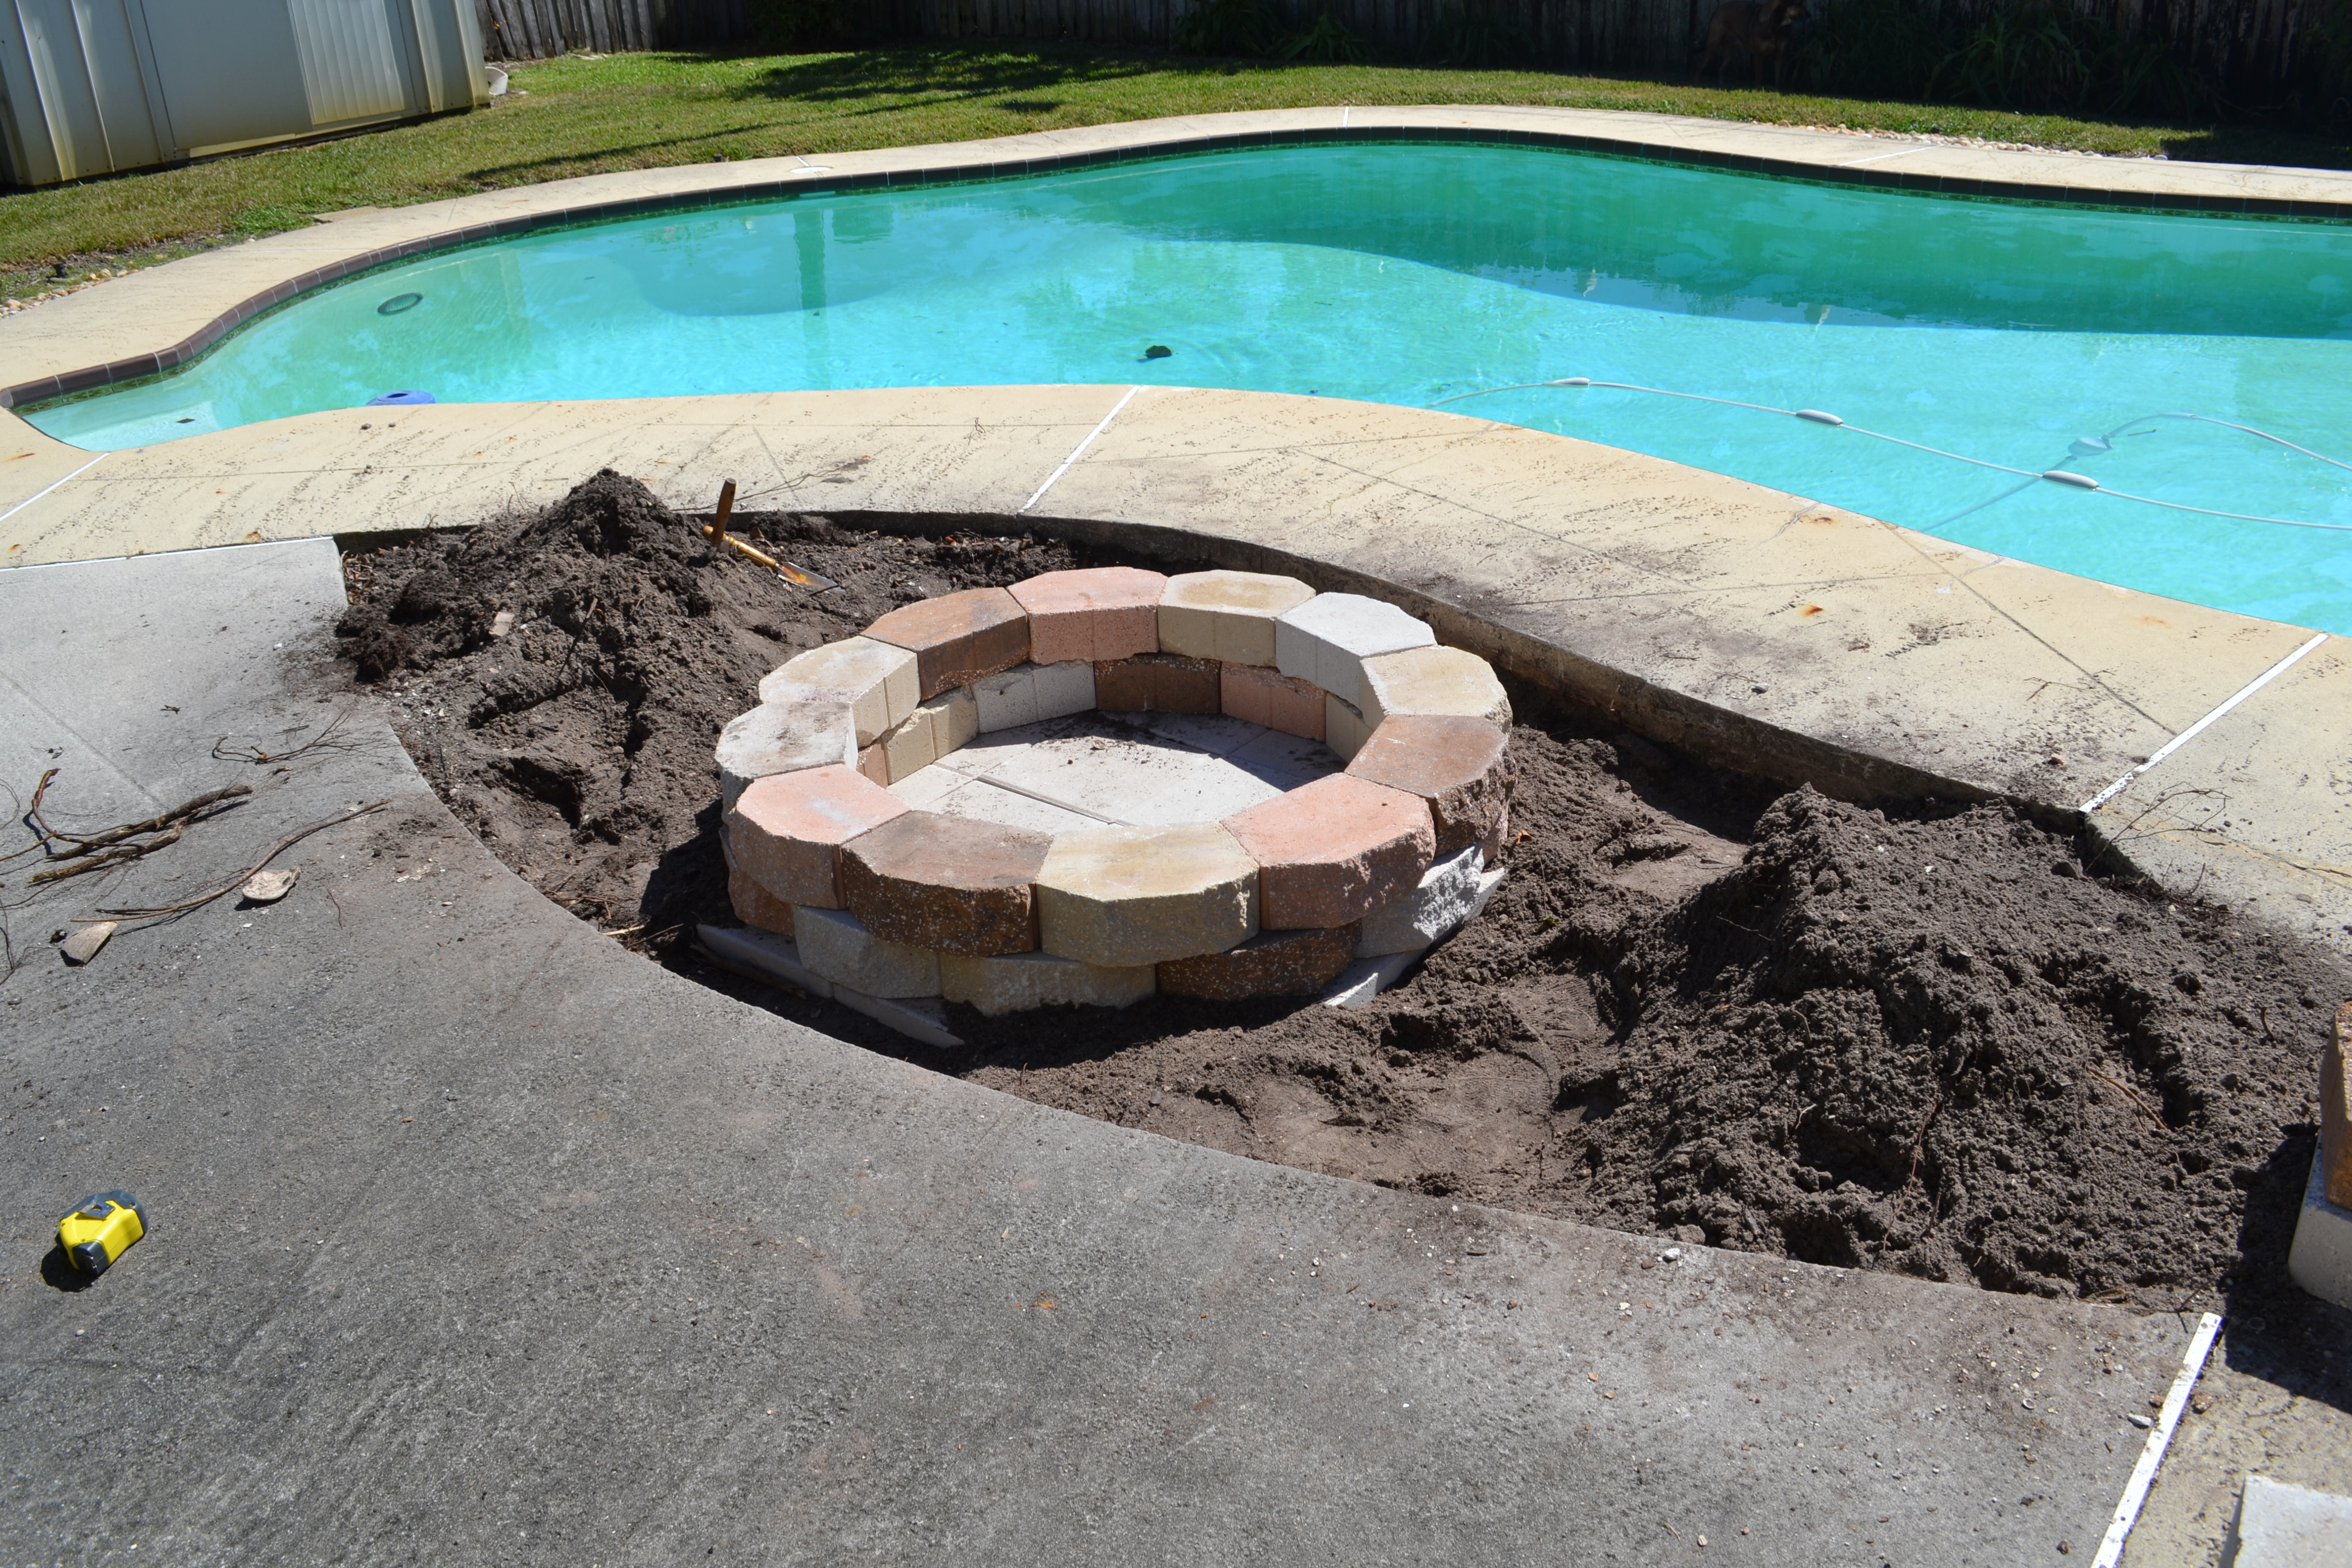
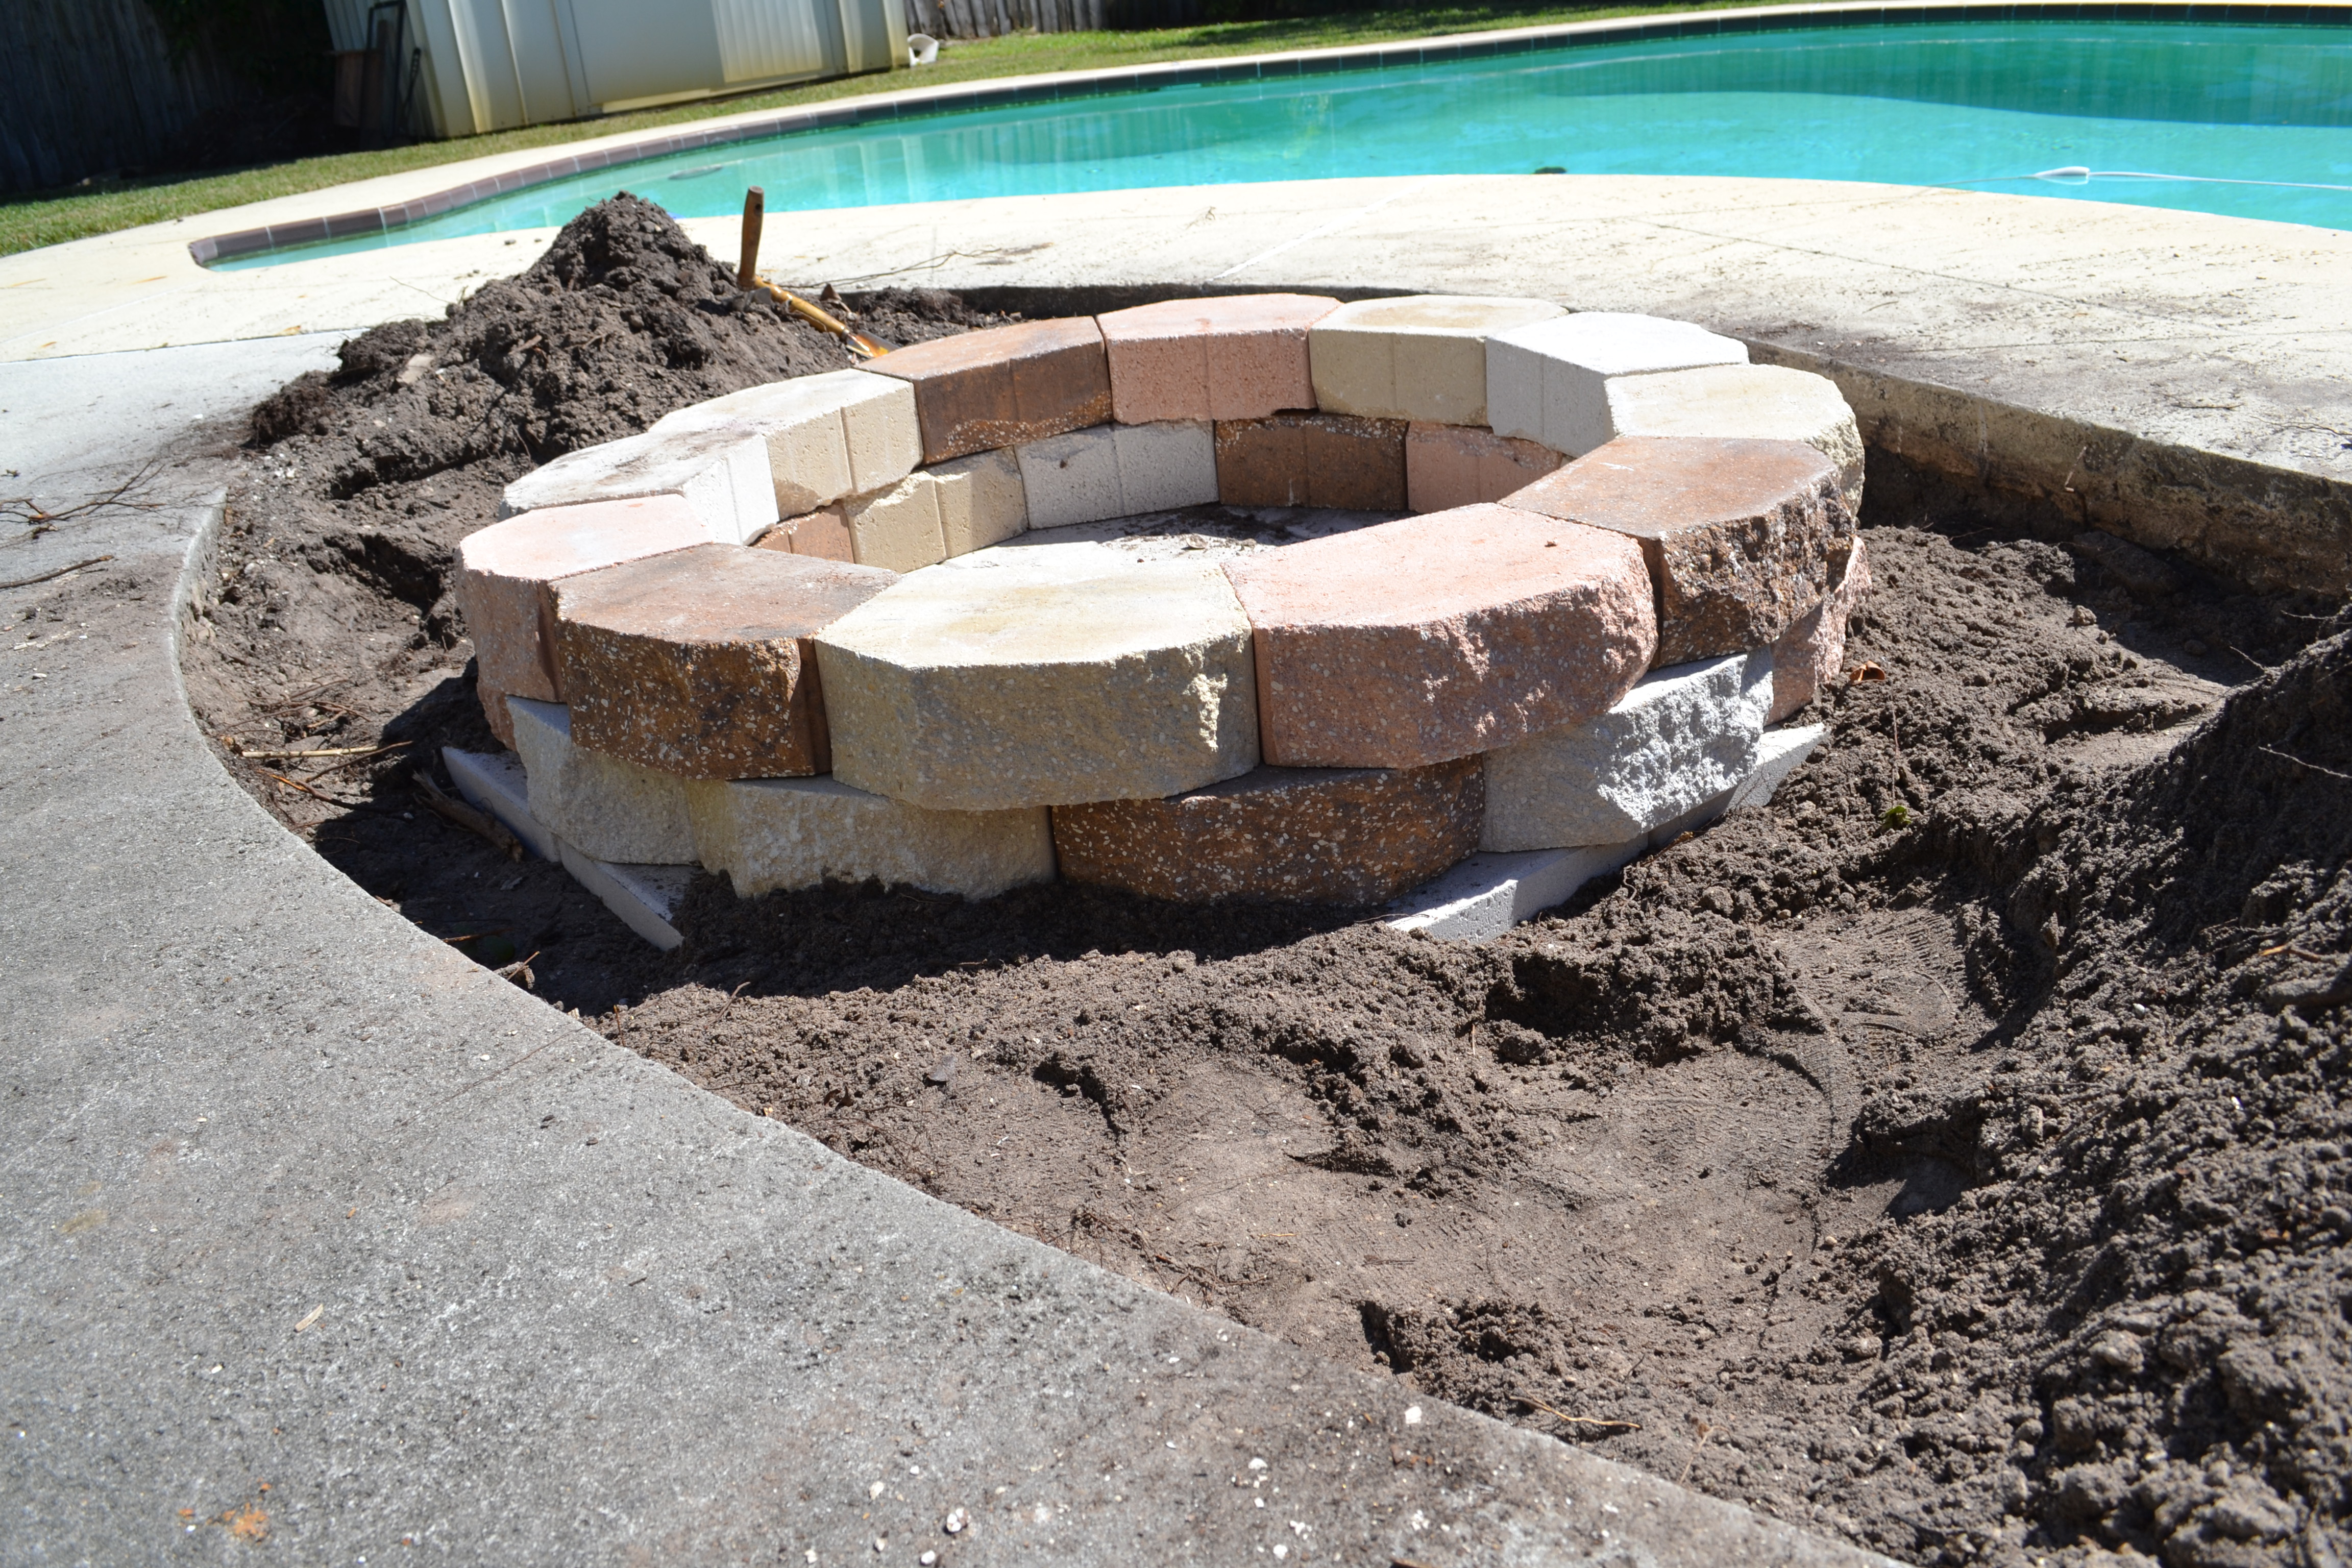
We left a few inches of dirt on top of the pipe, put the pavers down, which helped making leveling easier, as well as providing a barrier, and then built the fire pit on top of it. It is important to note that this was the FOURTH time we laid out the stones, and these suckers are heavy. We placed them once before discovering the pipe, once off to the side in a strange shape, and twice in the location you see now. It was exhausting, but we are loving the fire pit just in time for the weather to get chilly (60ish degrees at night = chilly for a Floridian).

With the addition of rocks around the pit, as well as in it for a little extra distance between the fire and the pipe, we called it a day. Well, a night.

DSC_0061

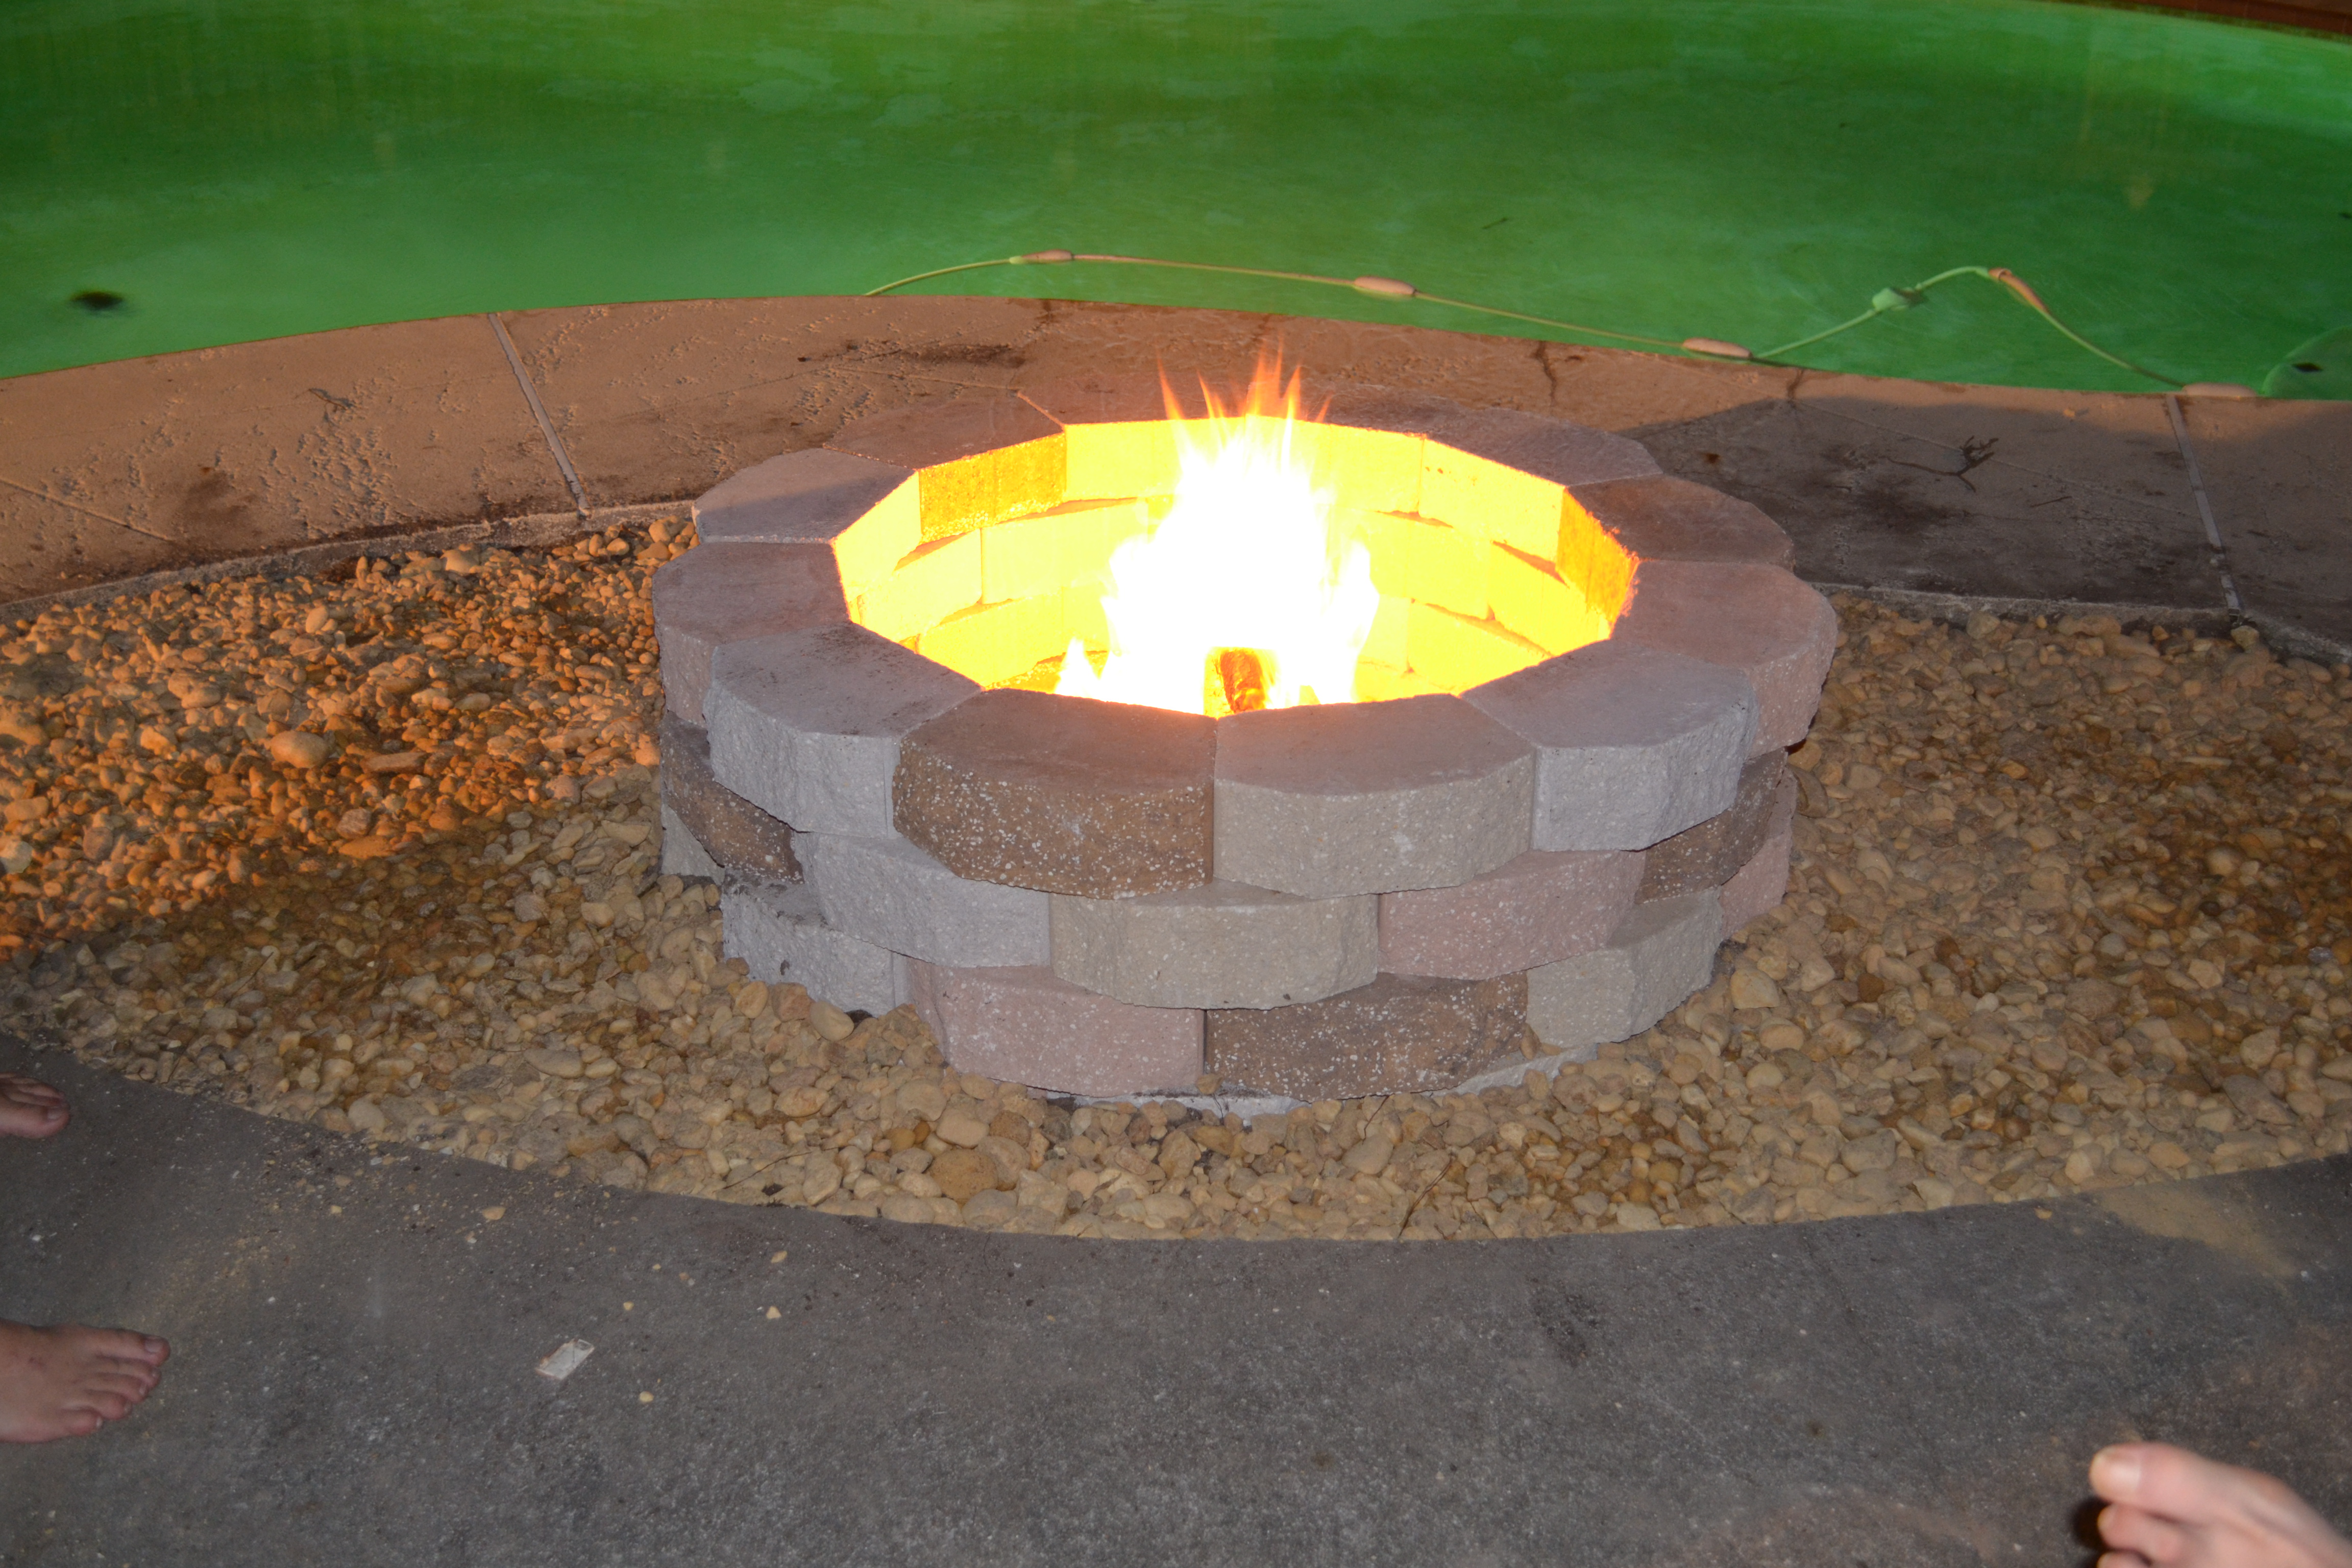
I have no idea whose toe that is.

House Tweaking

Not to be confused with house twerking.Cat Twerk

The first thing we always do when moving into a “new” old house is to change the toilet seats. I am a germaphobe, and no amount of bleach or scrubbing makes a stranger’s toilet seat inviting. Seriously, I hovered to pee (at home!) until this task was complete. The first of such restroom breaks resulted in (TMI yet? Keep going. I dare you) a leaking of water from the base of the toilet. Yay for “new” old house surprises! The blue culprit (not just sad, also ugly):

Master Bath 2

Hey, blue turtle … “taking a leak” … you’re doin’ it wrong:

Master Bath 2

So we decided to just replace this whole turtle. First step is to turn off the water, disconnect the hose from the tank, unscrew the bolts in the base, then

Master Bath 2Party people, I beg you, do not skip this step. Empty the disgusting water into the tub. Then scrub the tub. Then burn the towel. Then take a few showers. NO BATHS.

Installing the new turtle is fairly simple, and instructions are always included. A new extra thick wax ring makes all the difference. Check out our fancy new commode that is not so blue it cries out the bottom:

Master Bath 2

A trick I learned from a good friend is to use pennies to level an off-kilter potty by just sliding them in where needed. We still need to caulk the gap with the floor, but I actually don’t think we will since this whole bathroom is getting gutted. One less thing to rip out.

There are two other turtles in this house that got a less royal, but much needed treatment of simply swapping out a new seat. It is the easiest and cheapest short-term fix you can make.

We also removed the carpet in one of the bedrooms. The reality is that the carpet in the entire house is absolutely disgusting, but for now it is better than cement floors, and once we replace the roof we can remove the offending walls to reconfigure the layout and install new hardwood or engineered floors. Until then, I will have nightmares about the nasty carpet strangling me while I’m doing sit-ups (neither of which will happen).

DSC_0024 DSC_0026 DSC_0028

The final tweak to the house was, sadly, removal of our indoor carbon dioxide to oxygen converter … yes, the tree. THE tree, as our neighbors say. We would have loved to save it and transplant it somewhere, but it just was not possible.

INdoor Tree

It took some branch cutters and the sawsall, and it was a pretty easy job just taking it down and removing the fake (yes, fake) flowers. We still have to remove the (very real) dirt and mulch, dig the roots out, and cement in the hole in our slab.

DSC_0013

DSC_0015

DSC_0016

Bye bye, birdie. This picture, I could not resist:

DSC_0014

But The Boy kept going …

DSC_0019

Until we had this pile of dirt left in our living room:

DSC_0021 DSC_0022

It really opens up the living room (if you can look past the drop ceilings) and although I really wanted to decorate the tree for just one Christmas, taking it out was the right call. If it kept growing, the roots could affect the foundation, and that was a chance we weren’t willing to take.

Baby steps.

A Tree Grows in Brooklyn

And by “Brooklyn,” I obviously mean our new living room. Let’s be honest, it was the selling feature for us, along with the orange electric fireplace.

INdoor Tree

Fireplace

Despite my rampant disbelief, this tree is, in fact, very real, very inside our home, and very much growing. Every. Single. Day. The panels above it are actually skylights (covered by plastic panels – why would you do that?!).

The house is almost 2,200 square feet, some of which is a 1980’s era addition on the front of the house, and a porch that was closed in at some point. It has four bedrooms, 2.5 bathrooms, a lot of baby lizards enjoying the luxury of an air-conditioned garden, and a distinct “old person” smell we are having a tough time eliminating. I think removal of the carpet and drapes will help tremendously with this issue, but of course we have grand renovation plans, so we aren’t diving on that just yet.

Kitchen

Guest Bathroom DSC_0010

DSC_0011

DSC_0015 DSC_0016 DSC_0020

The house is in remarkably good shape considering it hasn’t been updated in decades. It was built before air conditioning was a standard feature, and it has a flat roof, so when it was retrofit for A/C there was no attic to hide the ductwork, which explains the drop ceilings (the ceiling tiles) in most of the house.  We want to remedy this by removing the flat roof and putting on a peaked roof, to give us high ceilings and an attic to re-run the ductwork through. As you might imagine, this is a huge undertaking, and needs to be done before we tackle any interior renovations. We are not only dealing with city code requirements, but FEMA restrictions as well.

Since we want to reconfigure the layout a bit (adios, load-bearing walls!) it is also a good opportunity to redistribute the weight of the roof in such a way to allow for this. The Boy was so kind as to draw the layout of the house on Google Sketch Up, and also create a drawing of the proposed future layout. The plan is to take two small bedrooms, a hallway, and a hall bath, and turn it into one large master suite, along with a few other minor tweaks.

This is the current layout:

Before overhead with labels

Before angledand the proposed new layout:

After overhead with labels

After angledOther items on the dream list include: a rooftop deck, moving A/C condenser to roof, solar tubes (skylights), and solar panels. We had two contractors come out last week, so now we are just waiting on bids to come in, as well as figuring out where we will live while the work is done and deciding how much demo we want to do ourselves.

P.S. We played the Florida Lotto this week. We didn’t win. I see a lot of demo in our futures.