
Remember this bathroom?
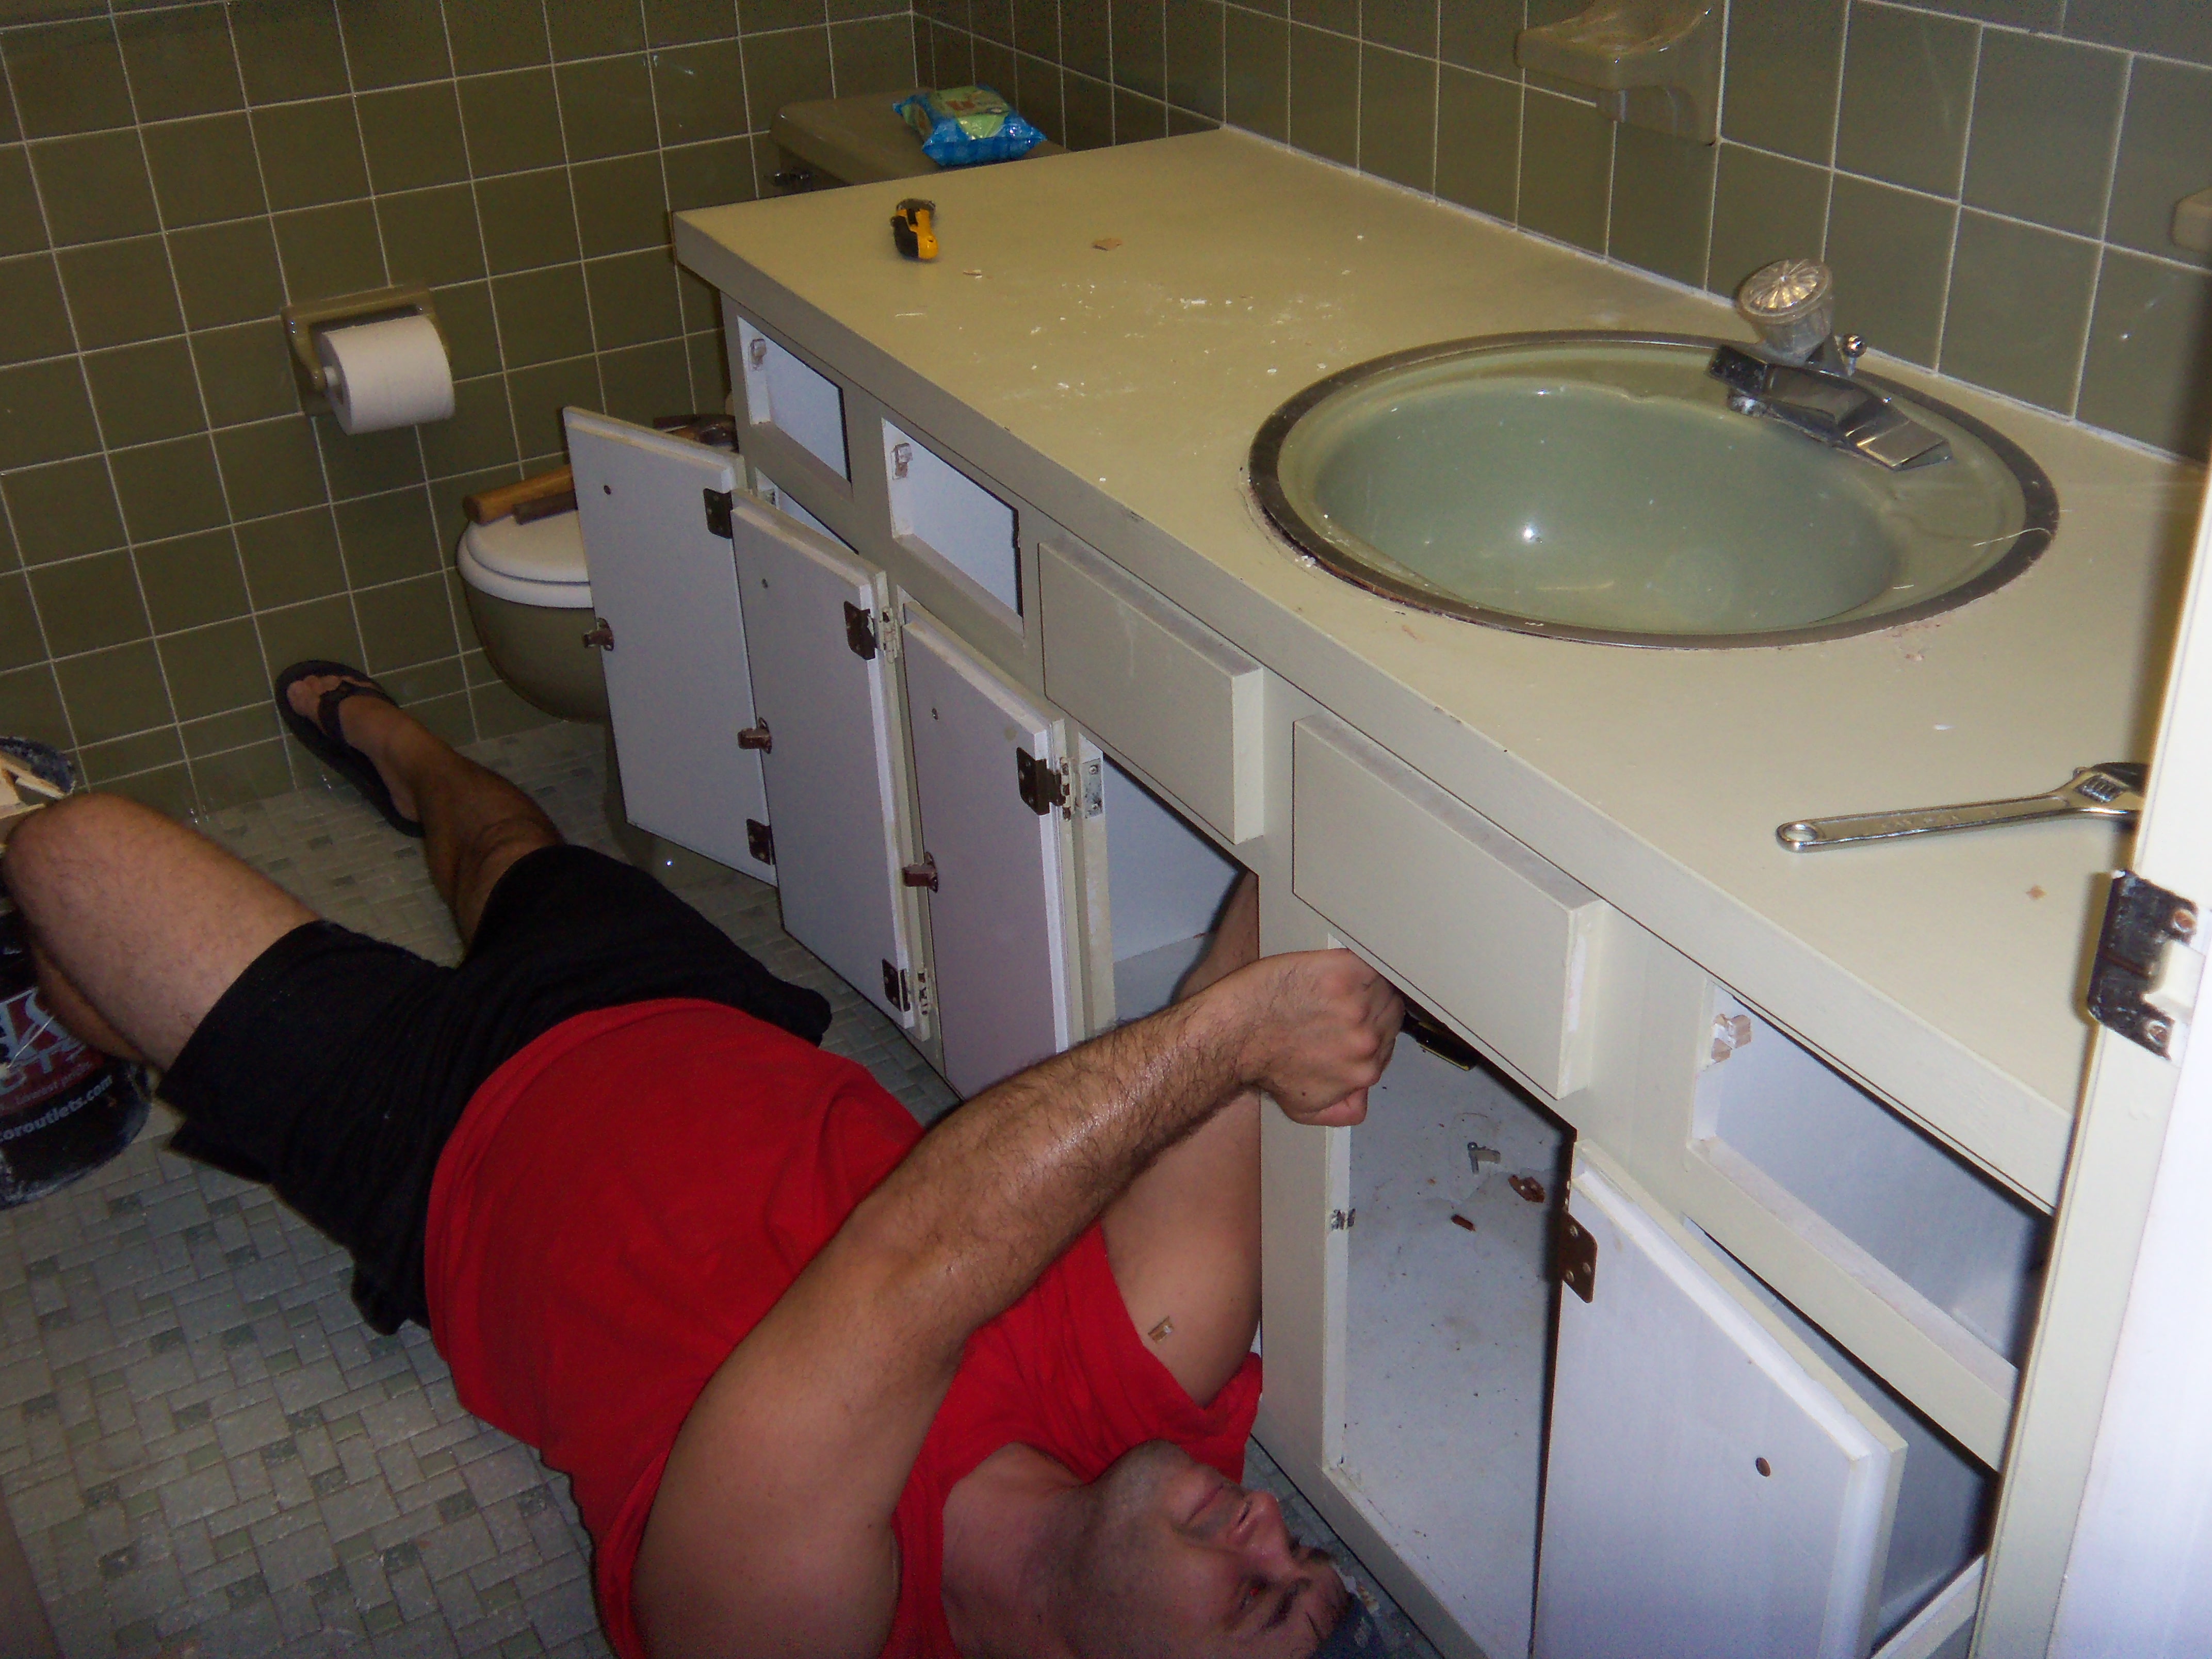
I miss it. Well, not the whole thing, just the green toilet. It worked, and was the second toilet in the house. The good news is that we are soooo close to being a two toilet household again! (Cue the collective cheer – I am sure everyone is so excited for us!)
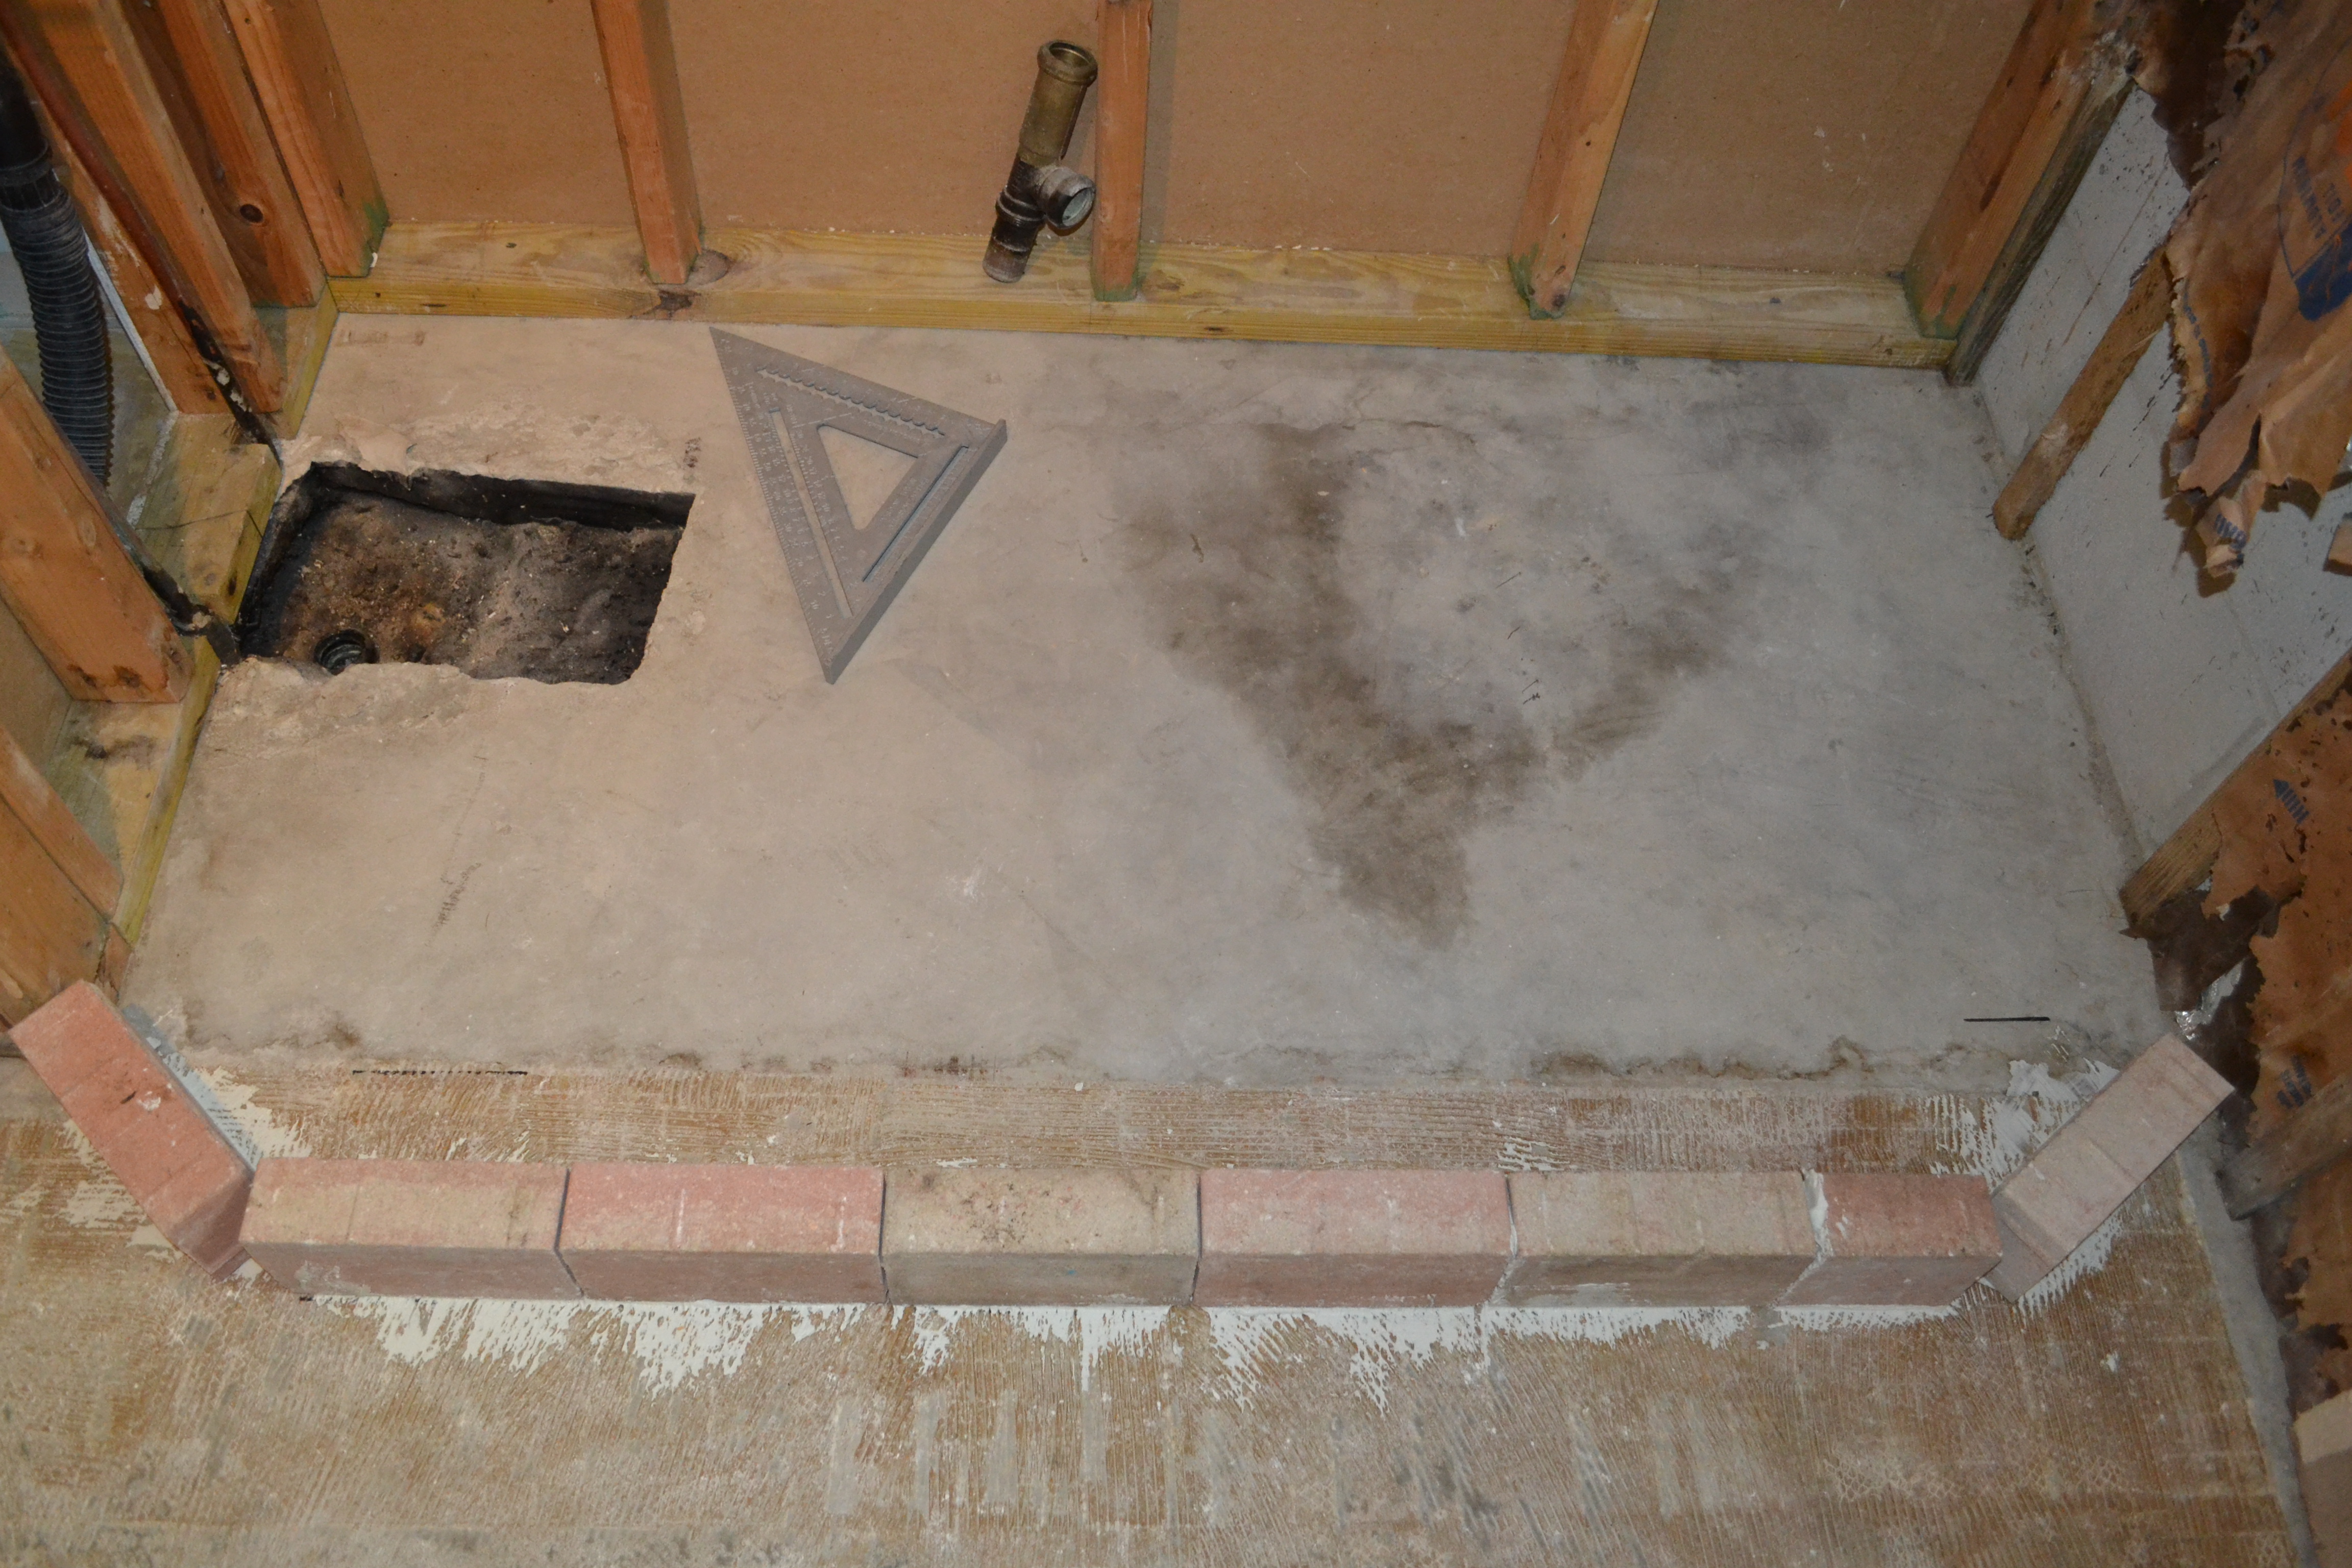
We have made some key purchases and some serious progress. First, we built a curb for our shower, which has a slightly larger footprint than the tub:
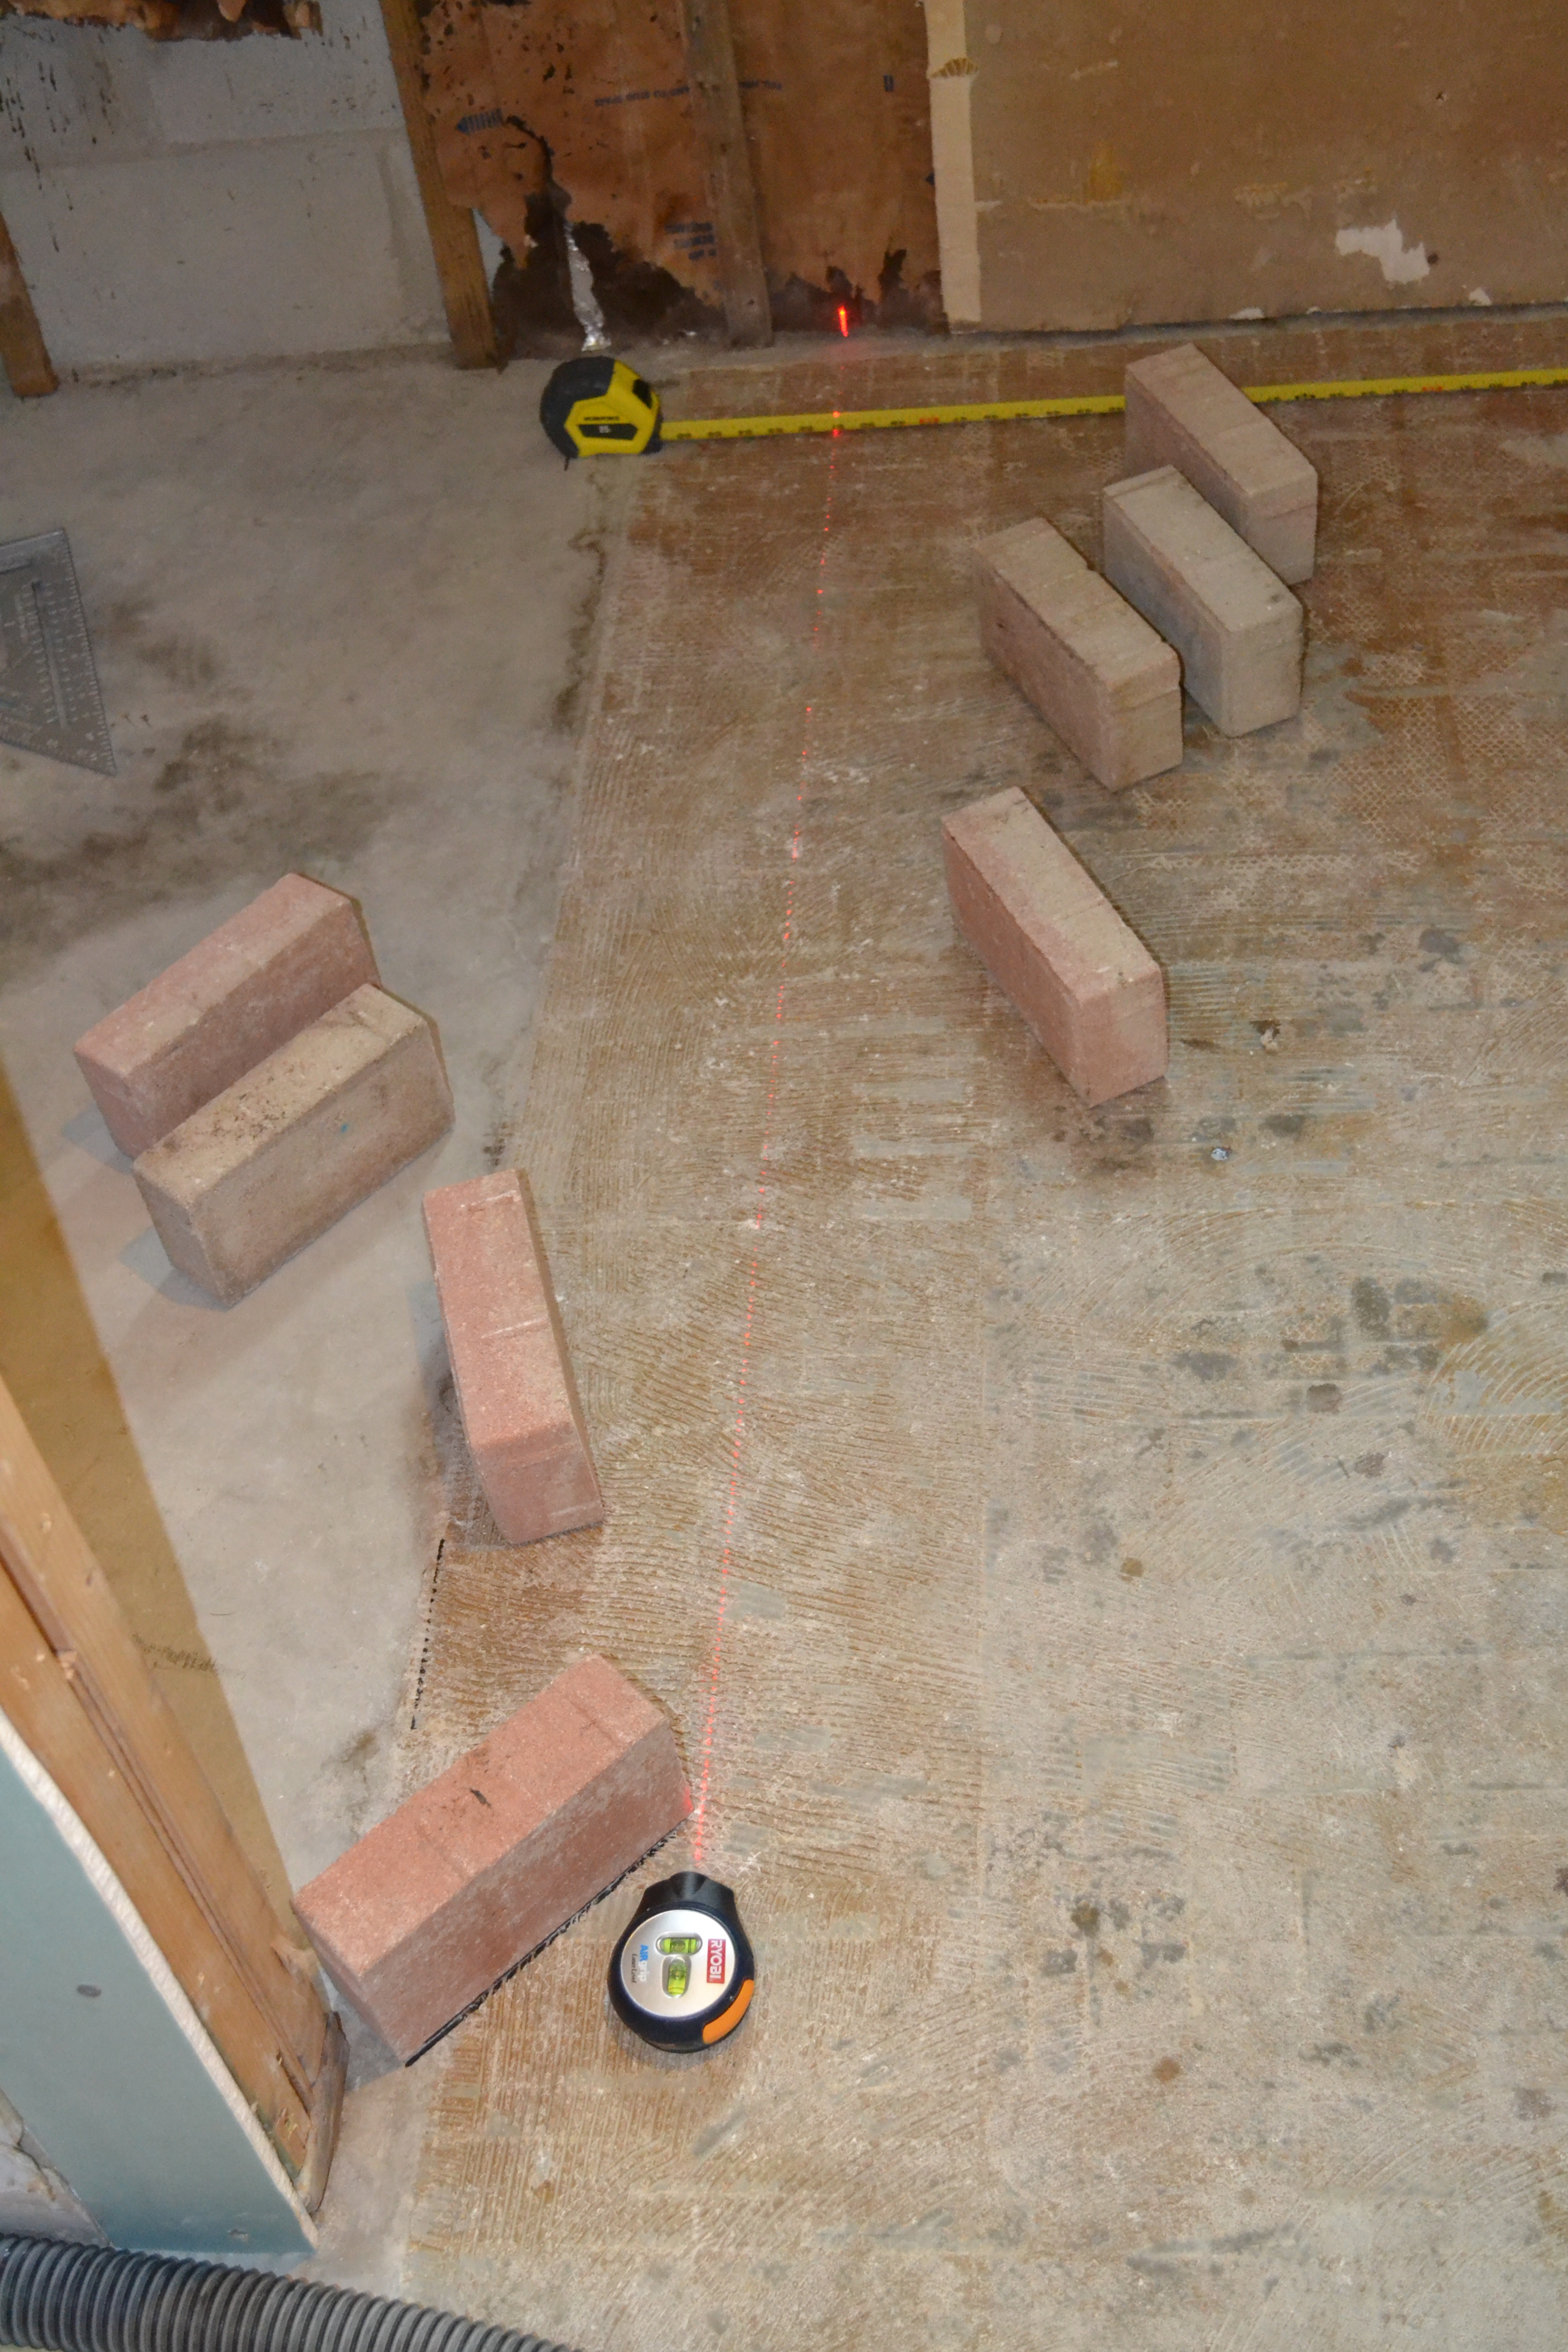
You might be wondering why we used bricks instead of 2×4’s. If you have a plywood subfloor, 2×4’s are just fine and dandy. However, with a cement subfloor, the cement absorbs moisture from the ground below and can cause wooden 2×4’s to swell. Although our subfloor stays pretty dry, we went the safe route and used bricks, which we just happen to have an excess of. We use them to line the bottom of the fence so The Dog doesn’t dig into the neighbors yard to play with their pooch. And yes, that has happened on multiple occasions, thus the bricks and expensive doggy daycare. A girl just needs a friend sometimes, right?
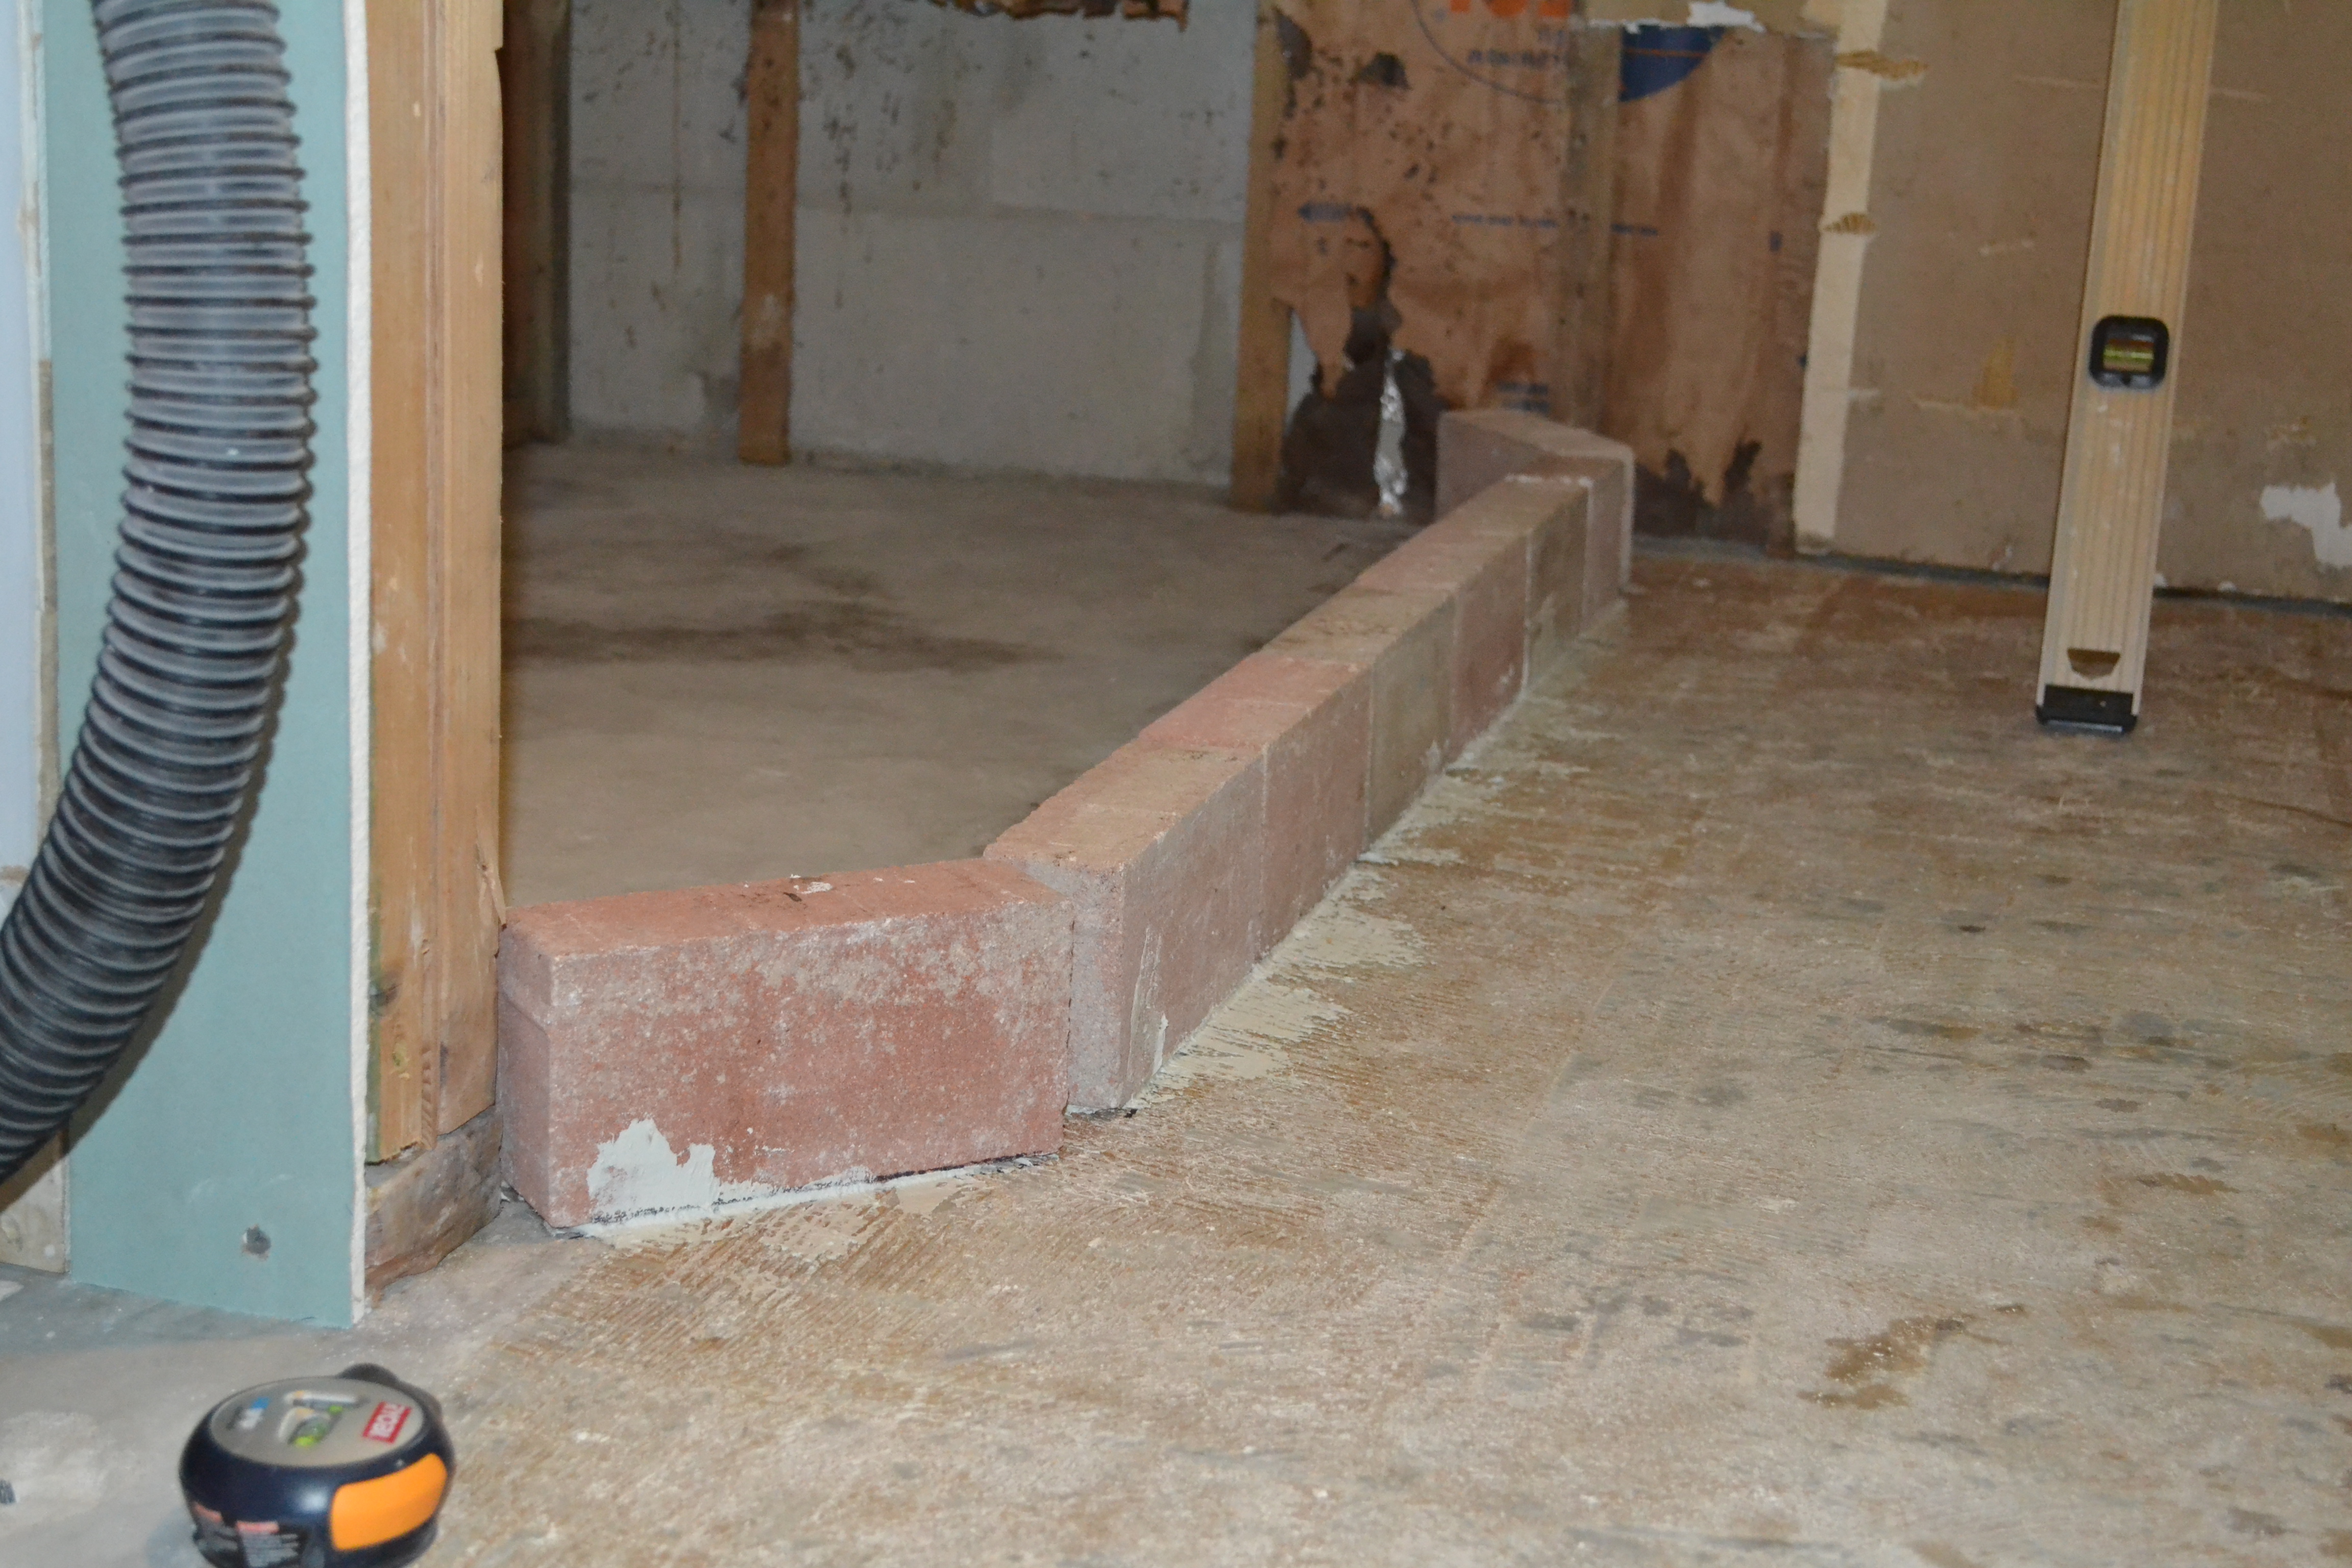
The actual arrangement of the bricks required us to cut one, which we debated how to do. Finally, The Boy tried an old-fashioned method – whacking it.

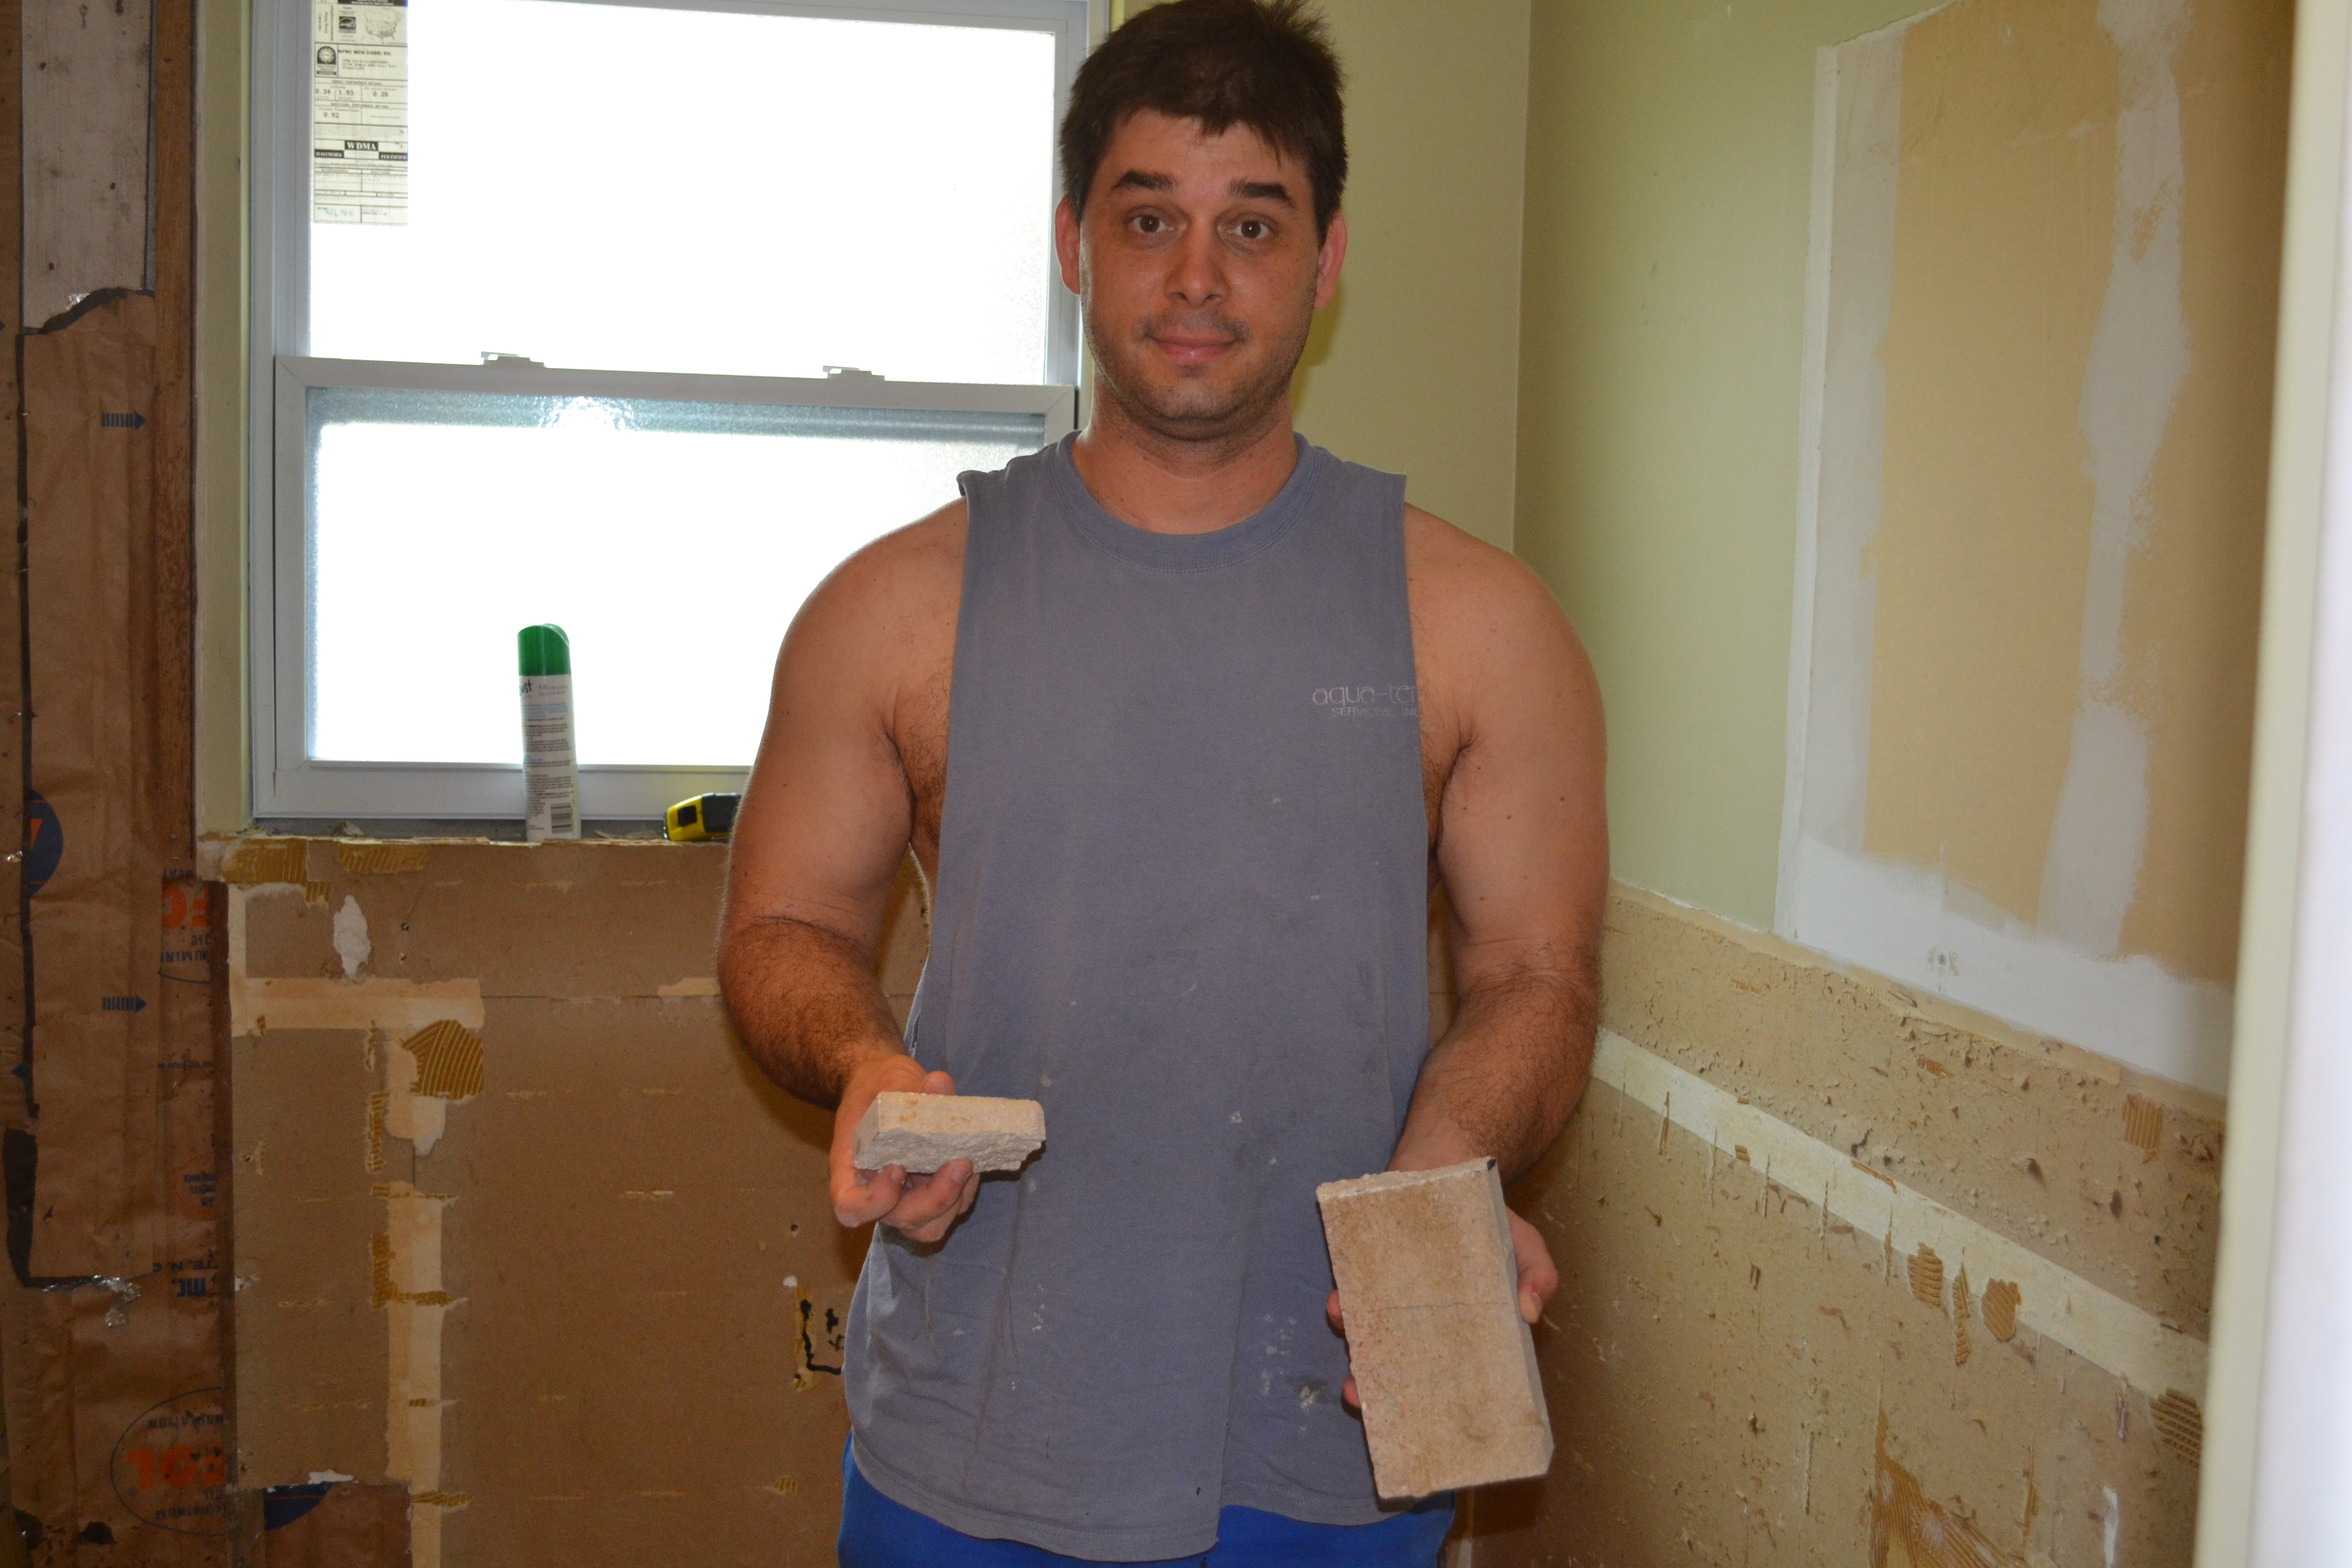
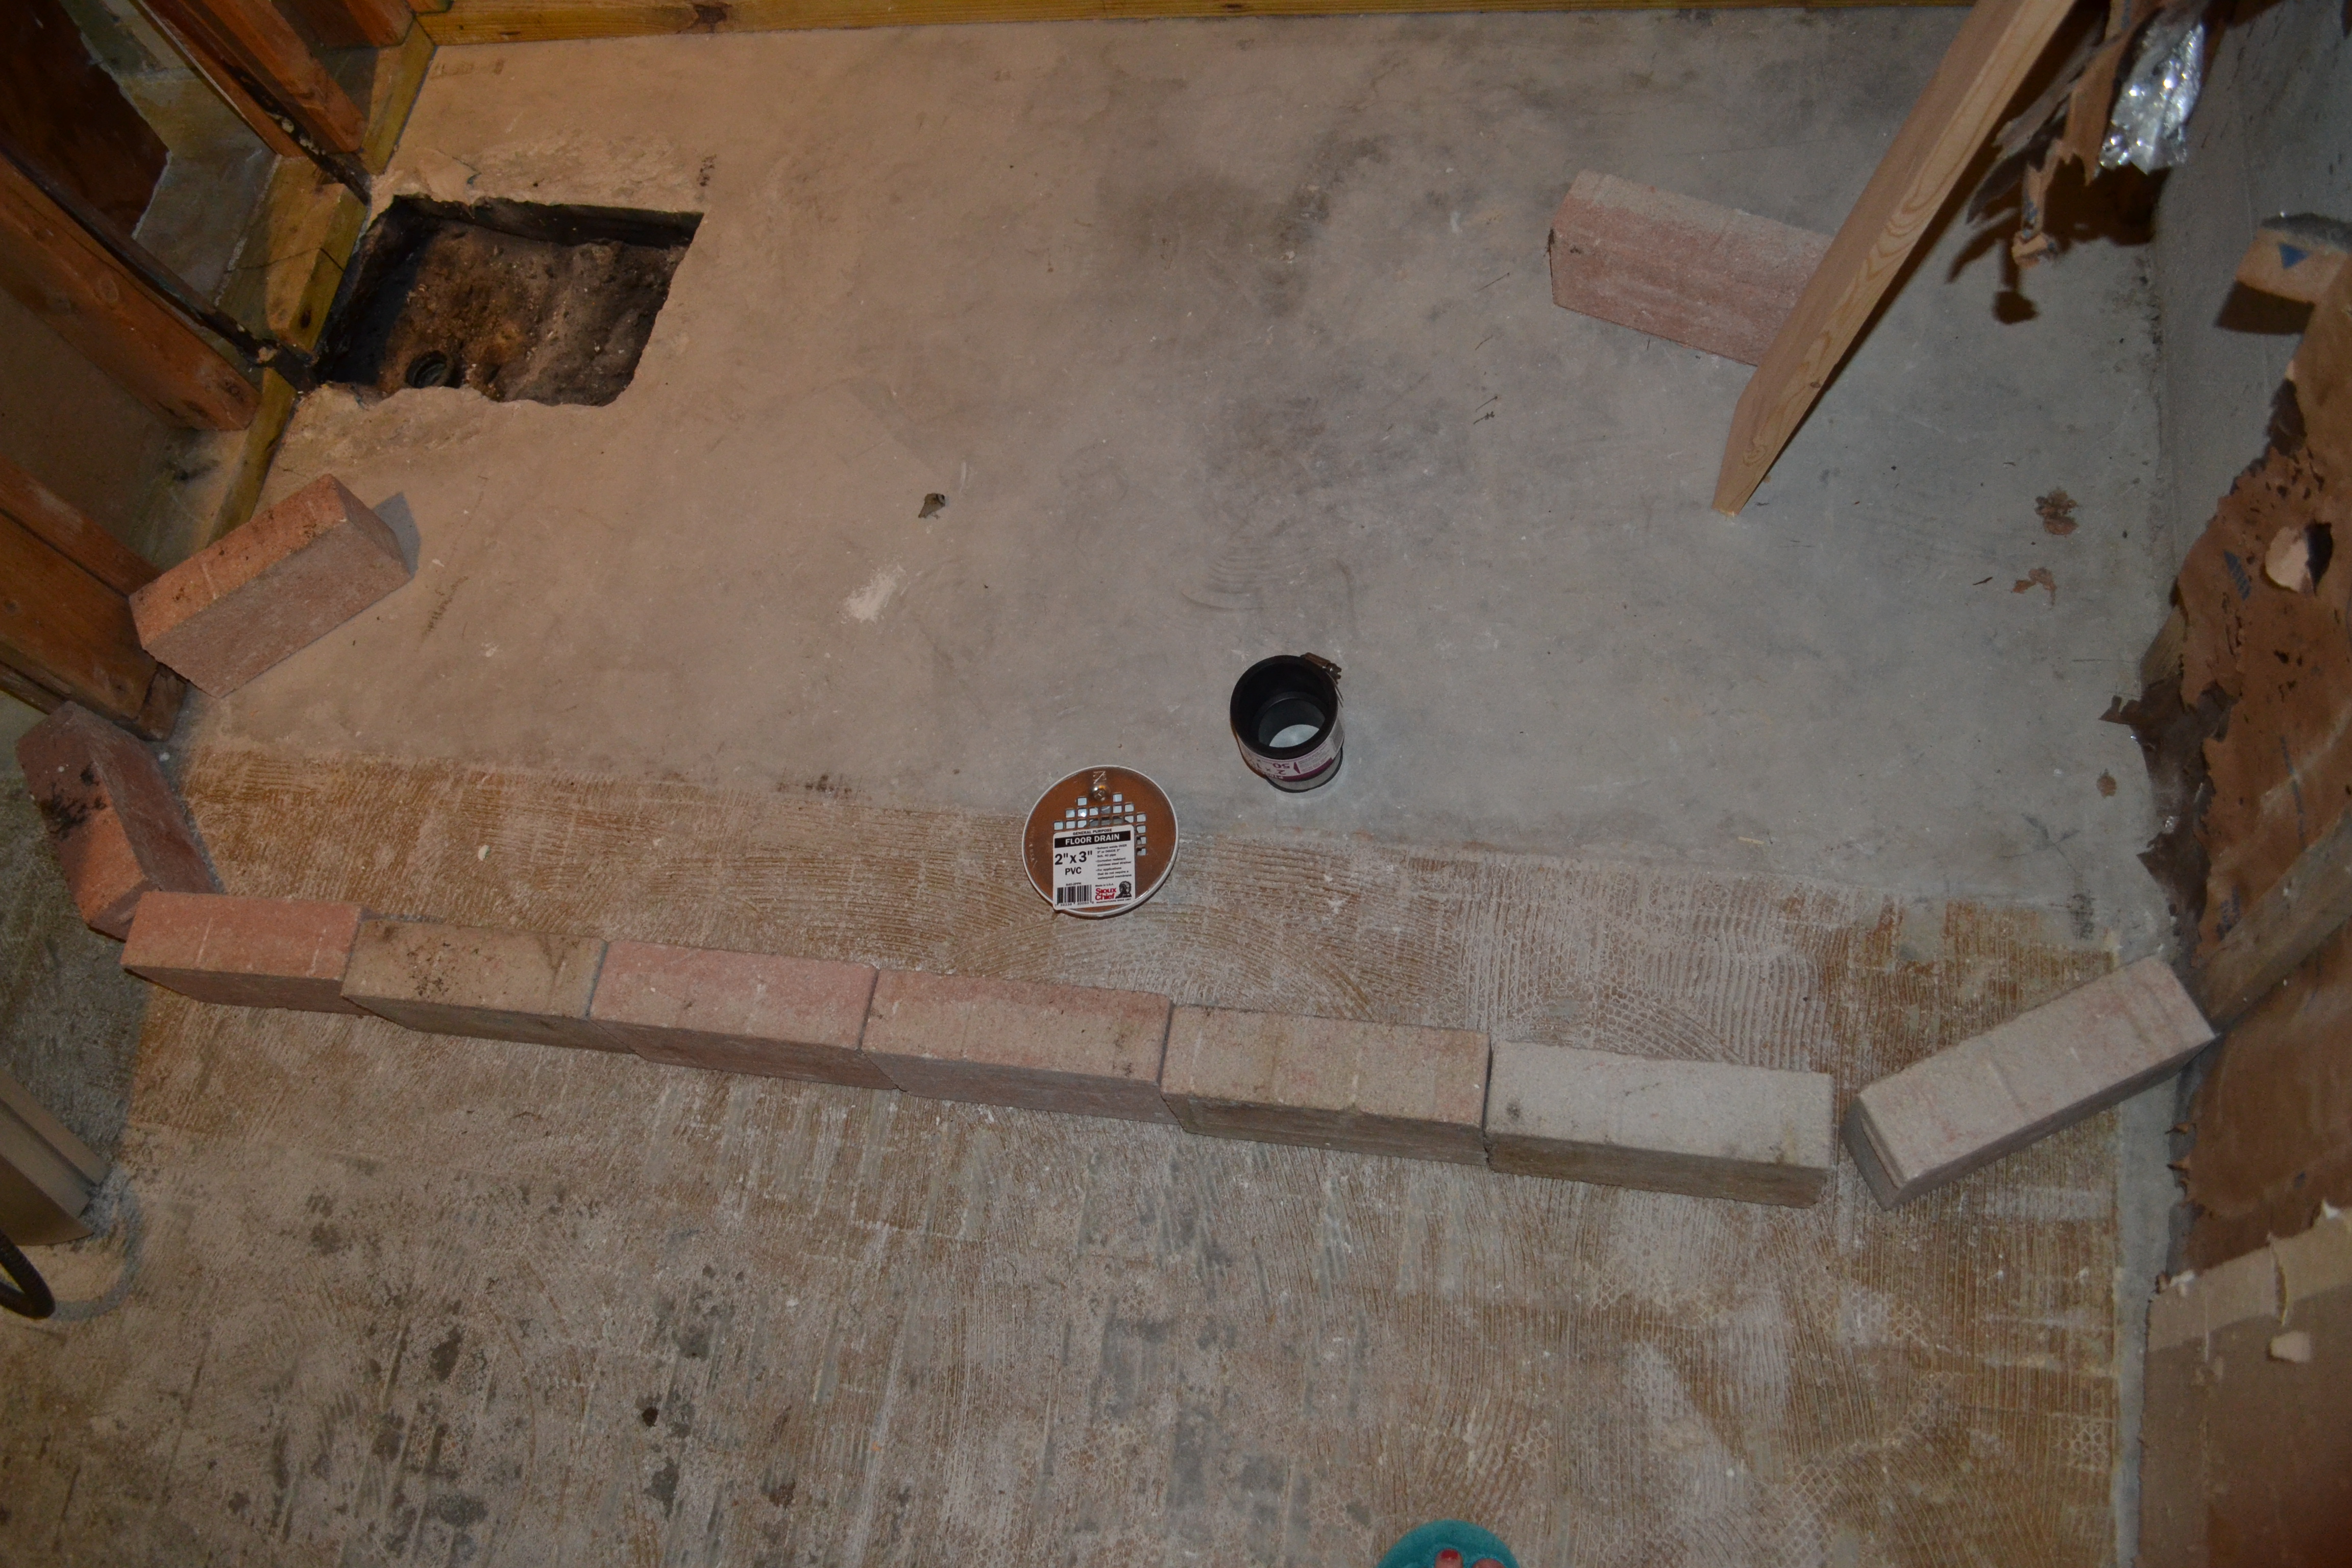
Much to my amazement, it worked (on the second try)! Then we used thinset to secure them in place. The nice thing about these bricks is that they have very subtle ridges, which cause them to have a very slight slope towards the shower, and will prevent water from pooling.
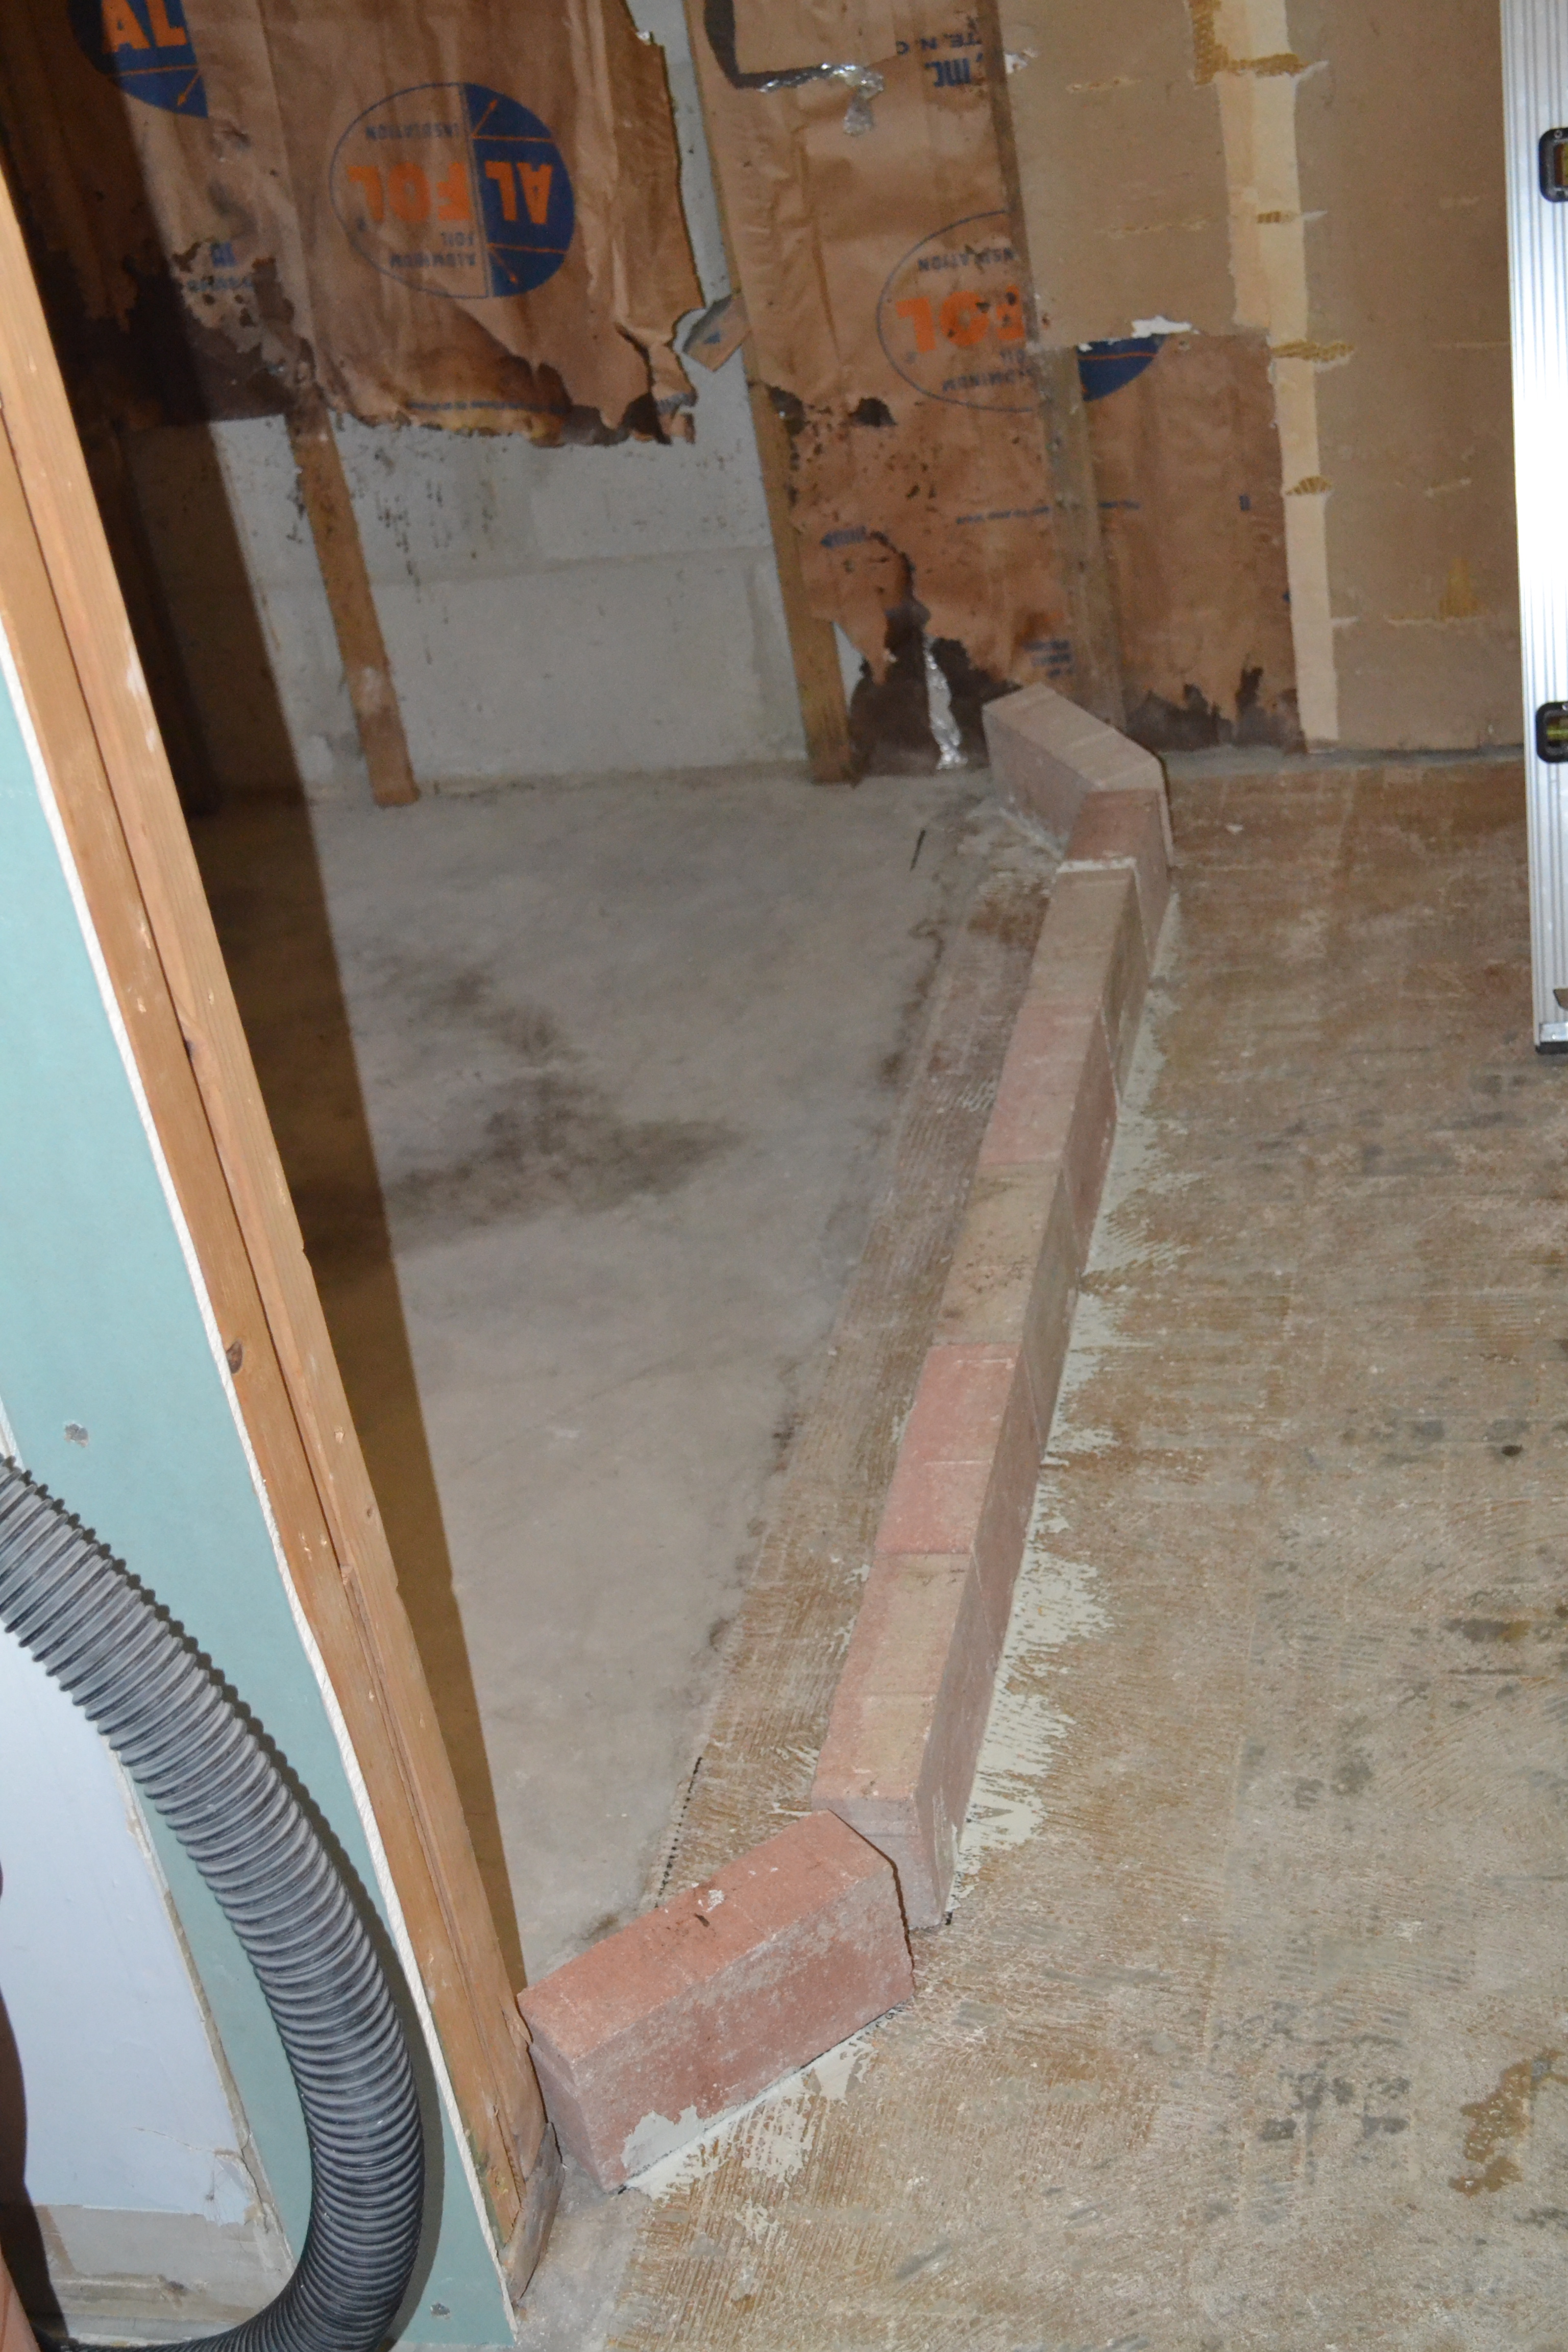
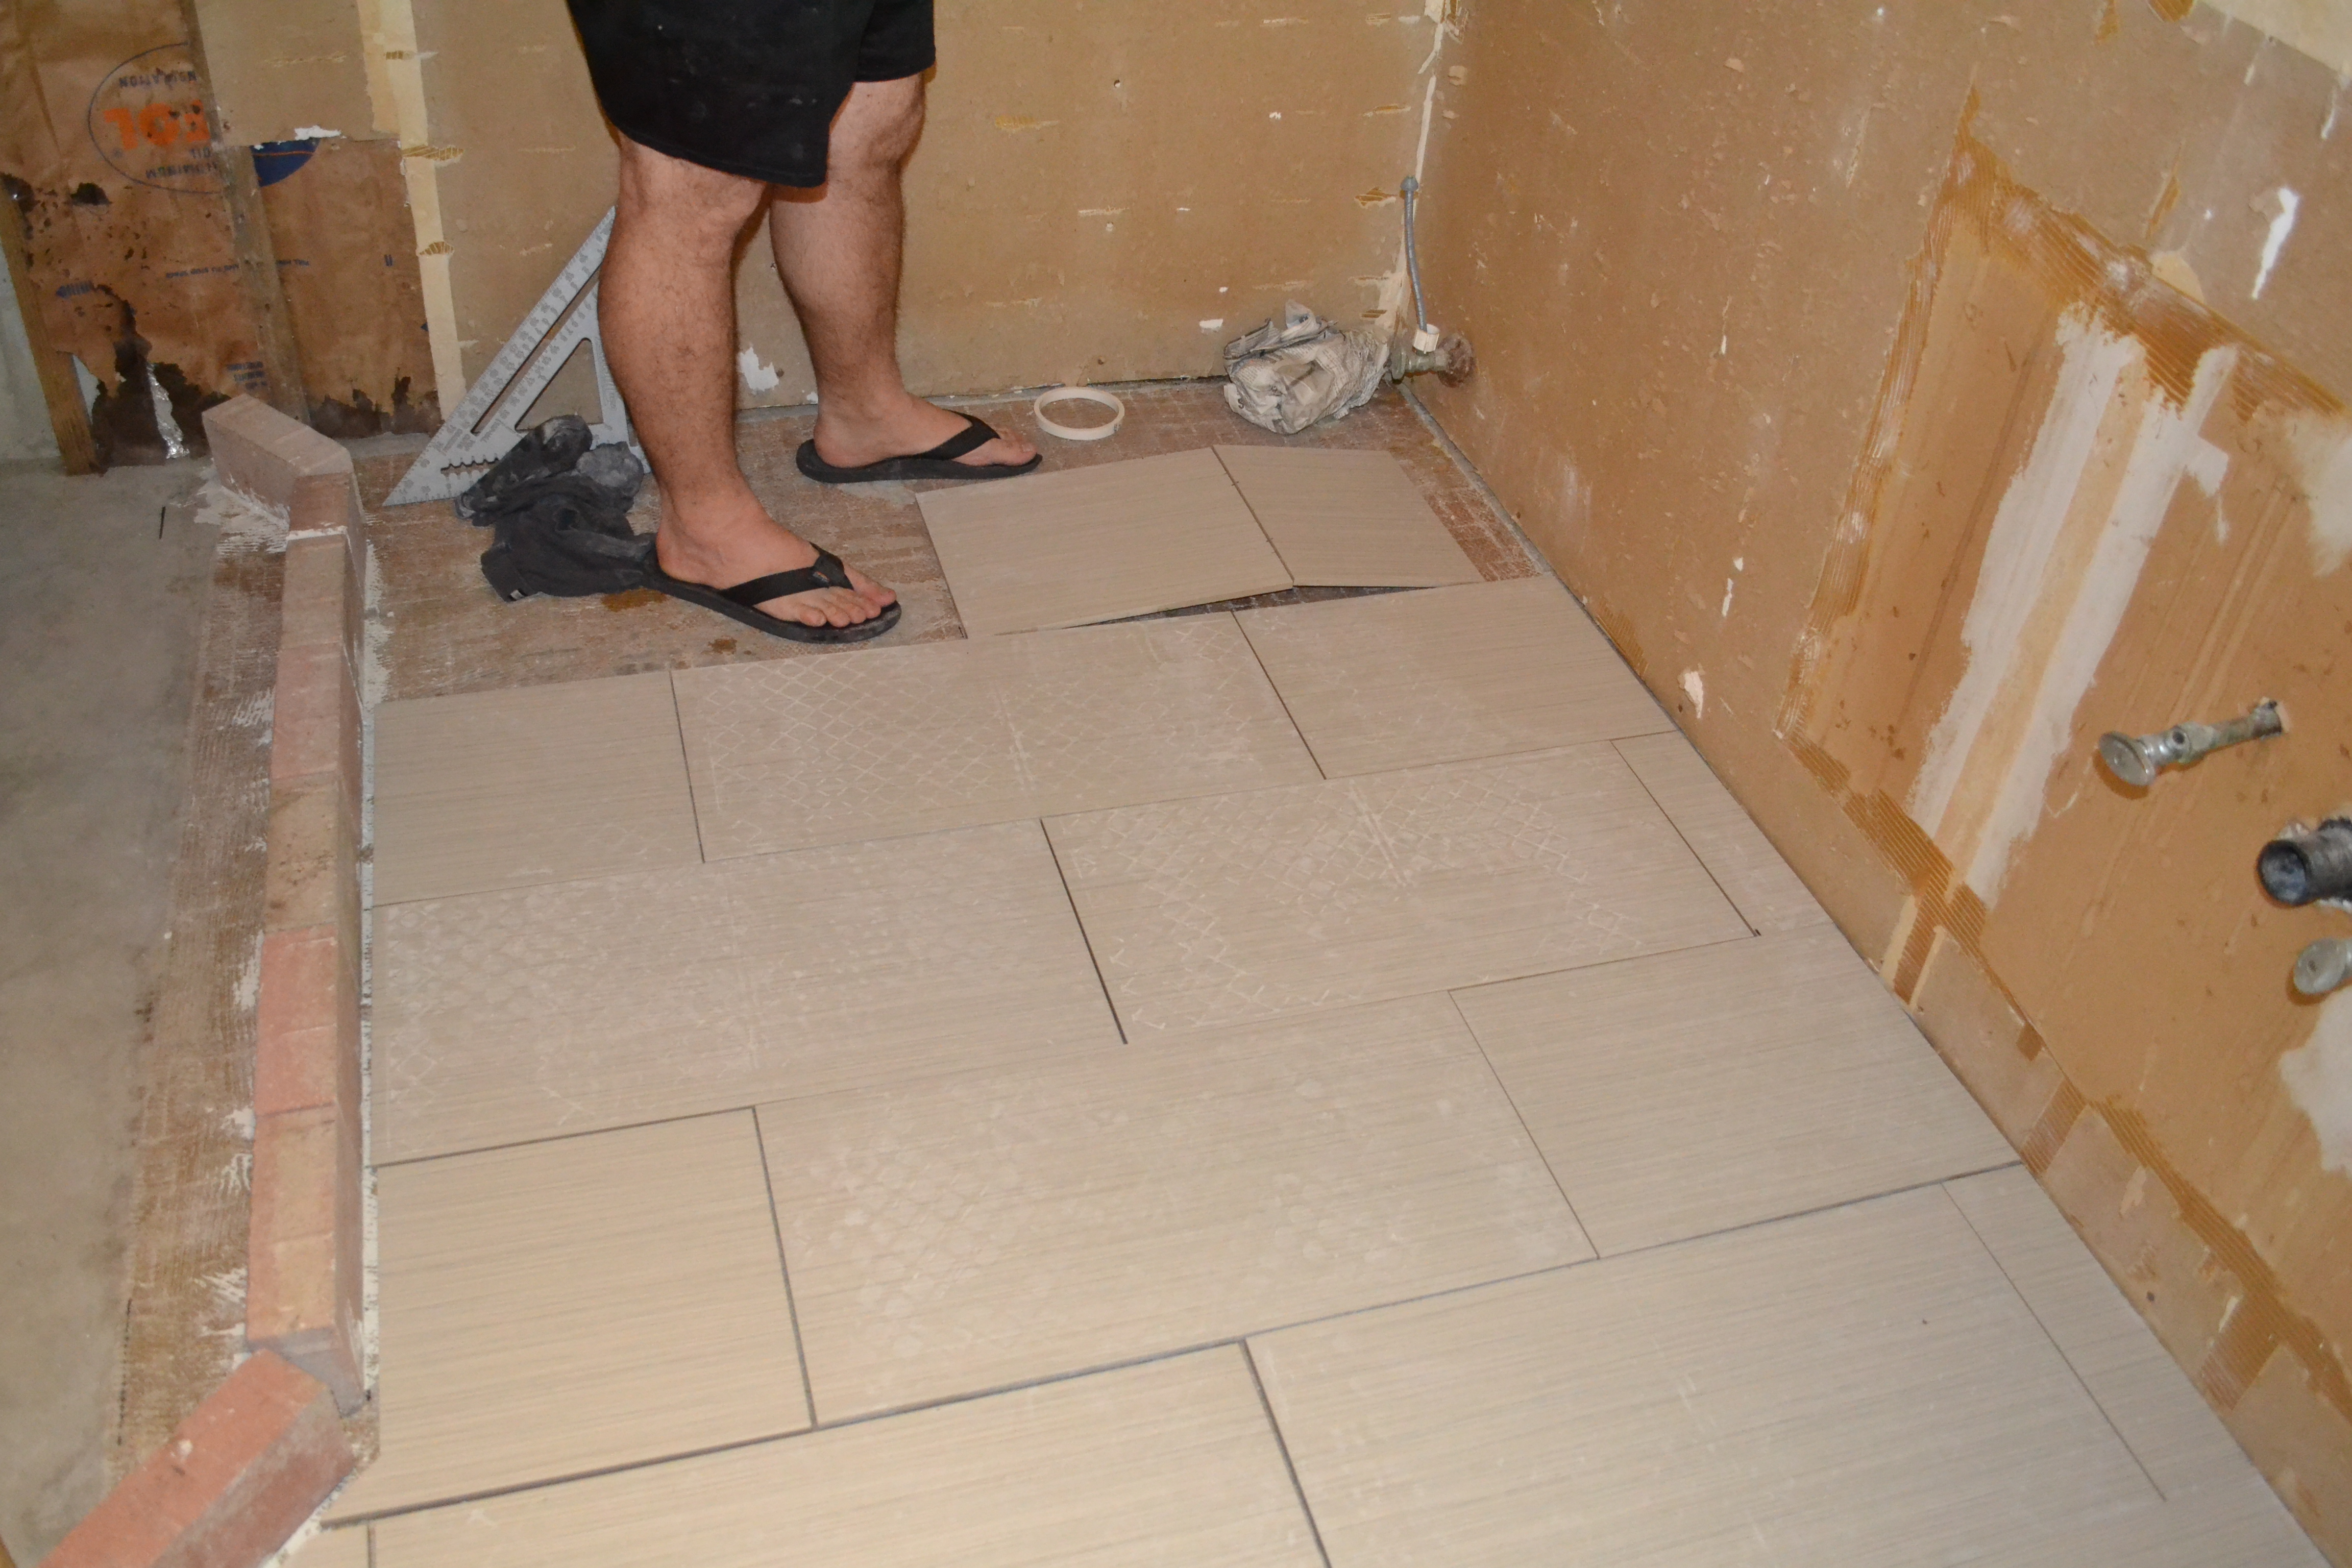
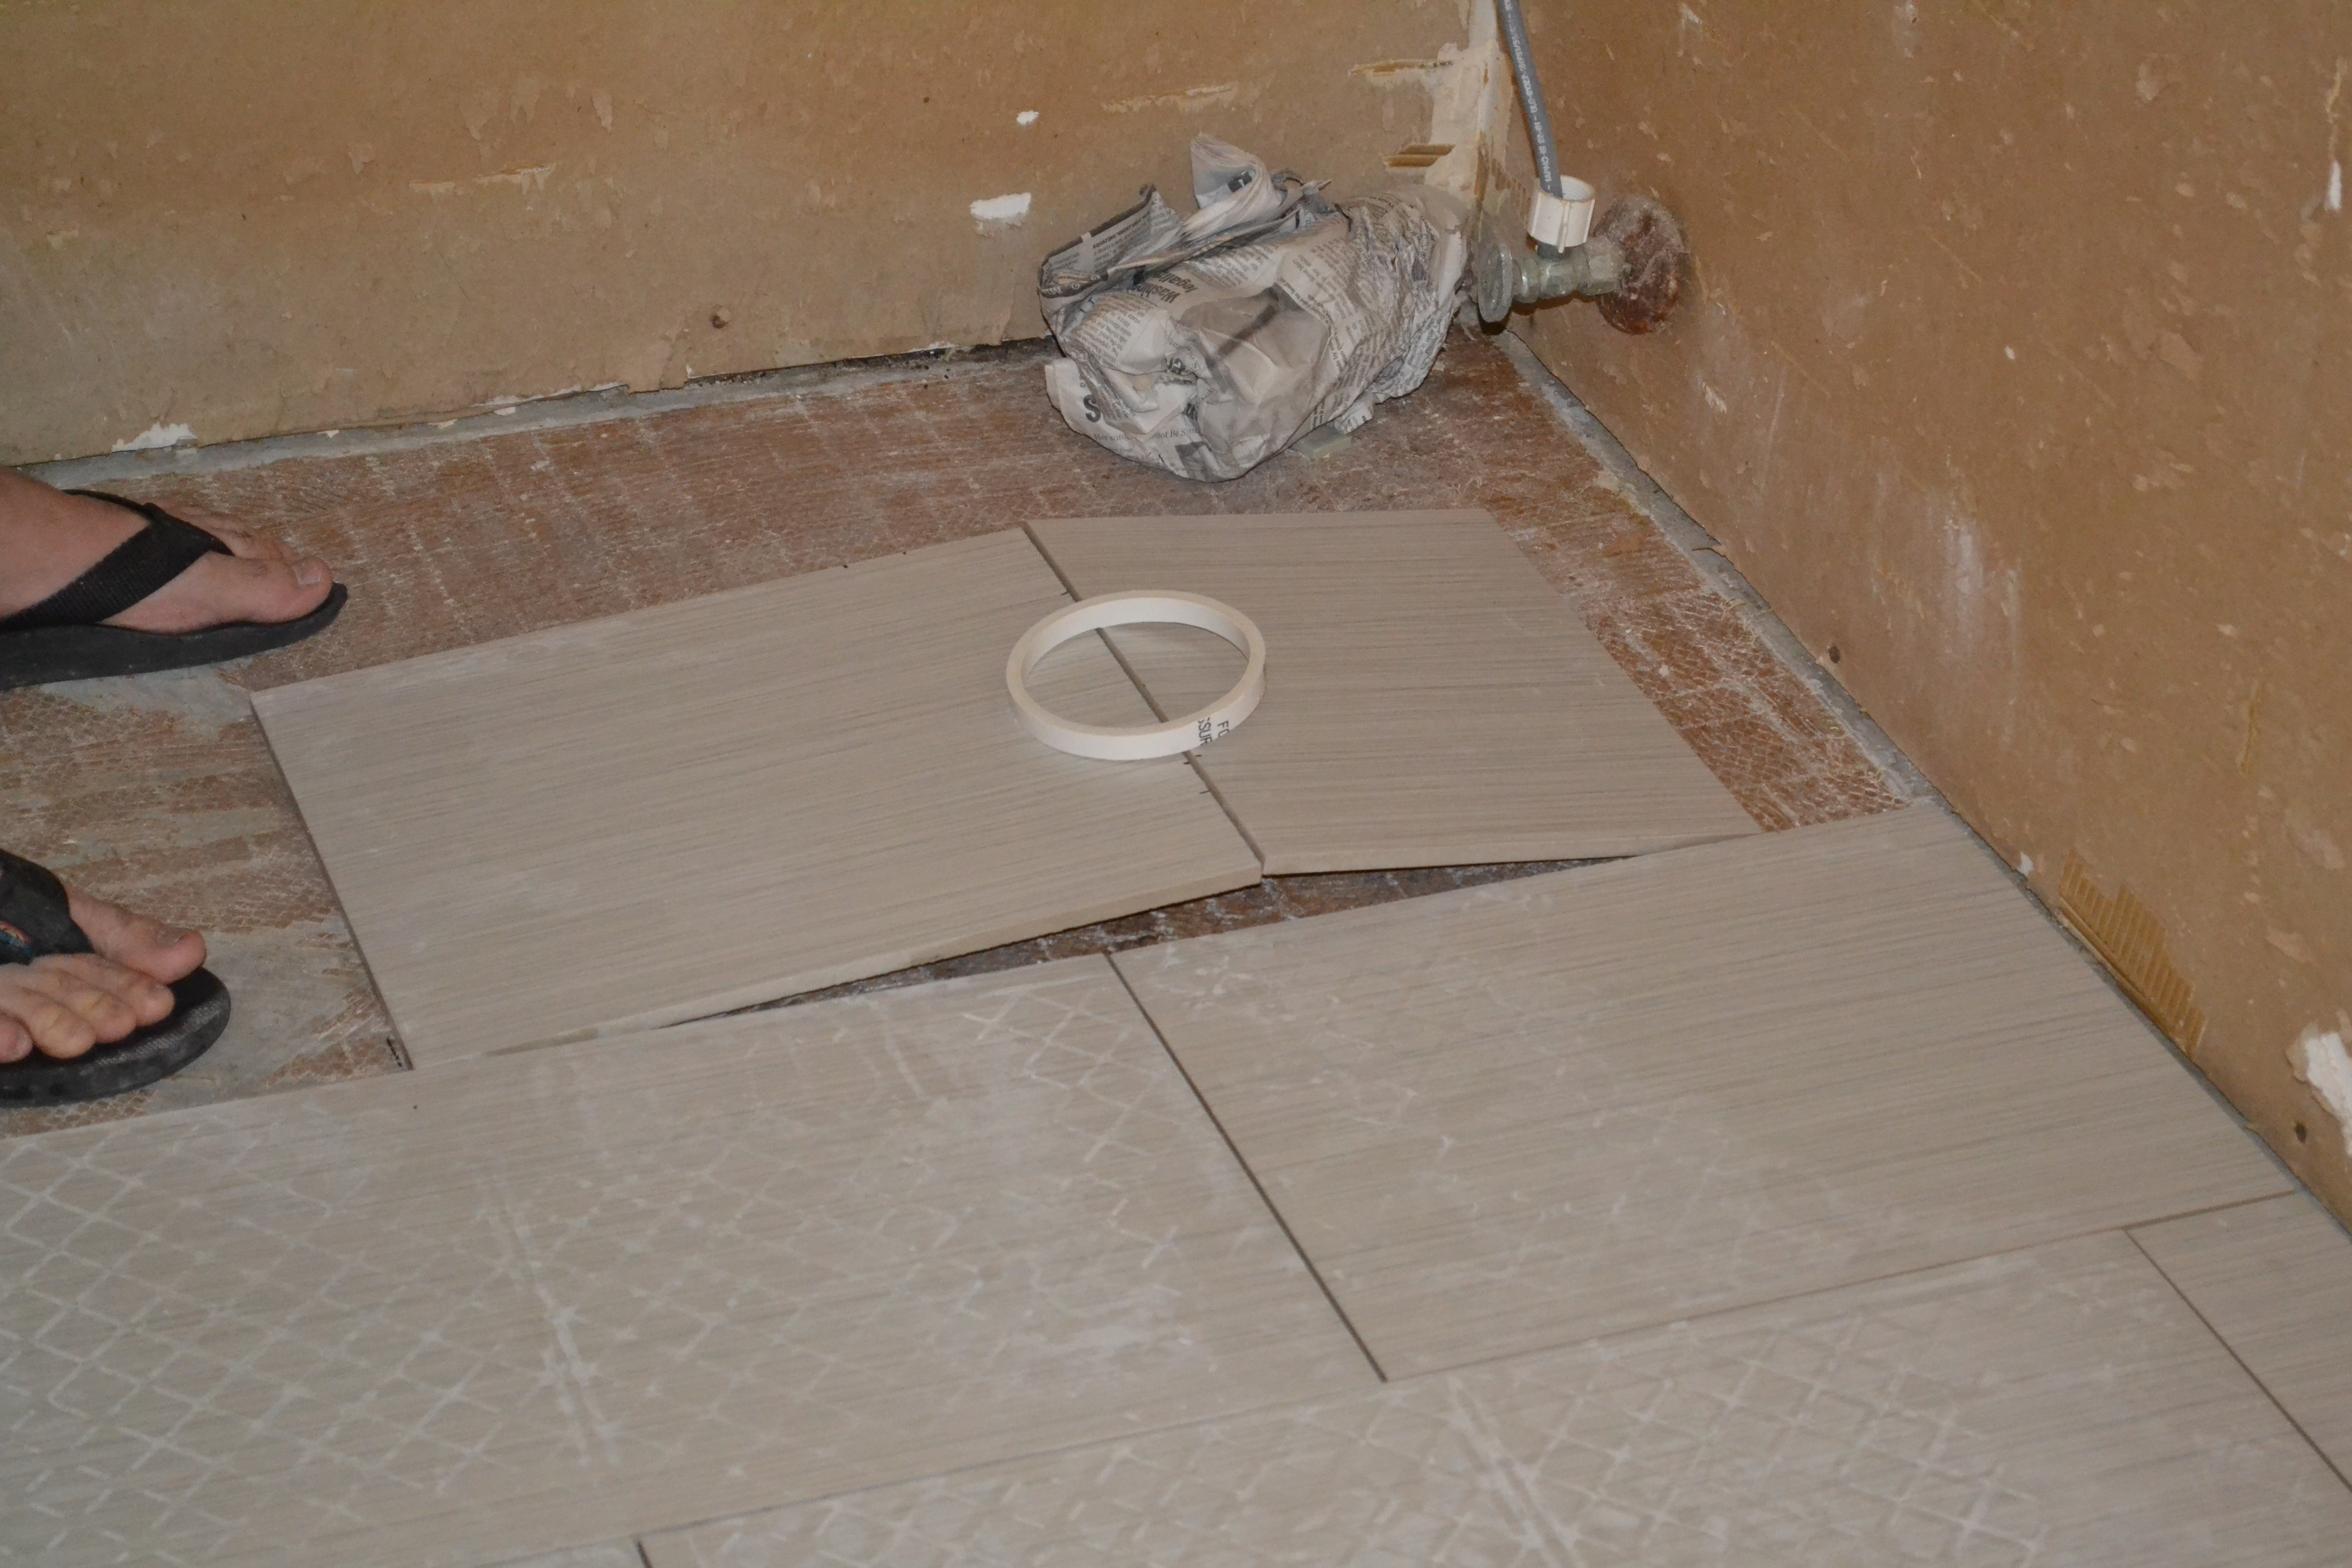
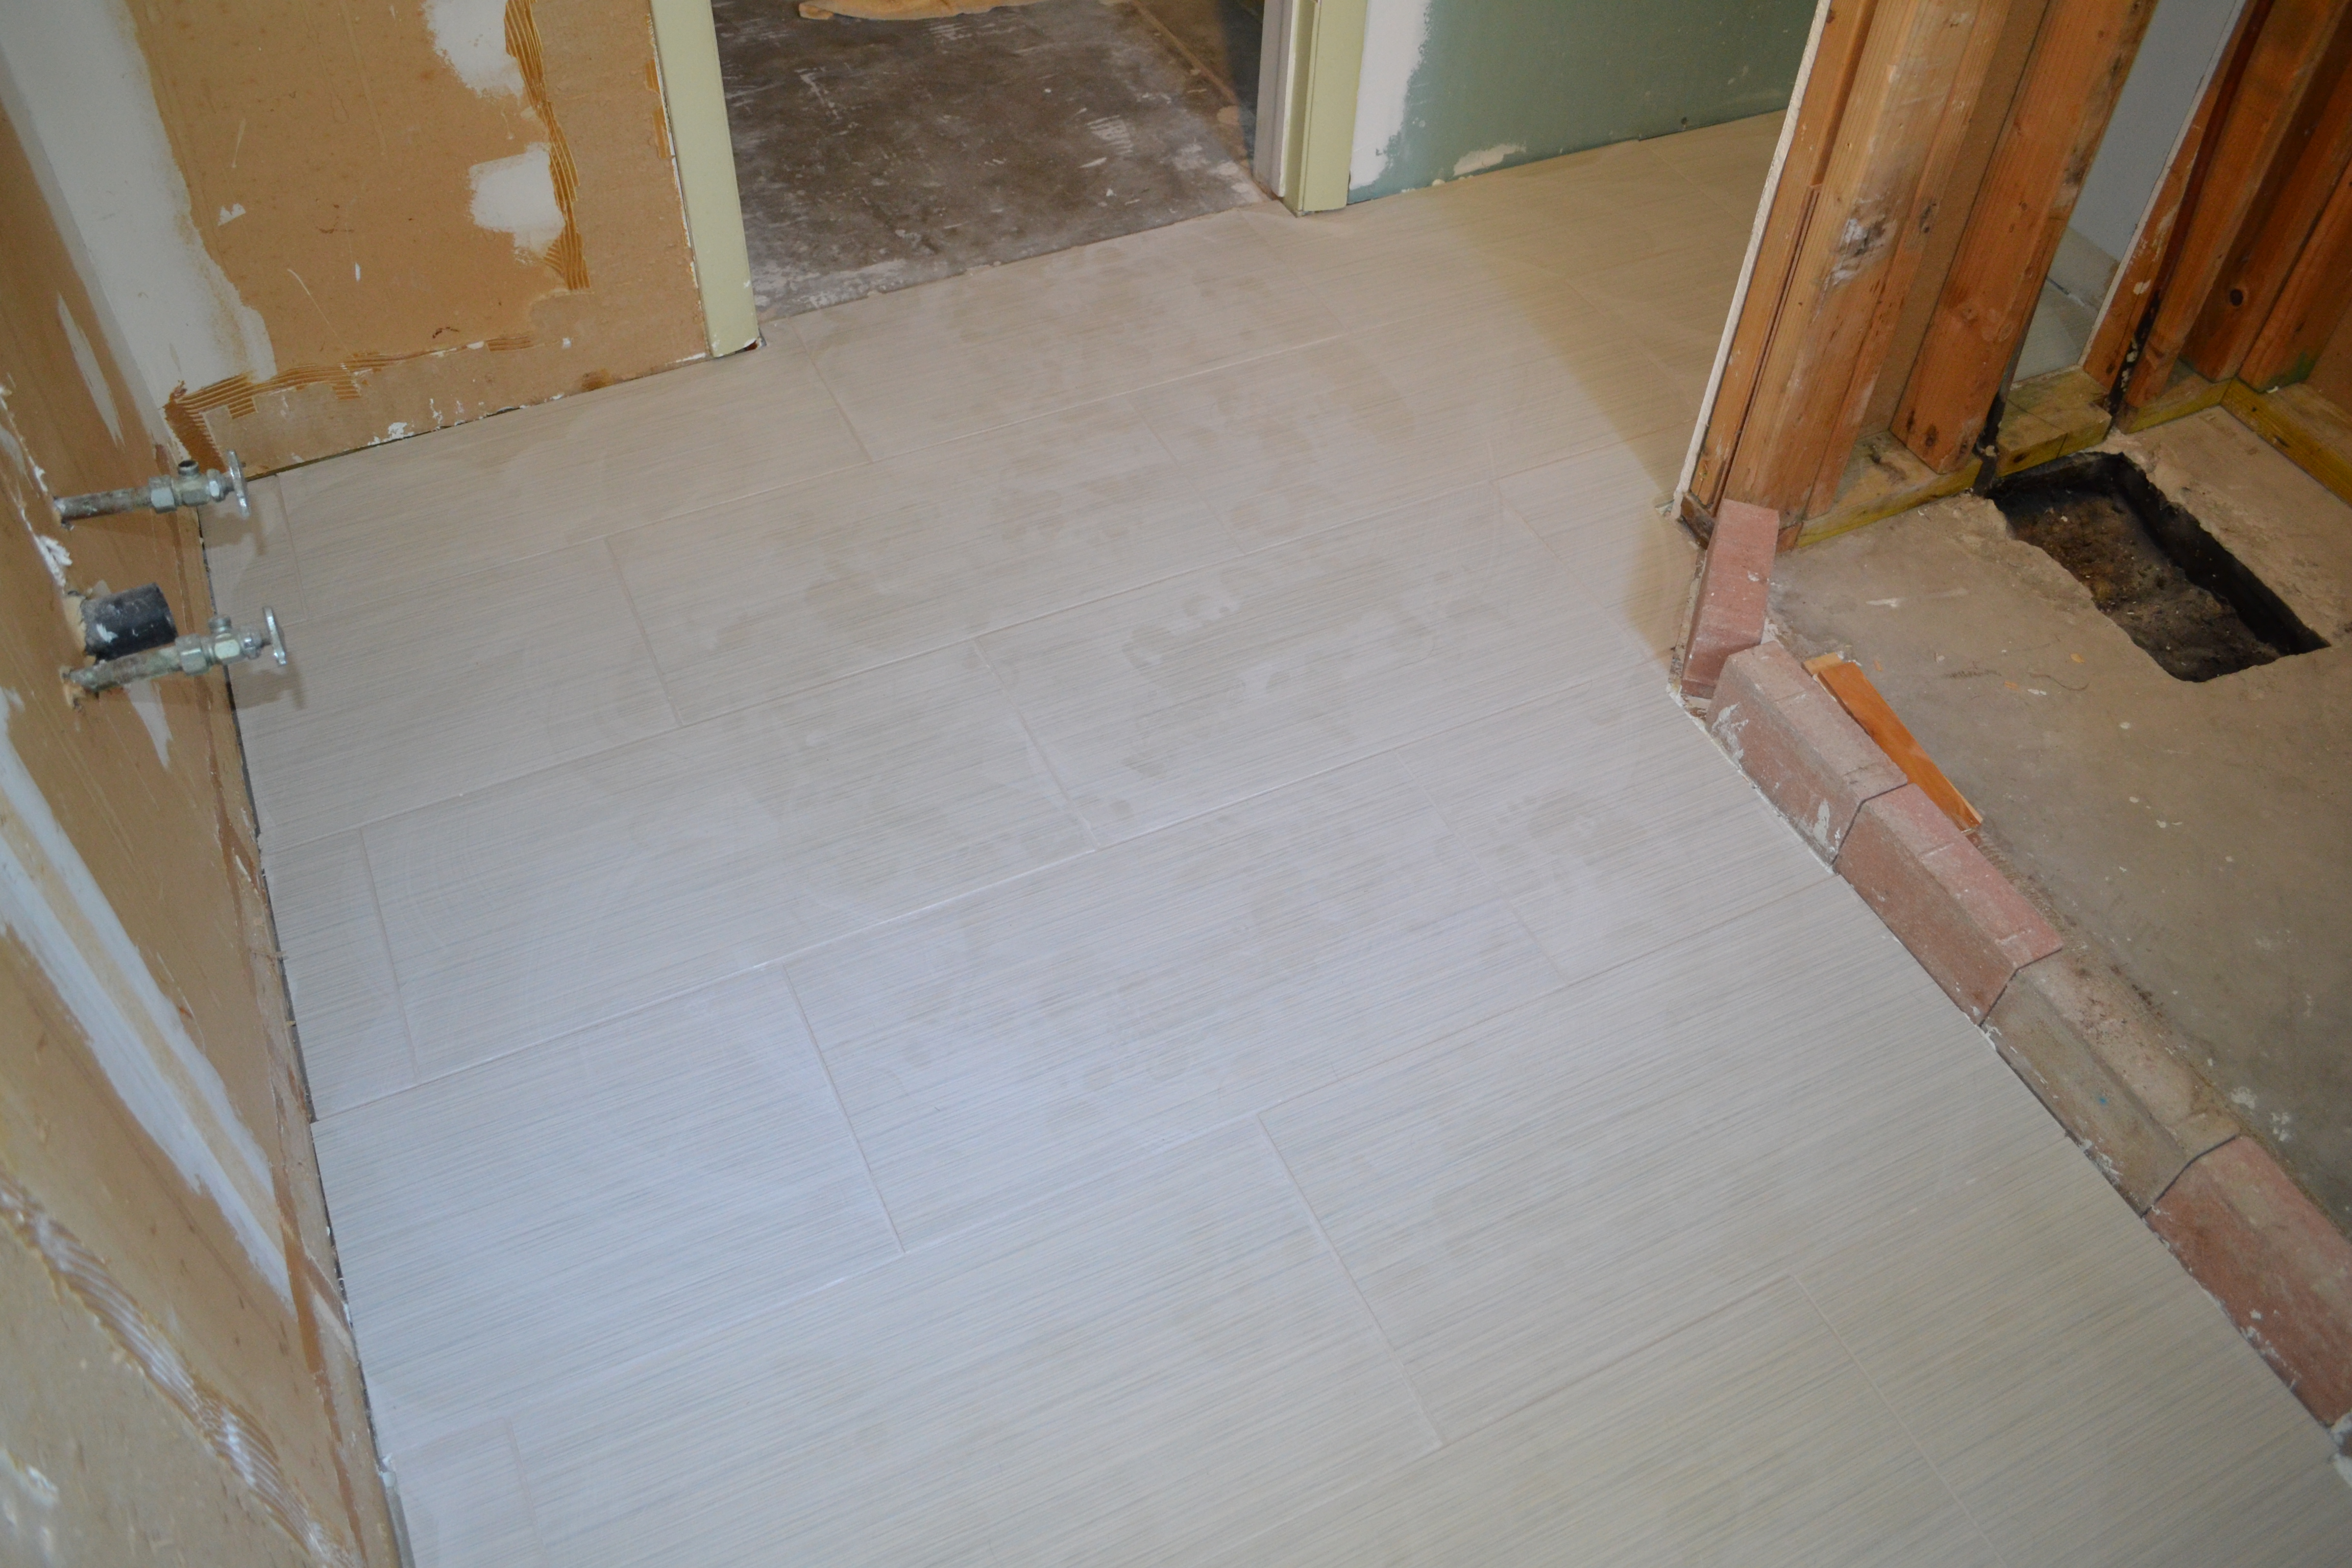
Once the shower curb was in place, we could tile. First we dry fit everything, and made our cuts.

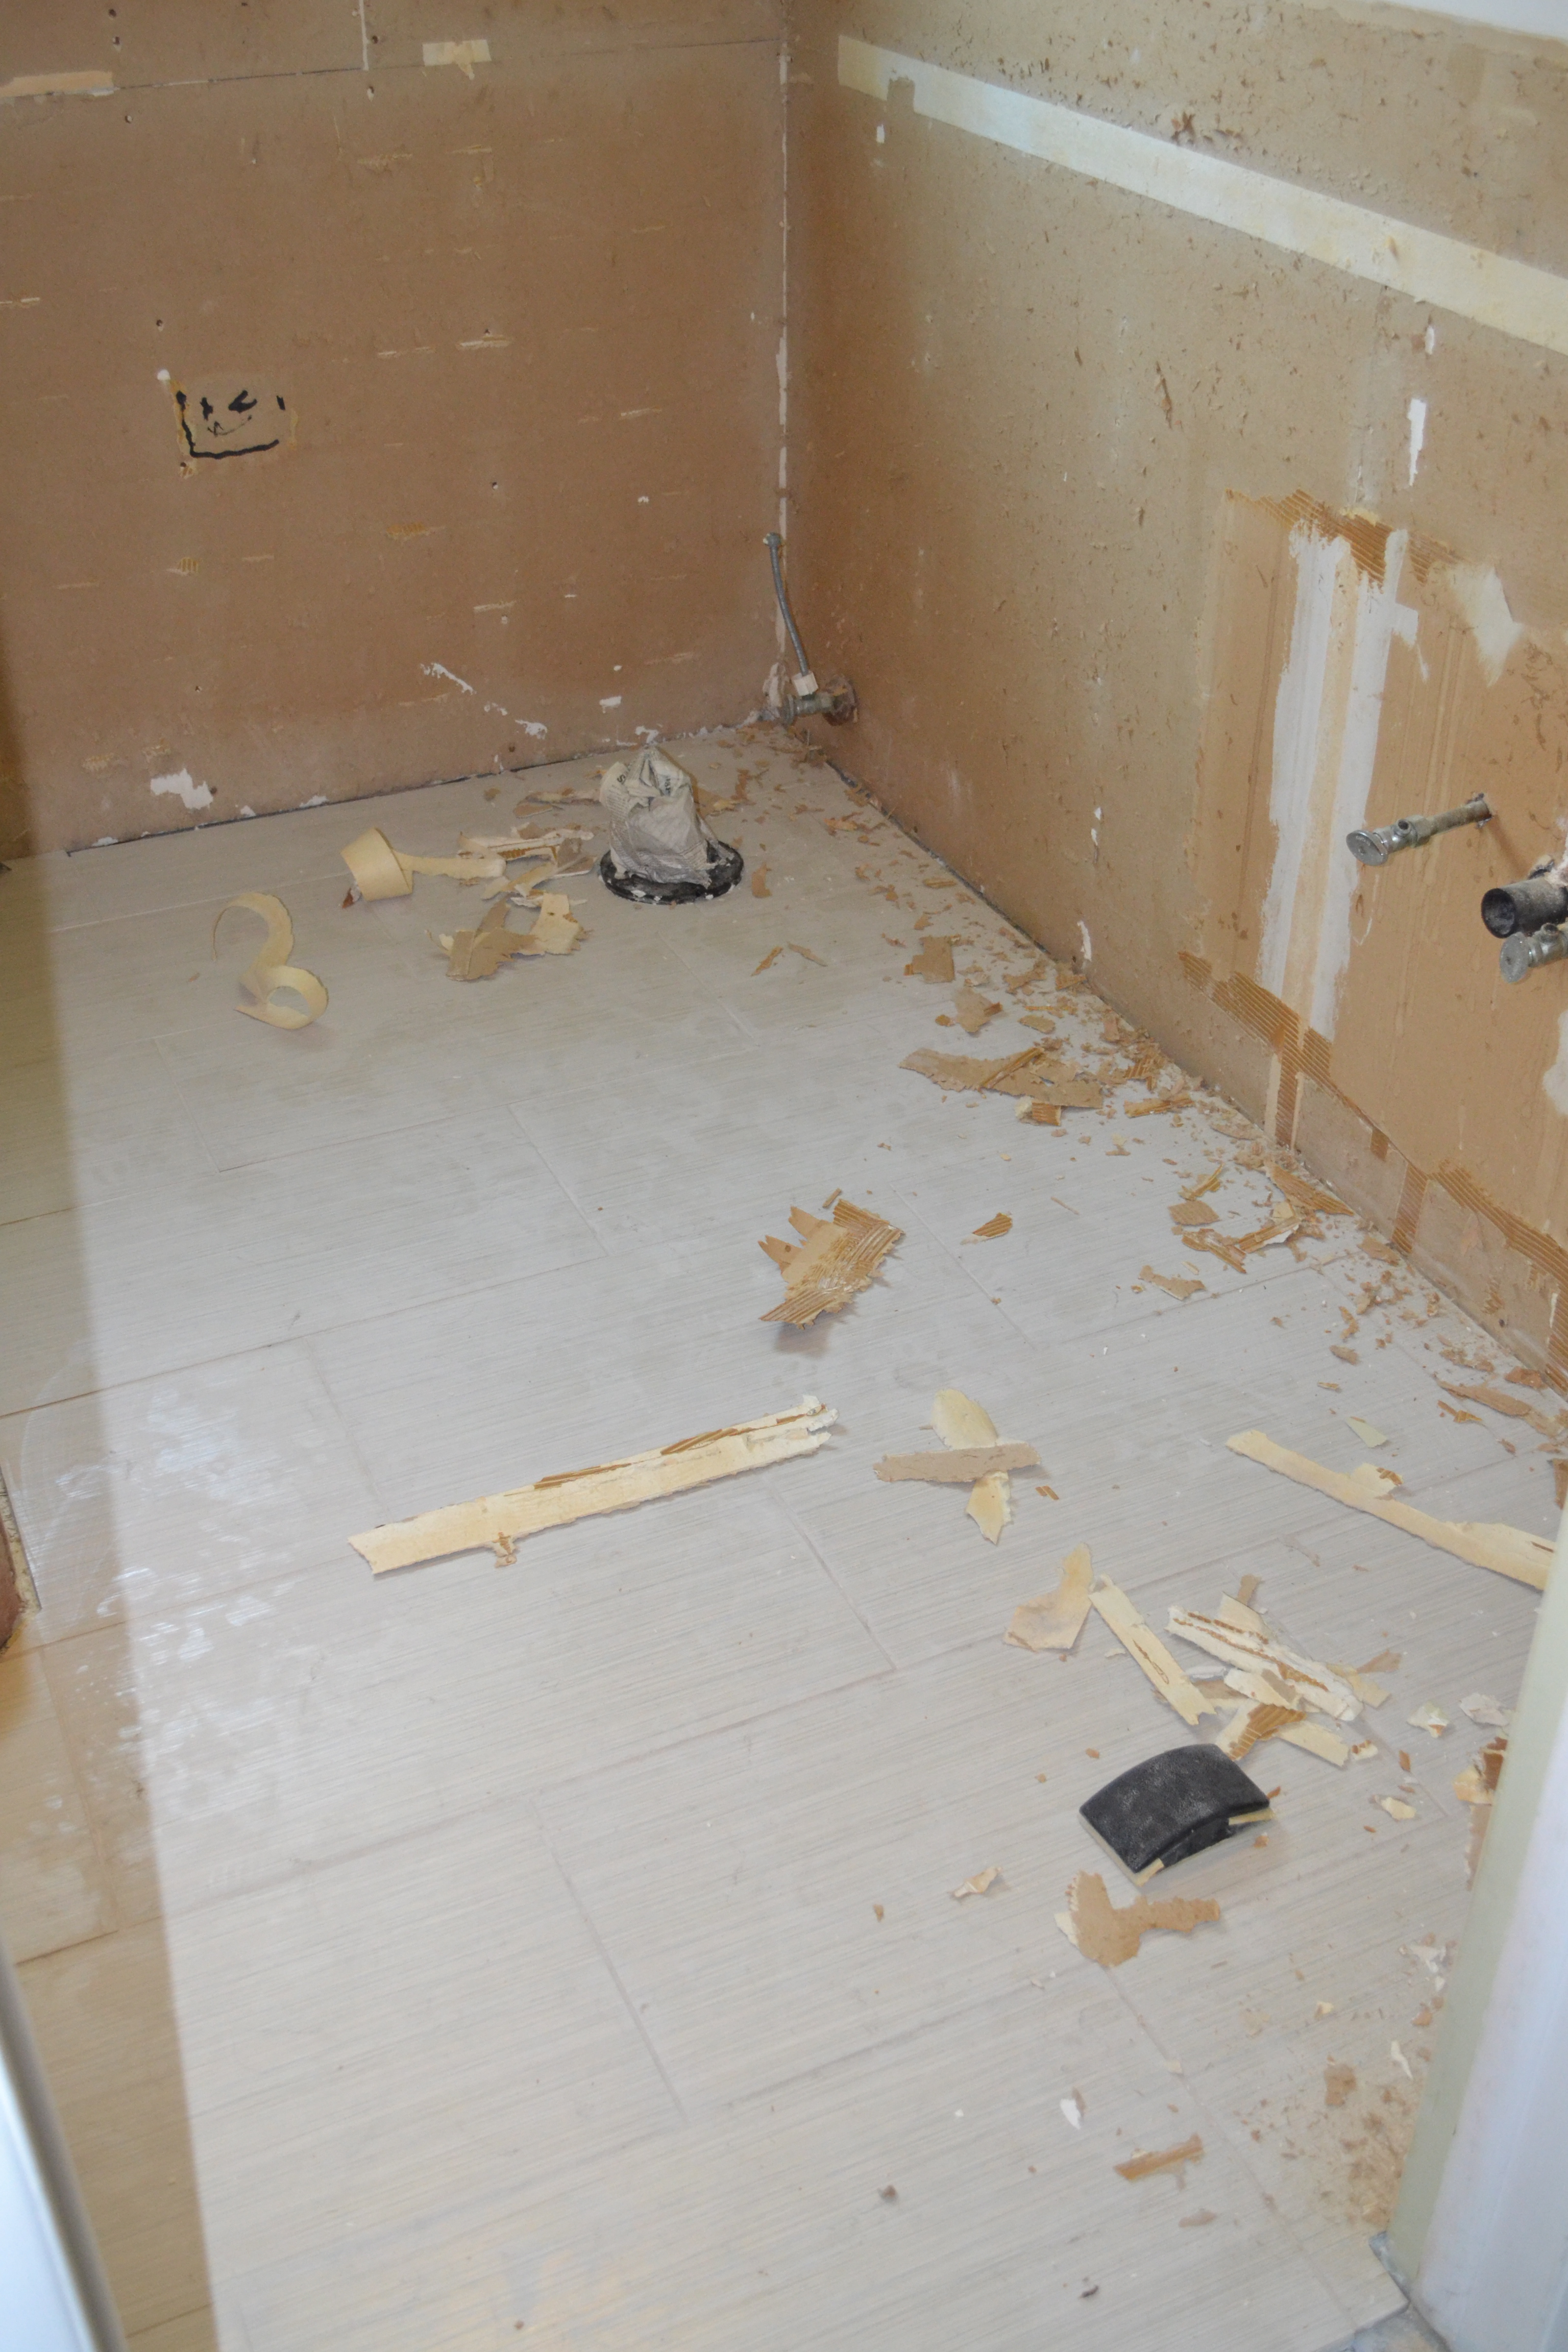
Everything went fairly smoothly, until we reached the toilet flange, which we did not anticipate falling squarely in the middle of a full tile. So much for planning. Since the base of the toilet will cover much of the real estate of this tile, we cut it down the center of the toilet flange, then found a round object the right size to trace. The Boy showed off his mad tile cutting skills:
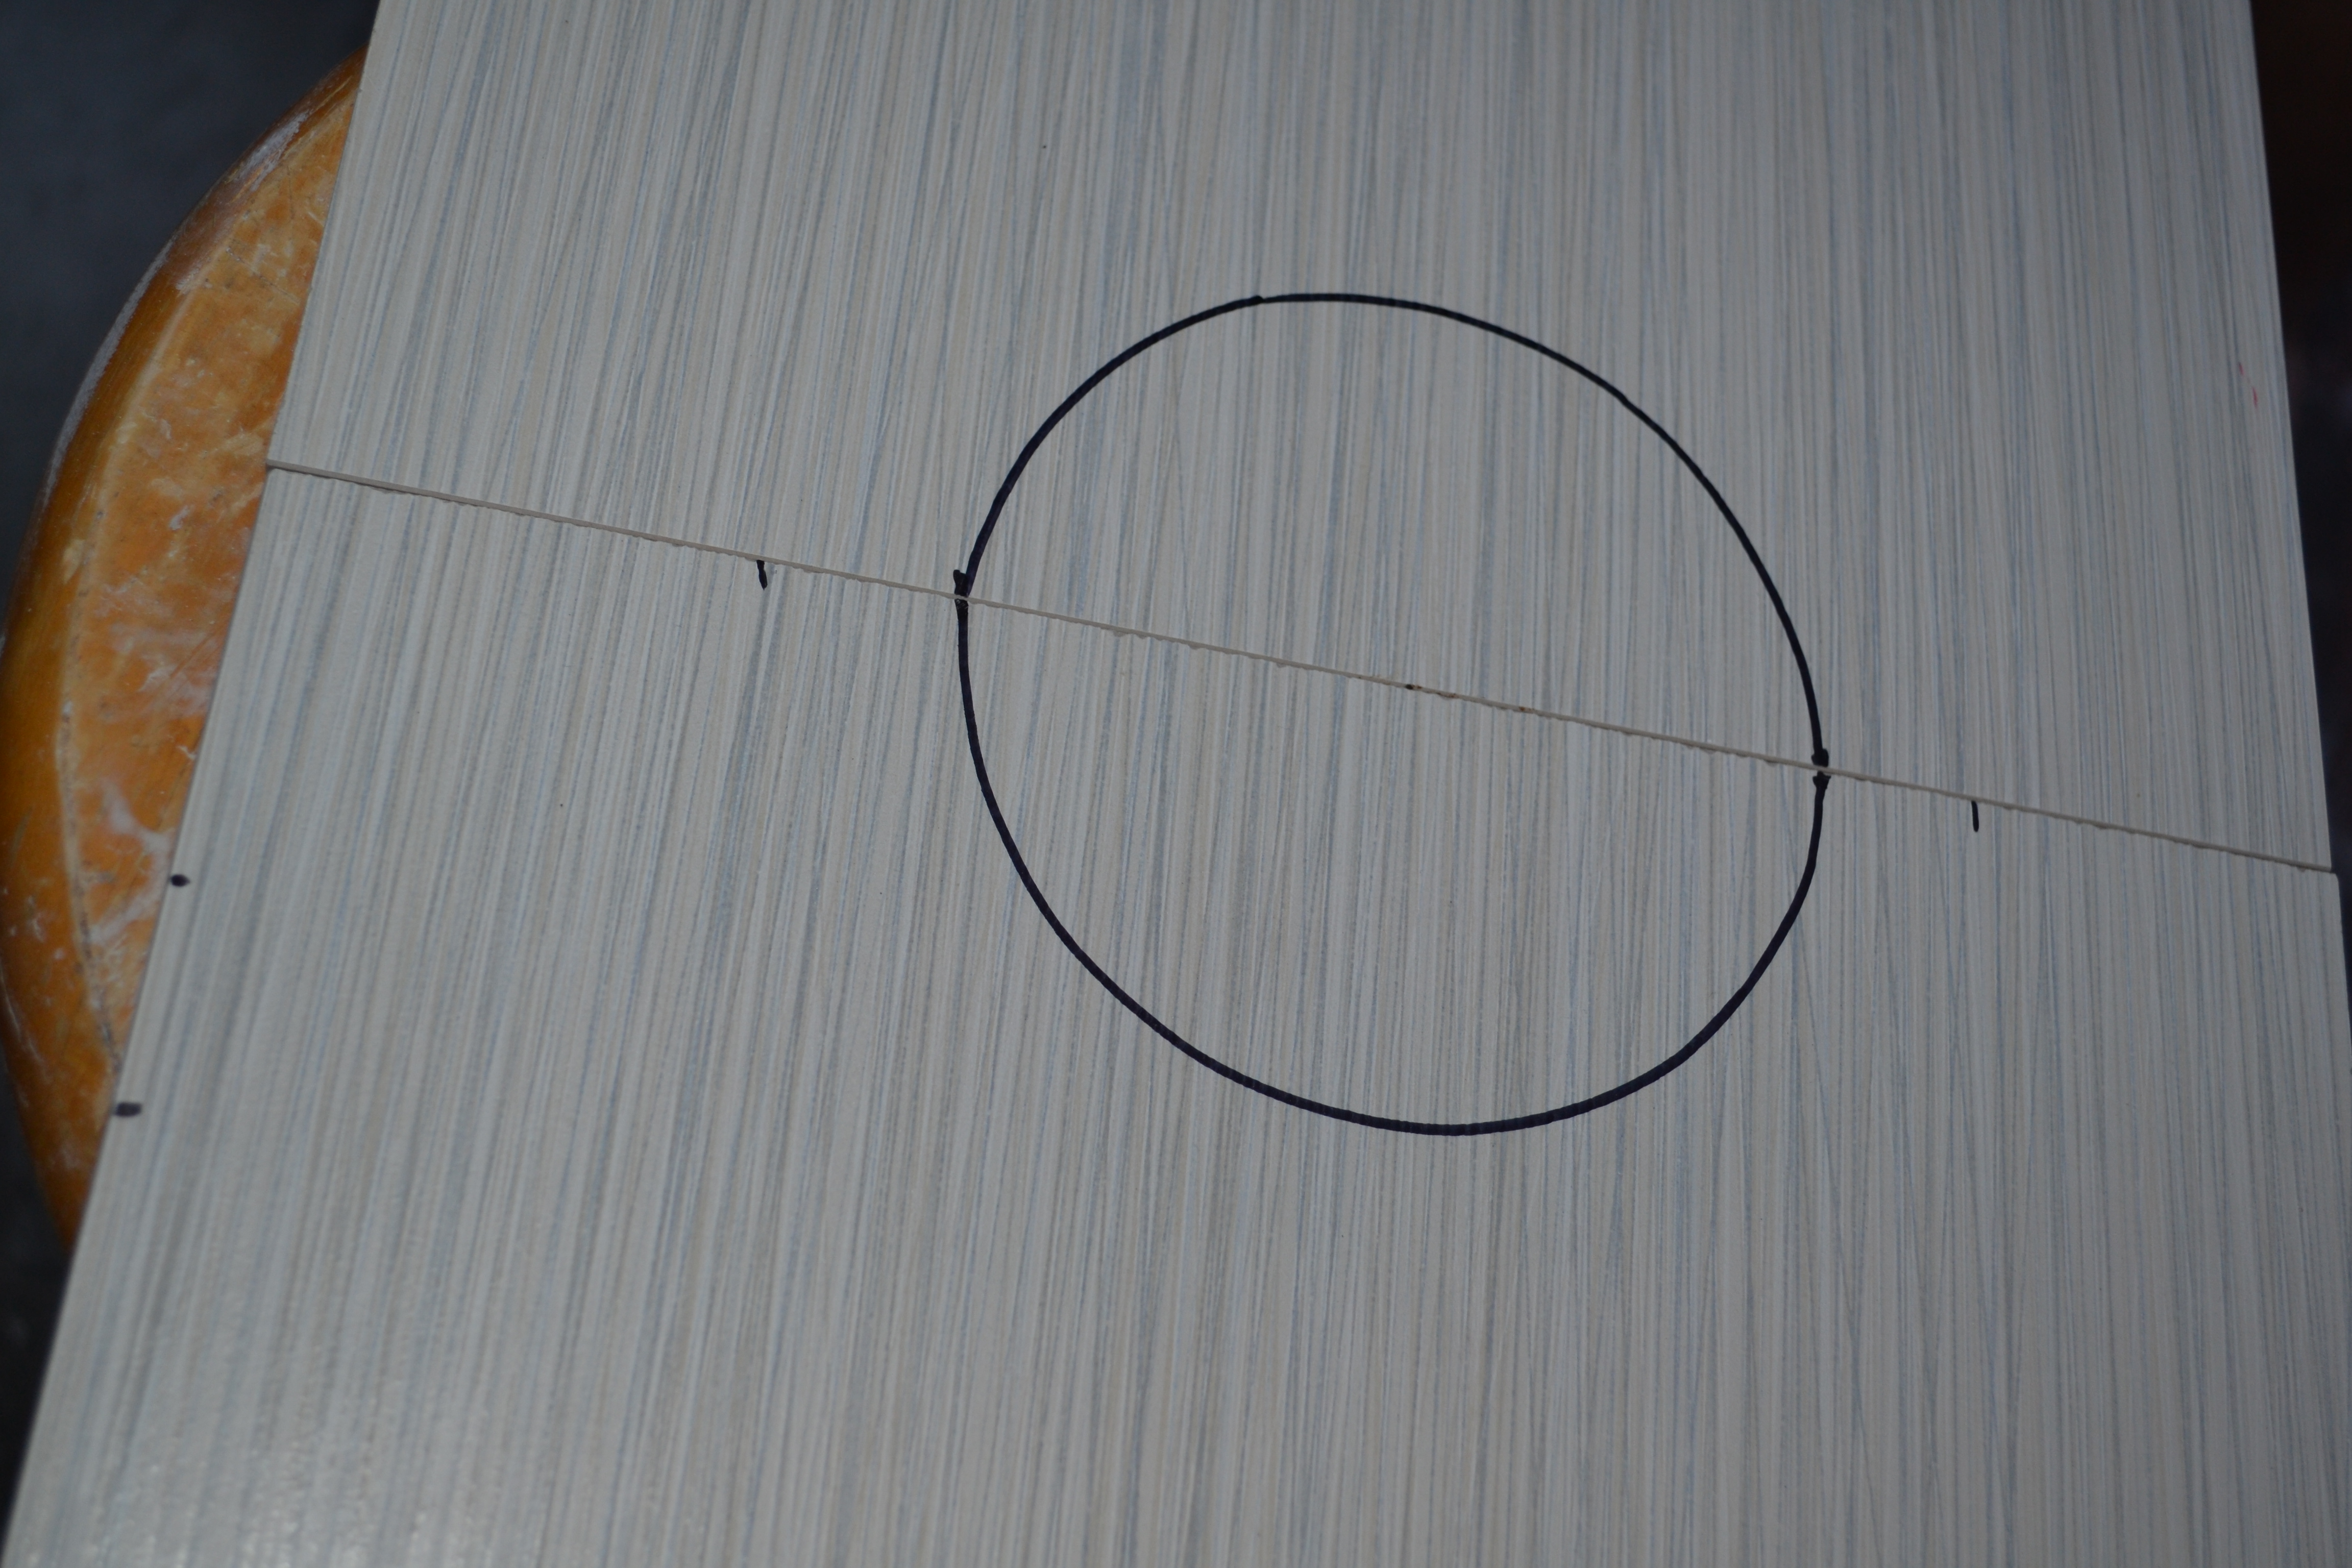
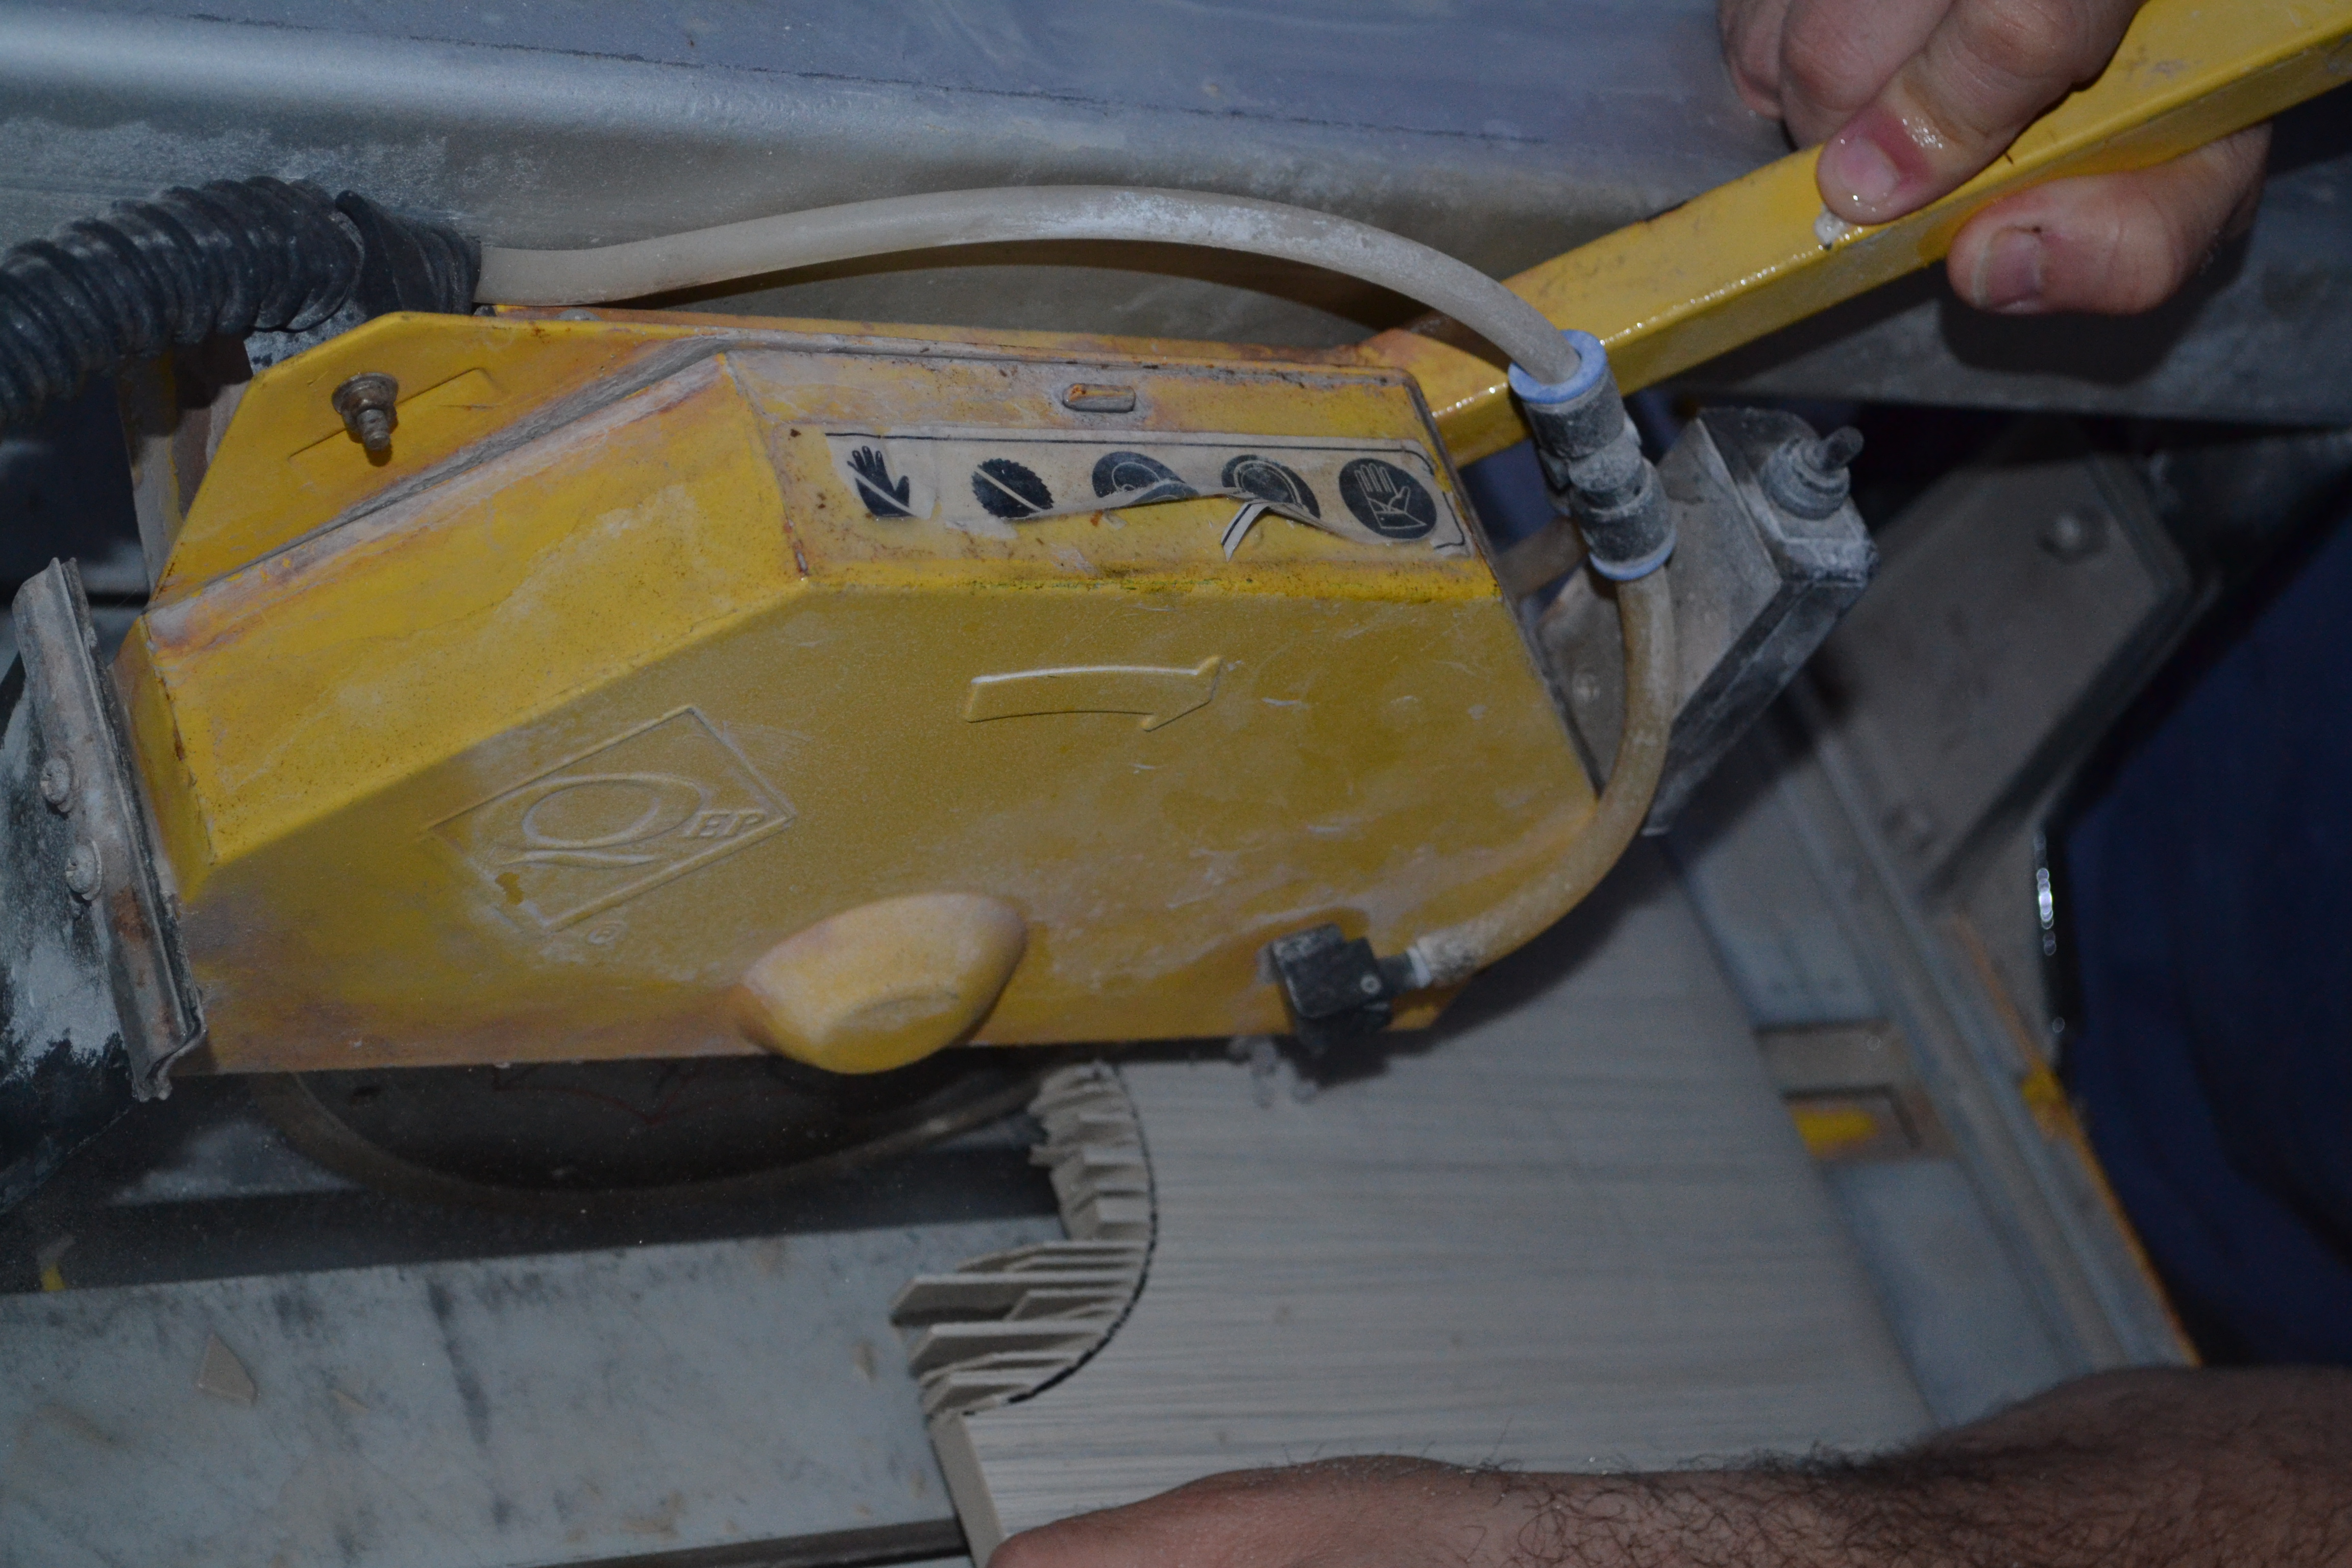
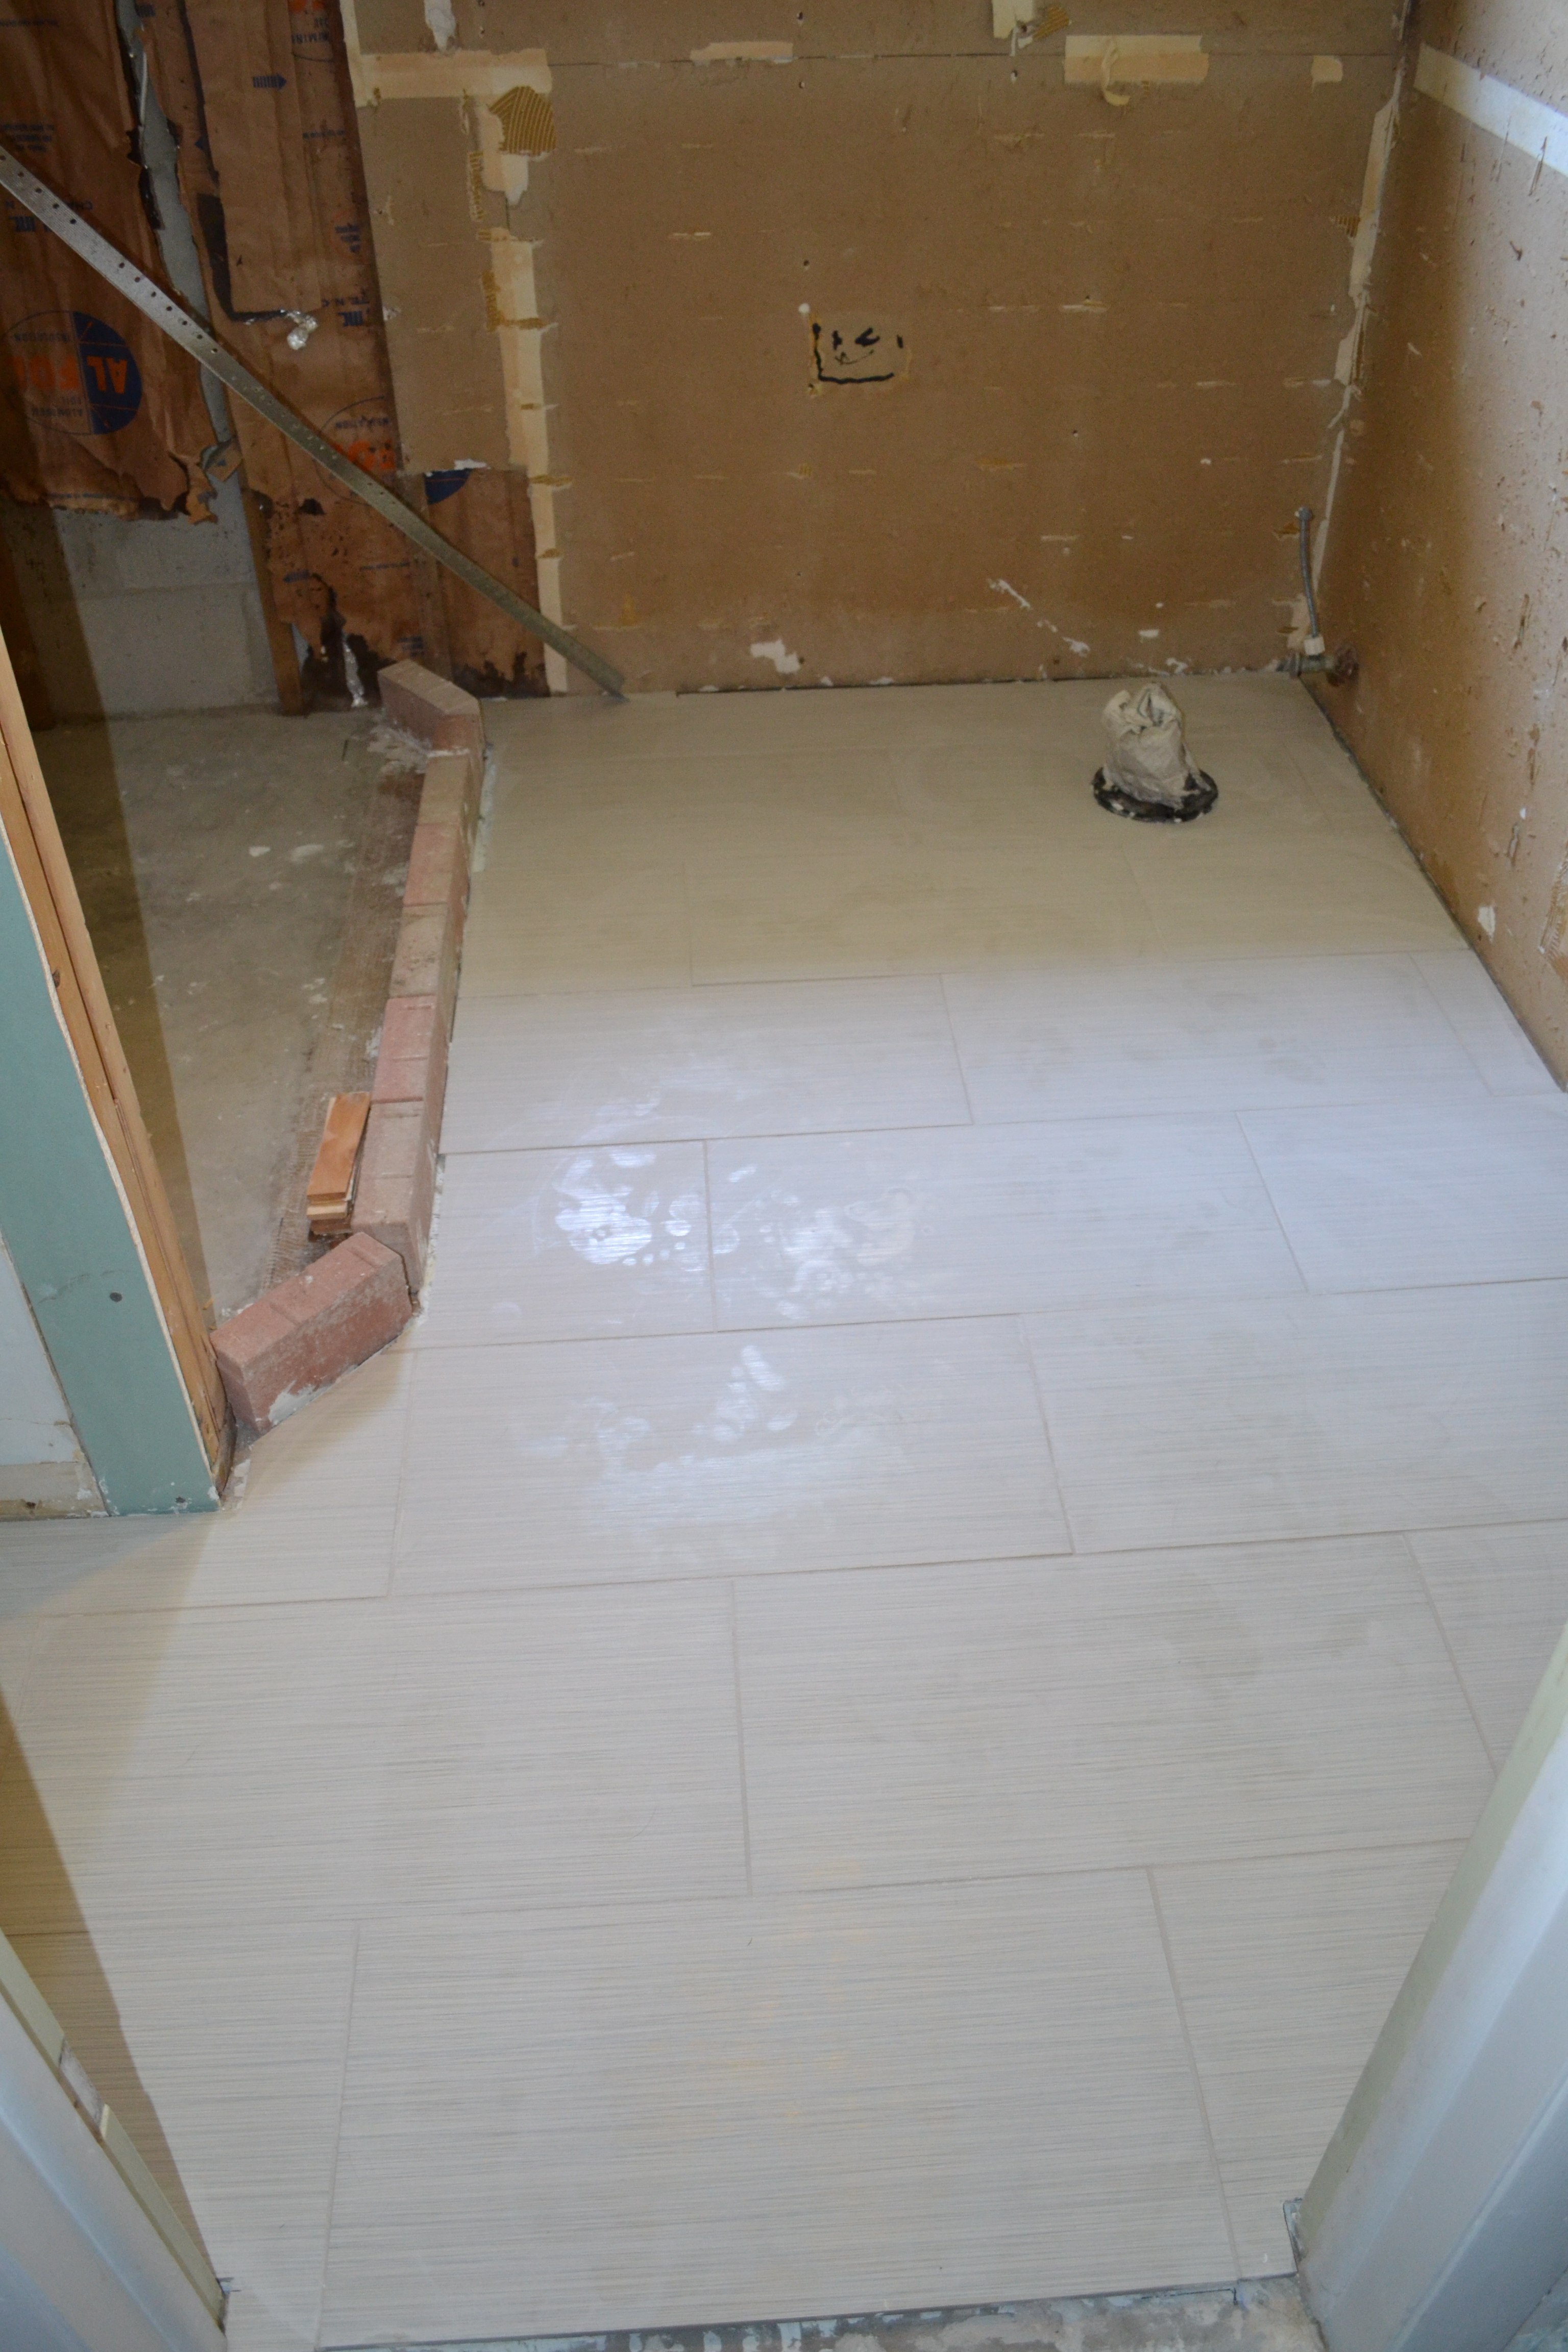
This is much harder than it might look, because you cannot cut a curve with a tile saw. Through the magic of the interwebs and photography, I will show you the final product, which actually took almost a week between cutting, laying, and grouting.
Our next project was dealing with the walls that we ripped the lovely green tile off of. I scraped and scraped and sweated and scraped until I removed all of the adhesive and loose drywall tape.
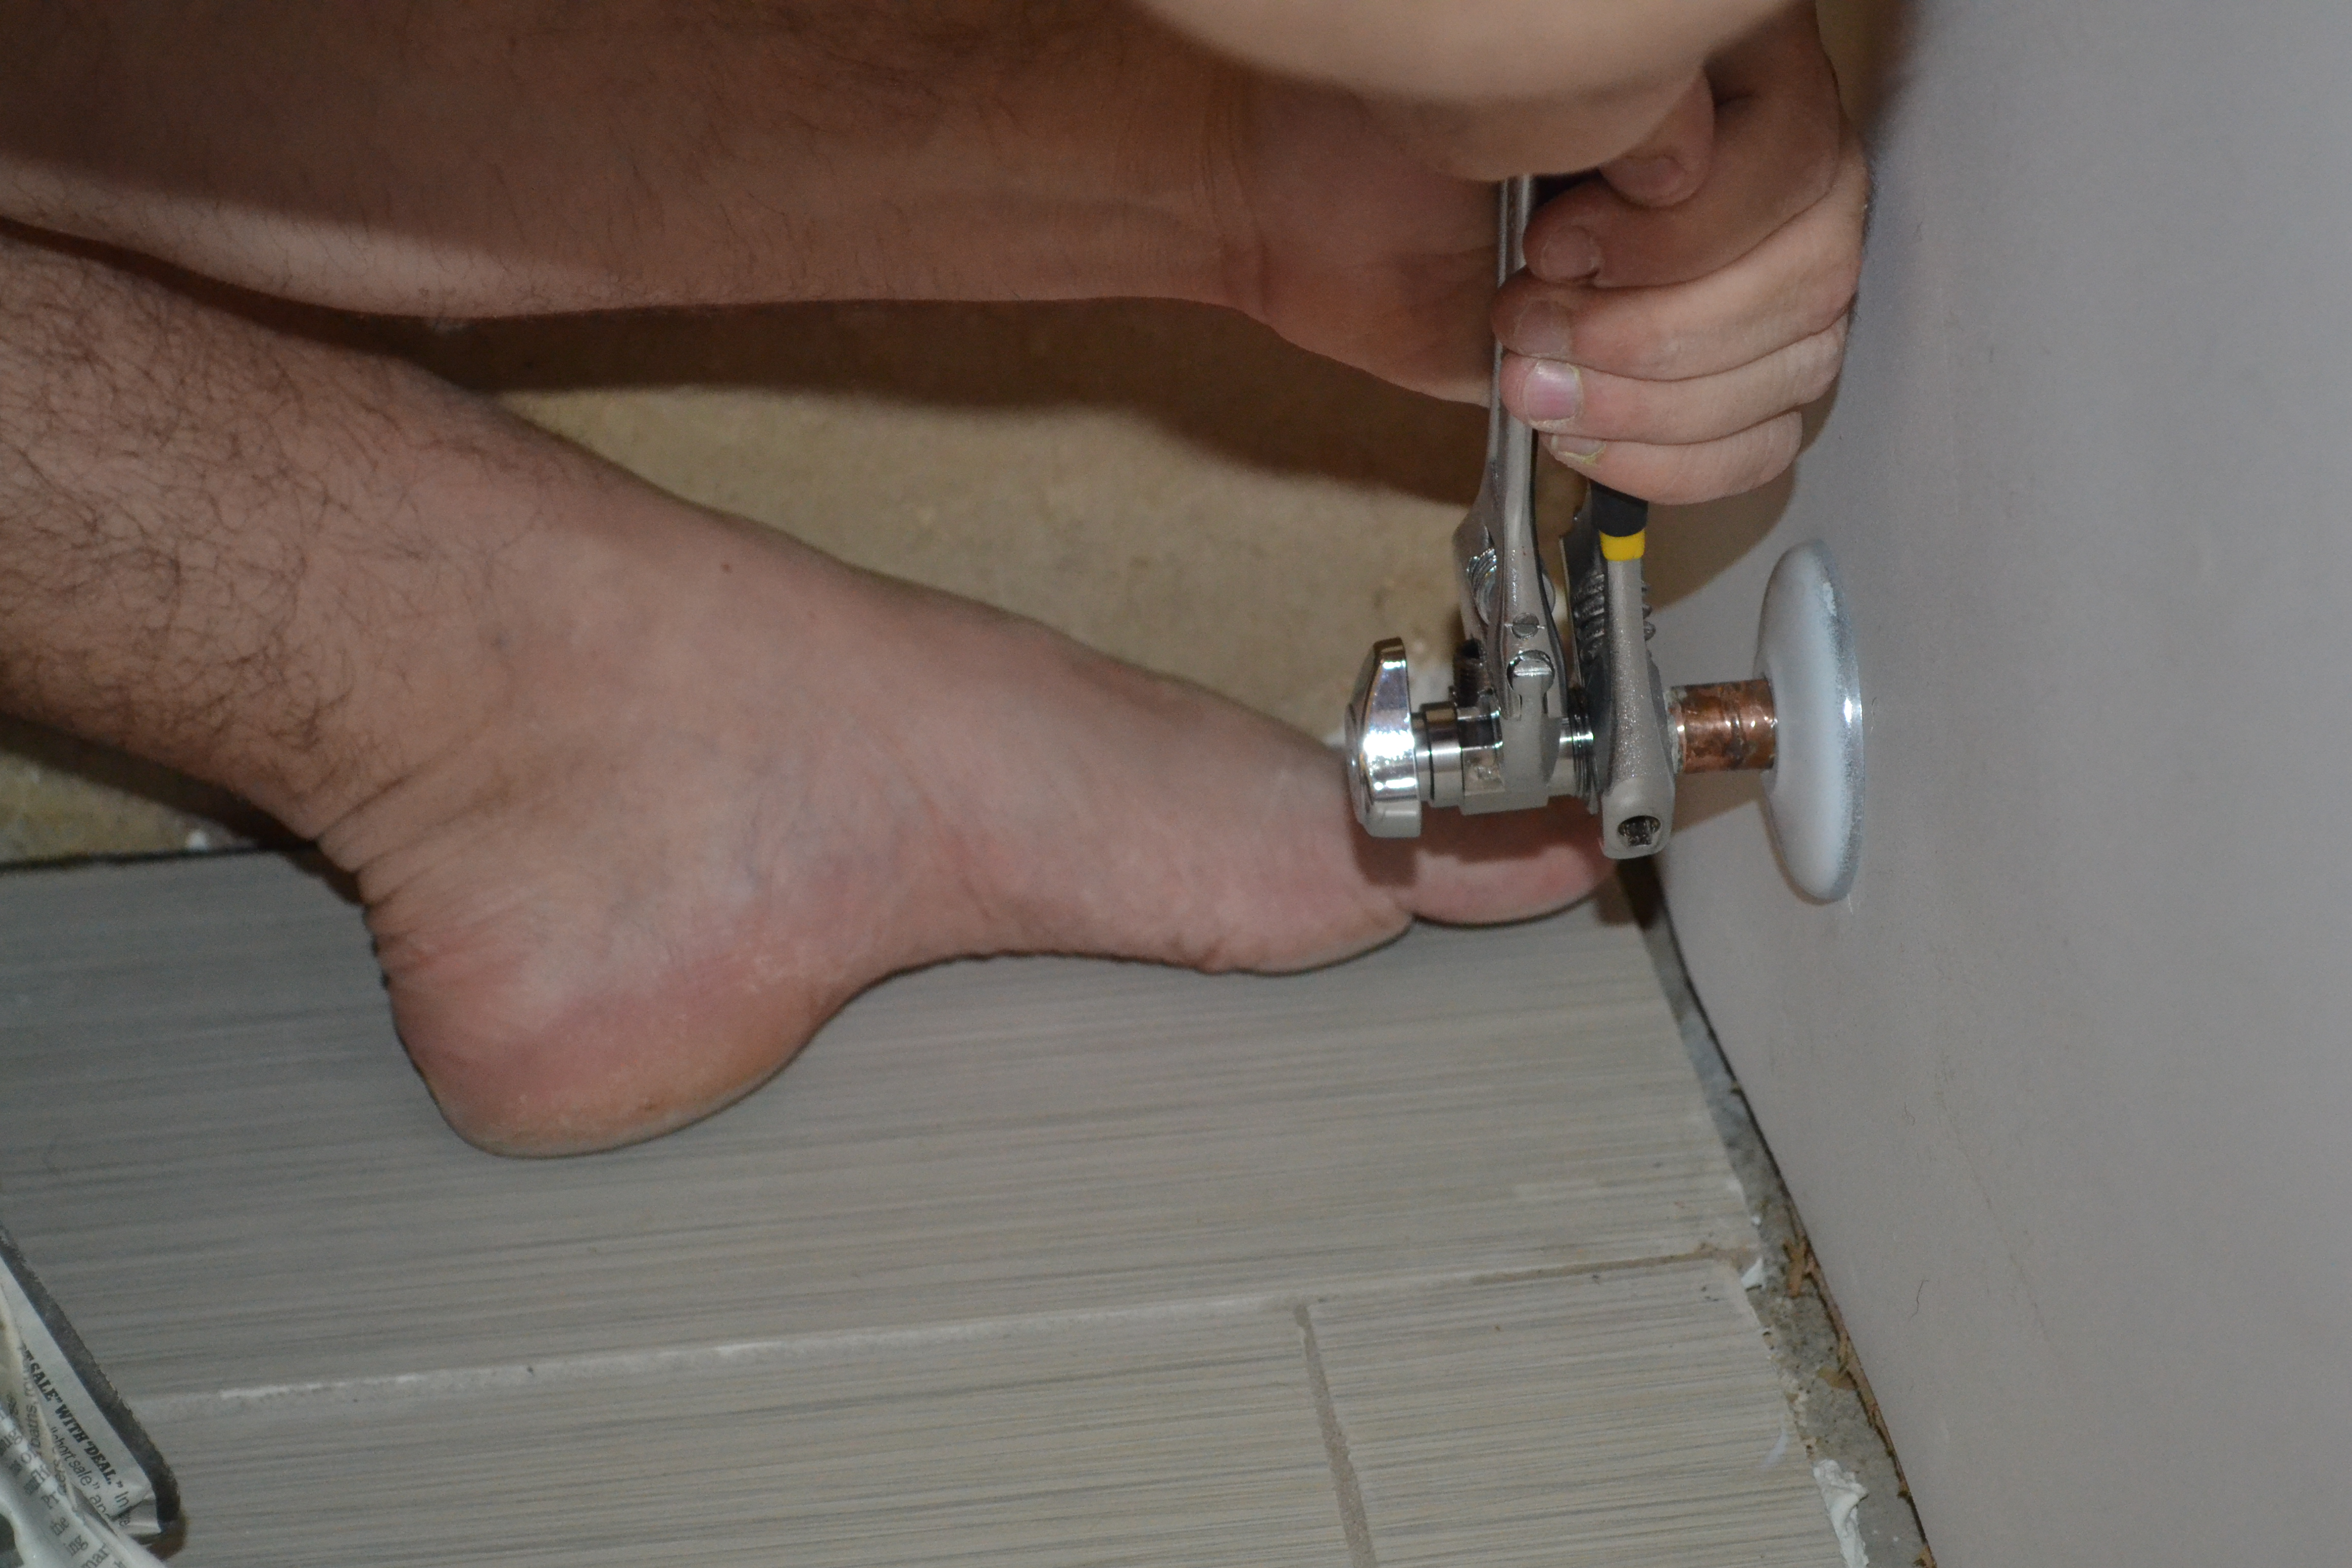
My brilliant solution was to adhere moisture resistant white panels to the wall. In order to do this, we went ahead and replaced the old valves, so we could cut smaller holes in the panel, slide it over the pipes, and then put new valves on. We were in a rush because the inspector was due to arrive any minute!
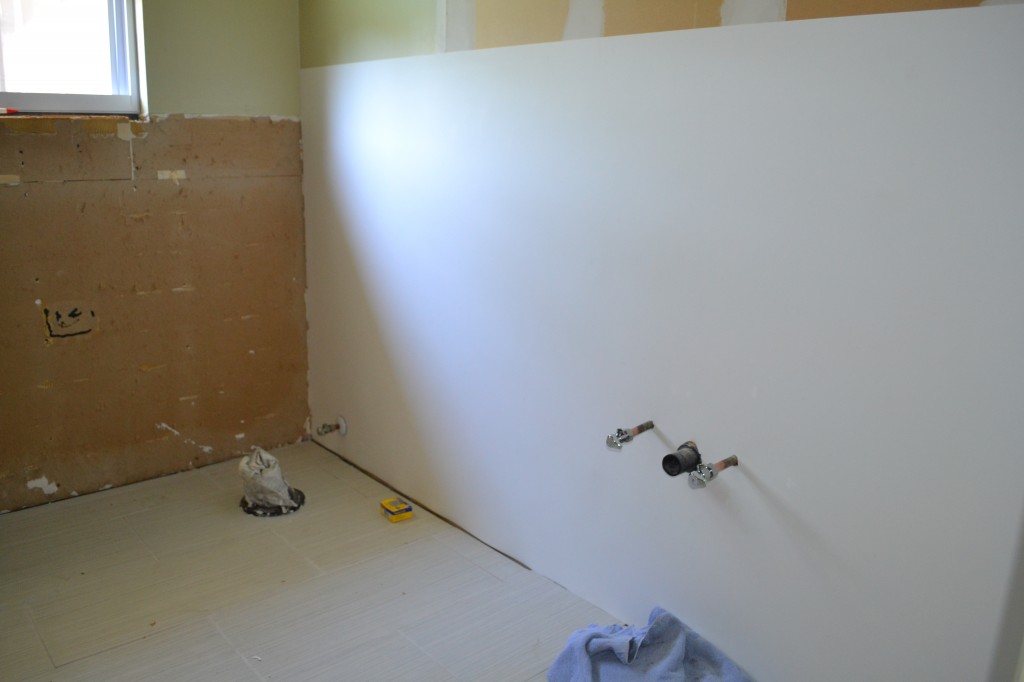
We got it done just in time for the inspection:
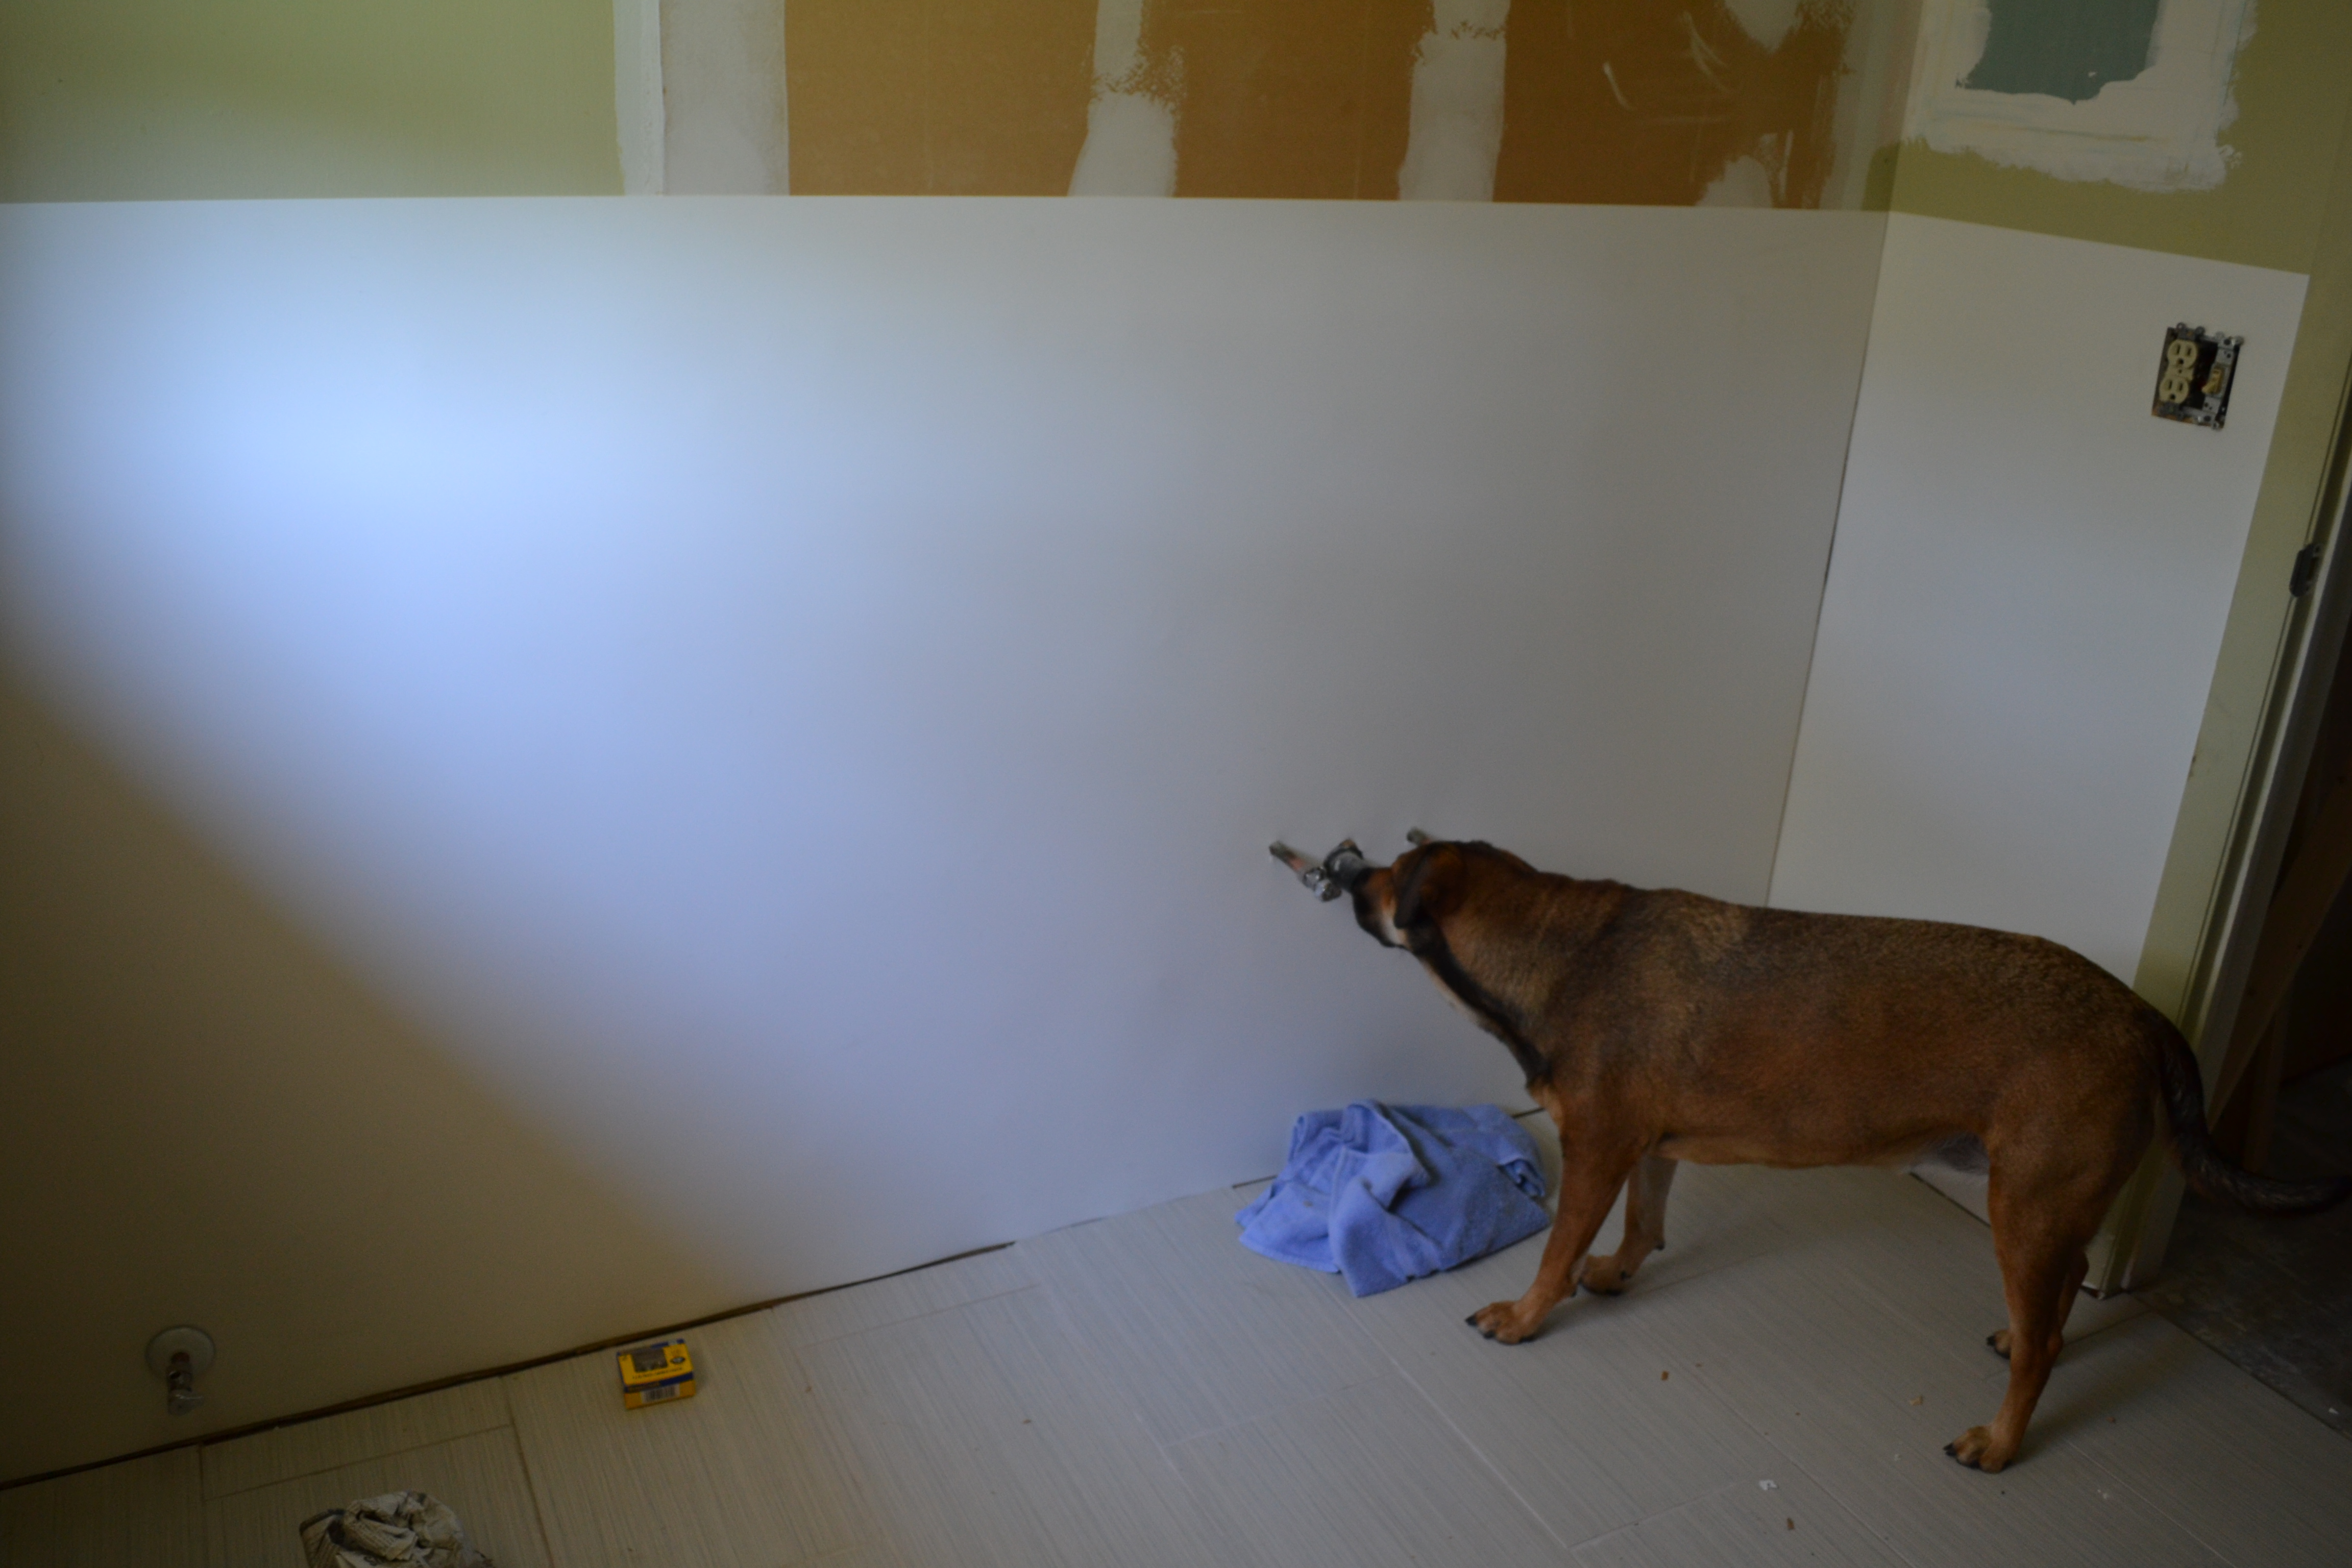

You passed … barely. That will cost you two treats and a belly rub.
I love the floors! I can’t wait to see what this looks like when it is done. We are house hunting now…..AhHHH
Thanks, Crystal! House hunting is SO fun (to me!) so that is exciting. Good luck!
Wow! Lots of work but it looks like it will totally be worth it in the end!
Looking good! Although I have no idea why that green toilet with white seat wasn’t working for you 😉
Always so impressed with you two!! I can’t even hang a curtain rod 🙁
Impressive work. I would have had no idea how to do any of that! The tiles look great and I can’t wait to see how amazing it will looked finished. You should have a great deal of pride and accomplishment.
Pingback: When in Doubt, Wainscot | Pardon Our Sawdust
Wow looks like a lot of work but its coming out great! I’ve never owned my own place but I know one day when I do I’ll be doing all of these home improvements myself, hopefully I have a handy man like yours to help out!
Wow! Nice work! Looking good. Can’t wait to see the finished product! Adorable doggie by the way!
Your inspector was much cuter than any of the ones that came by when we had our garage renovated. Good luck with the rest of your remodel. Looks like you’re off to a great start.