
I’ve been hesitant to post an update, because I like to post completed projects, and we are in the middle of about eight projects. It is overwhelming, but exciting. There is light at the end of the long, sweaty, DIY tunnel.
First, the vanity went into place, as I mentioned at the end of the last renovation post. The vanity was a labor of love. It is actually a depression era buffet that The Boy spent many hours stripping the old finish off of. Then we marked out where the sink would fit, and cut those portions out of the top.
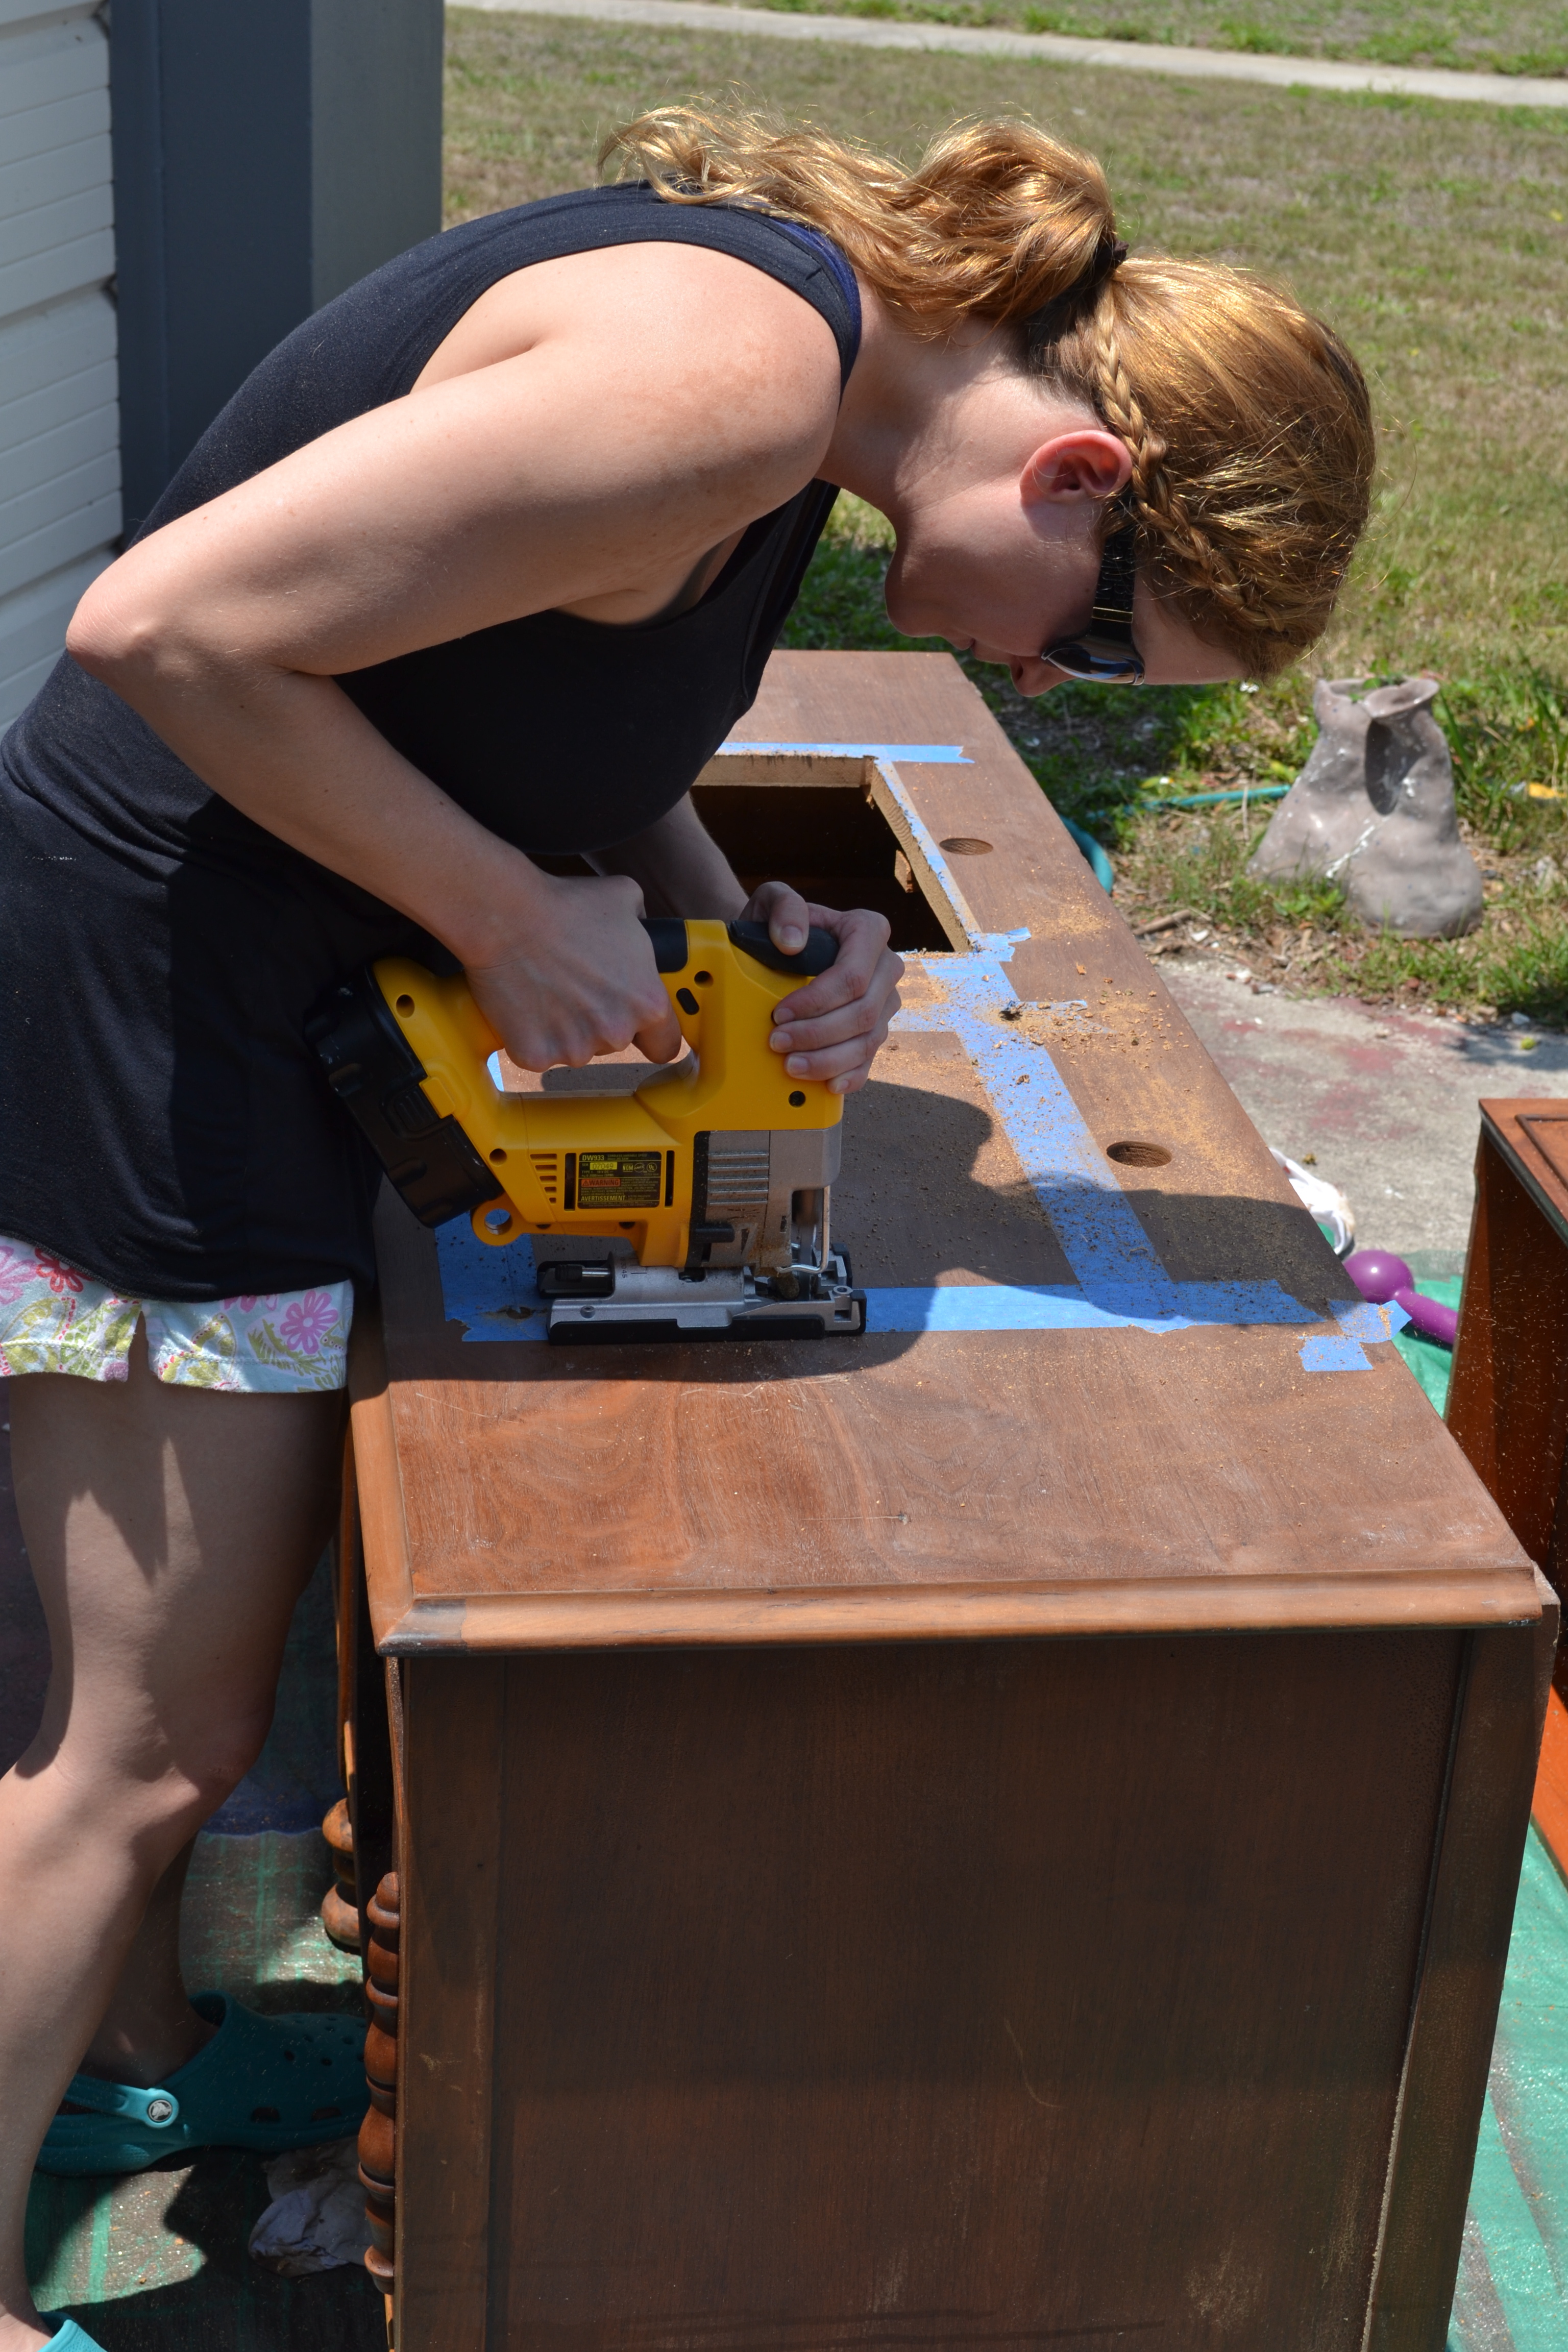
Me: “Please do not zoom out and show my crazy outfit.”
The Boy: “Whaaat?? That is the best part!”
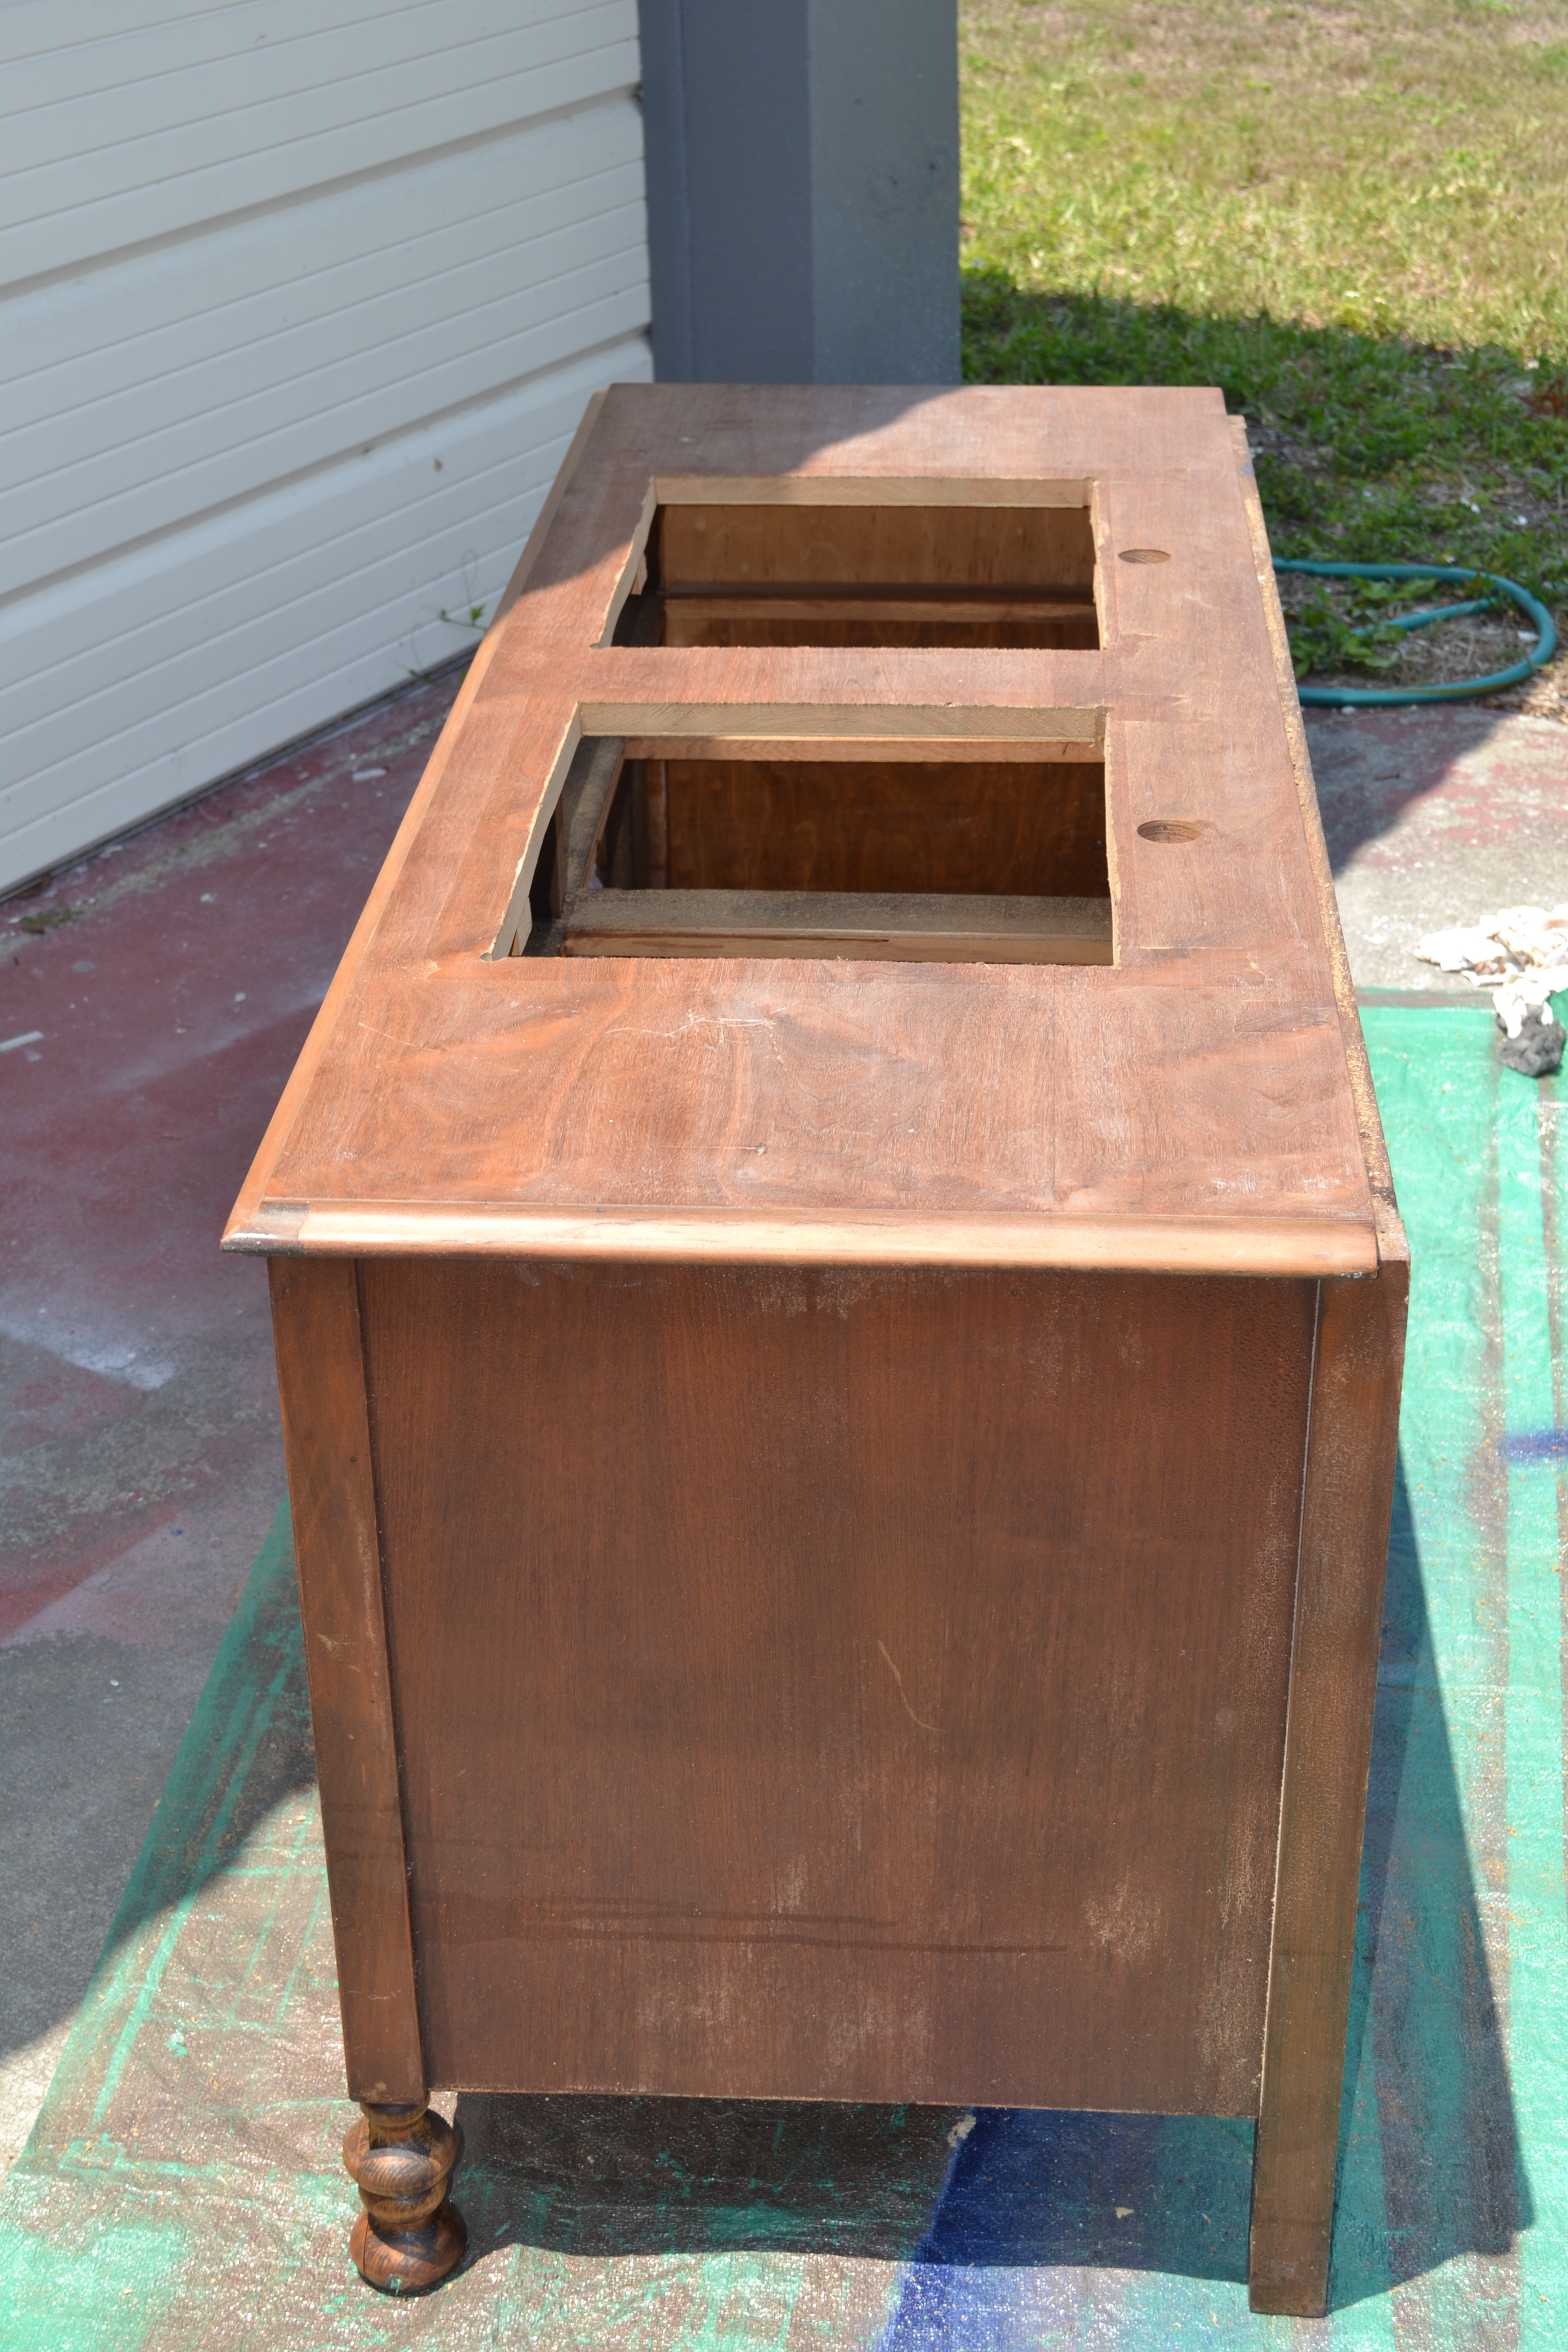
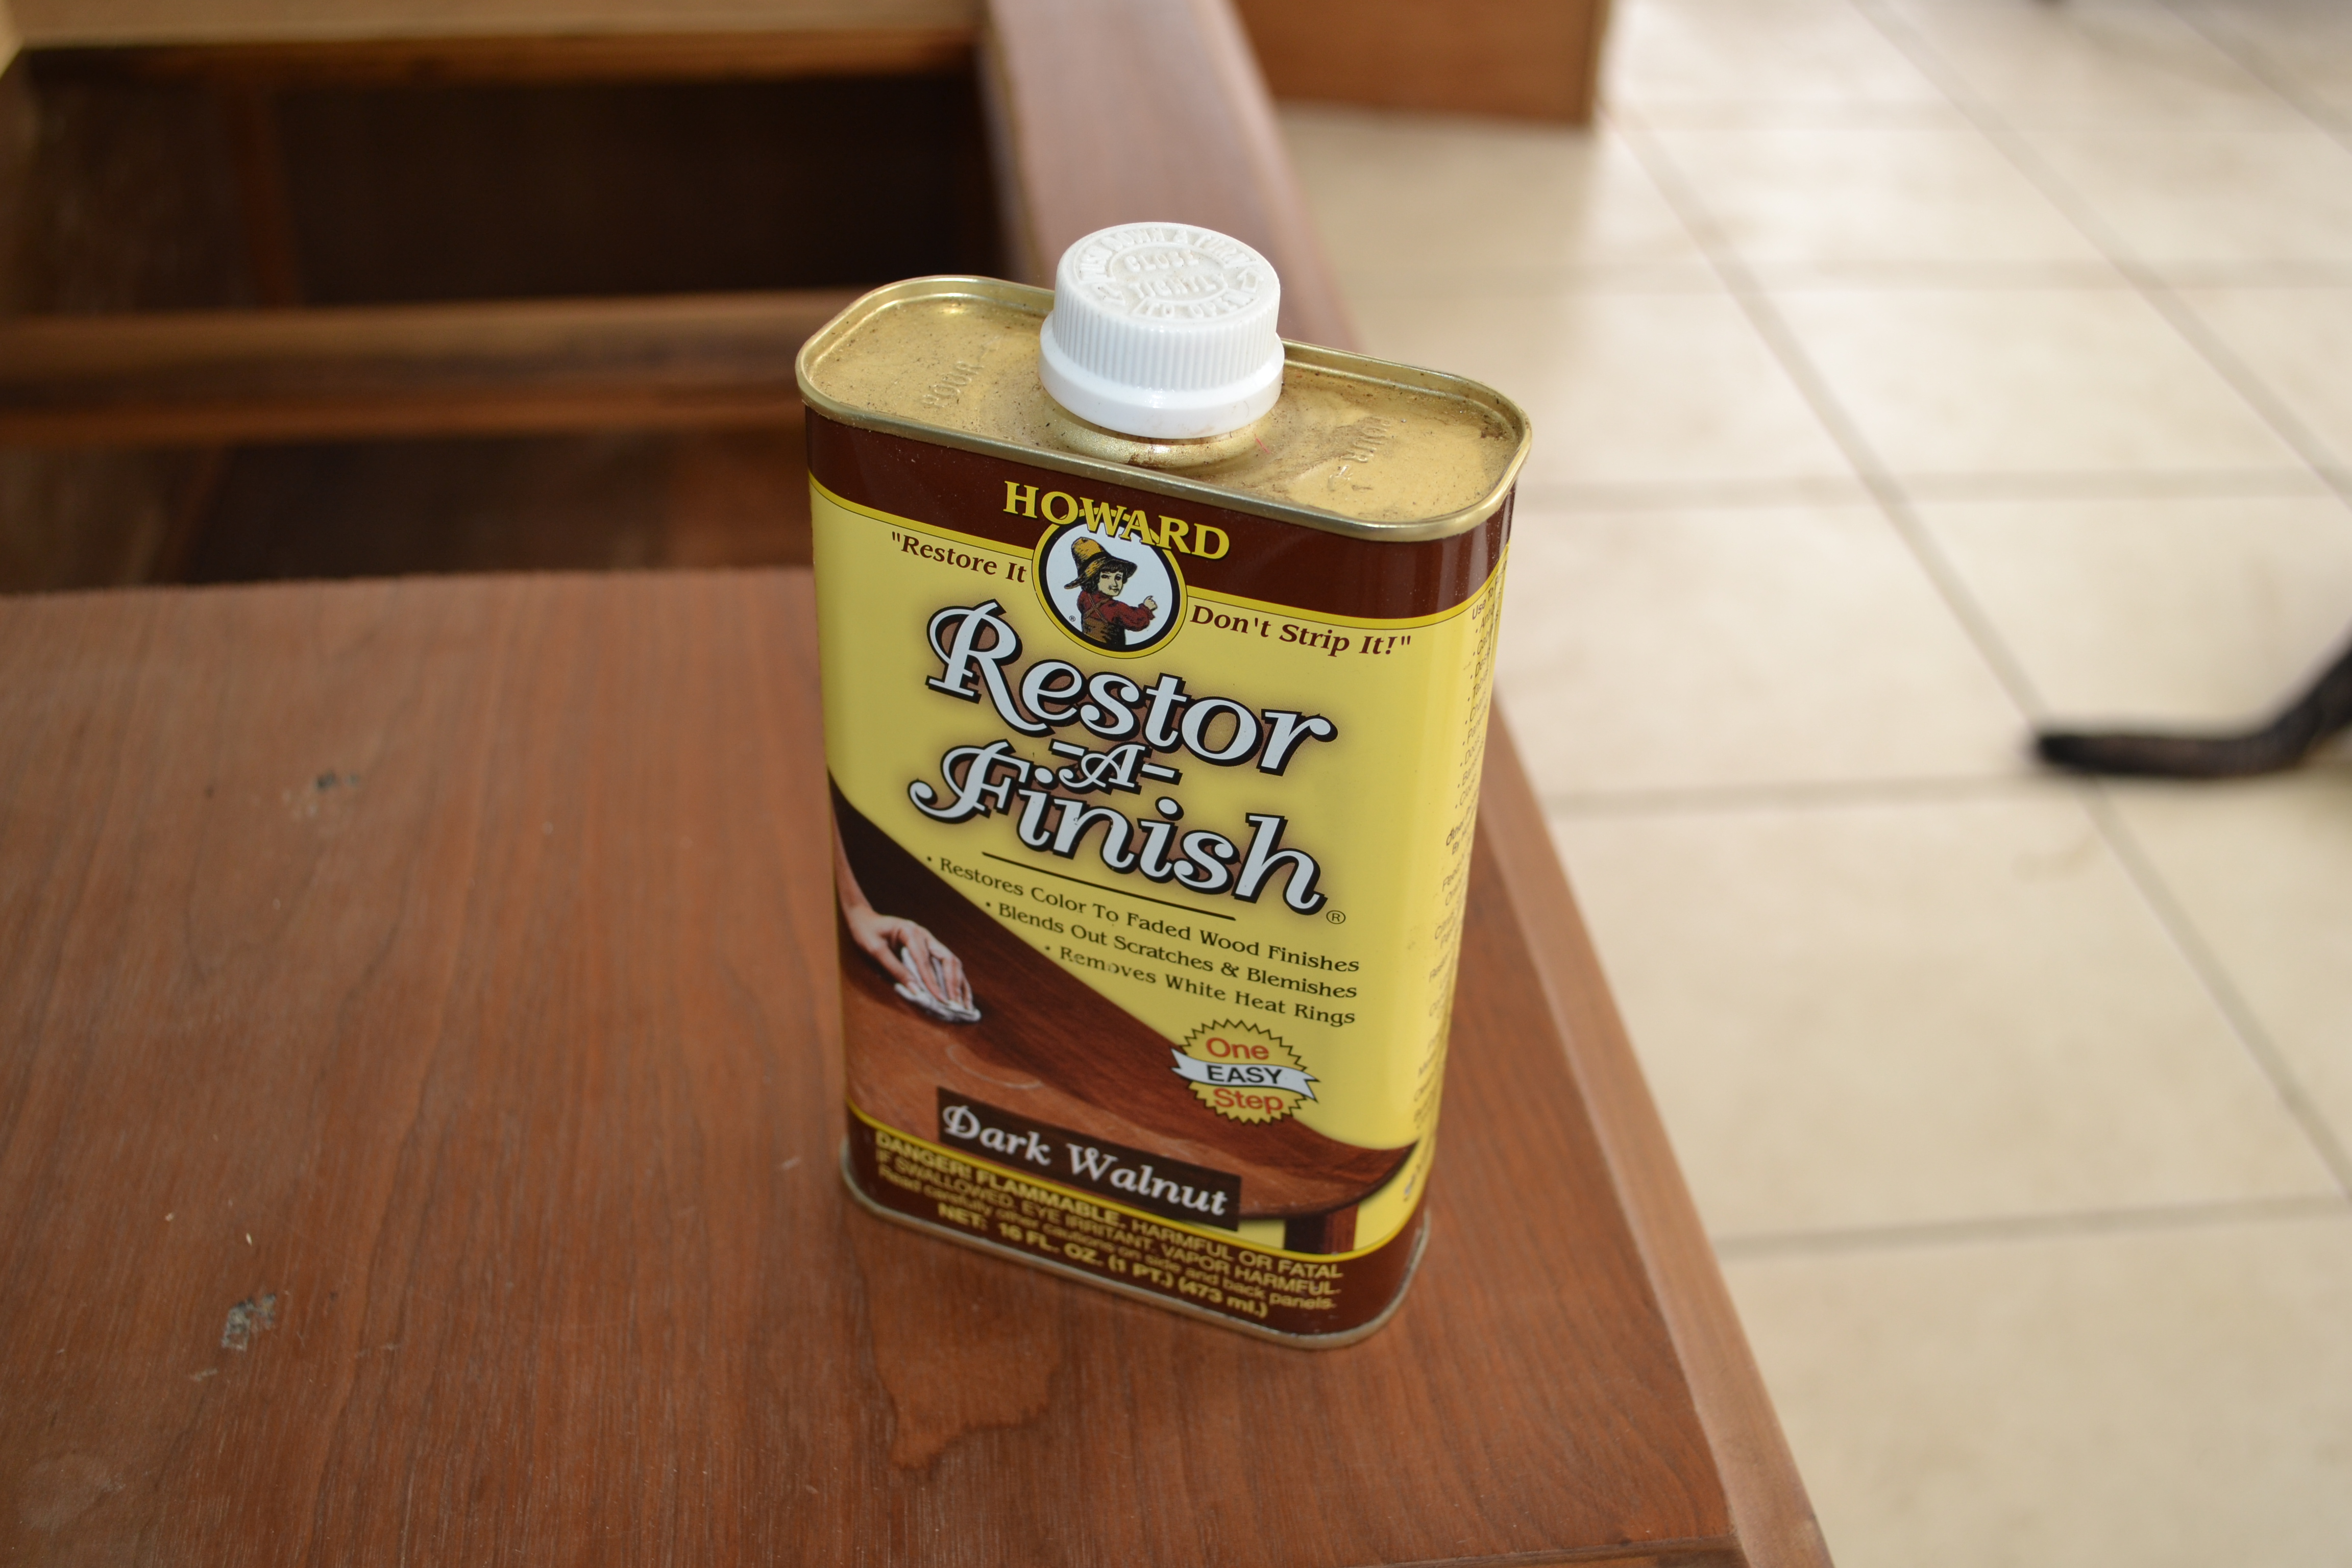
Take note of the different feet in this picture. It will become insanely relevant, trust me. As you can see, the stripping of the old finish left the vanity a little dull and lifeless, so I rubbed it down with some Restor-A-Finish, and it made a huge difference, although it was difficult to capture. It simply moisturizes the wood and brings out some of the wood grain. Then I used a paste wax to seal it, since it will inevitably come into contact with moisture.
At this point, we moved the vanity into place, and I realized that it was much too short. I should not have to bend and snap to wash my face, although Elle Woods might disagree. The Boy didn’t care, but I insisted, because I have seen way too many episodes of House Hunters where prospective buyers walk into a bathroom, and say, “Oh my gosh, do midgets live here?” and I do not want OUR prospective buyers to say that. We aren’t the tallest people, but c’mon, midgets we are not.
I spent at least an hour at Home Depot one evening, scouring the aisles for something that would work to increase the height of the vanity, but not scream “I’m an add-on because The Girl somehow could not foresee this 8 months ago when she bought me!!” Lo and behold, I discovered these:
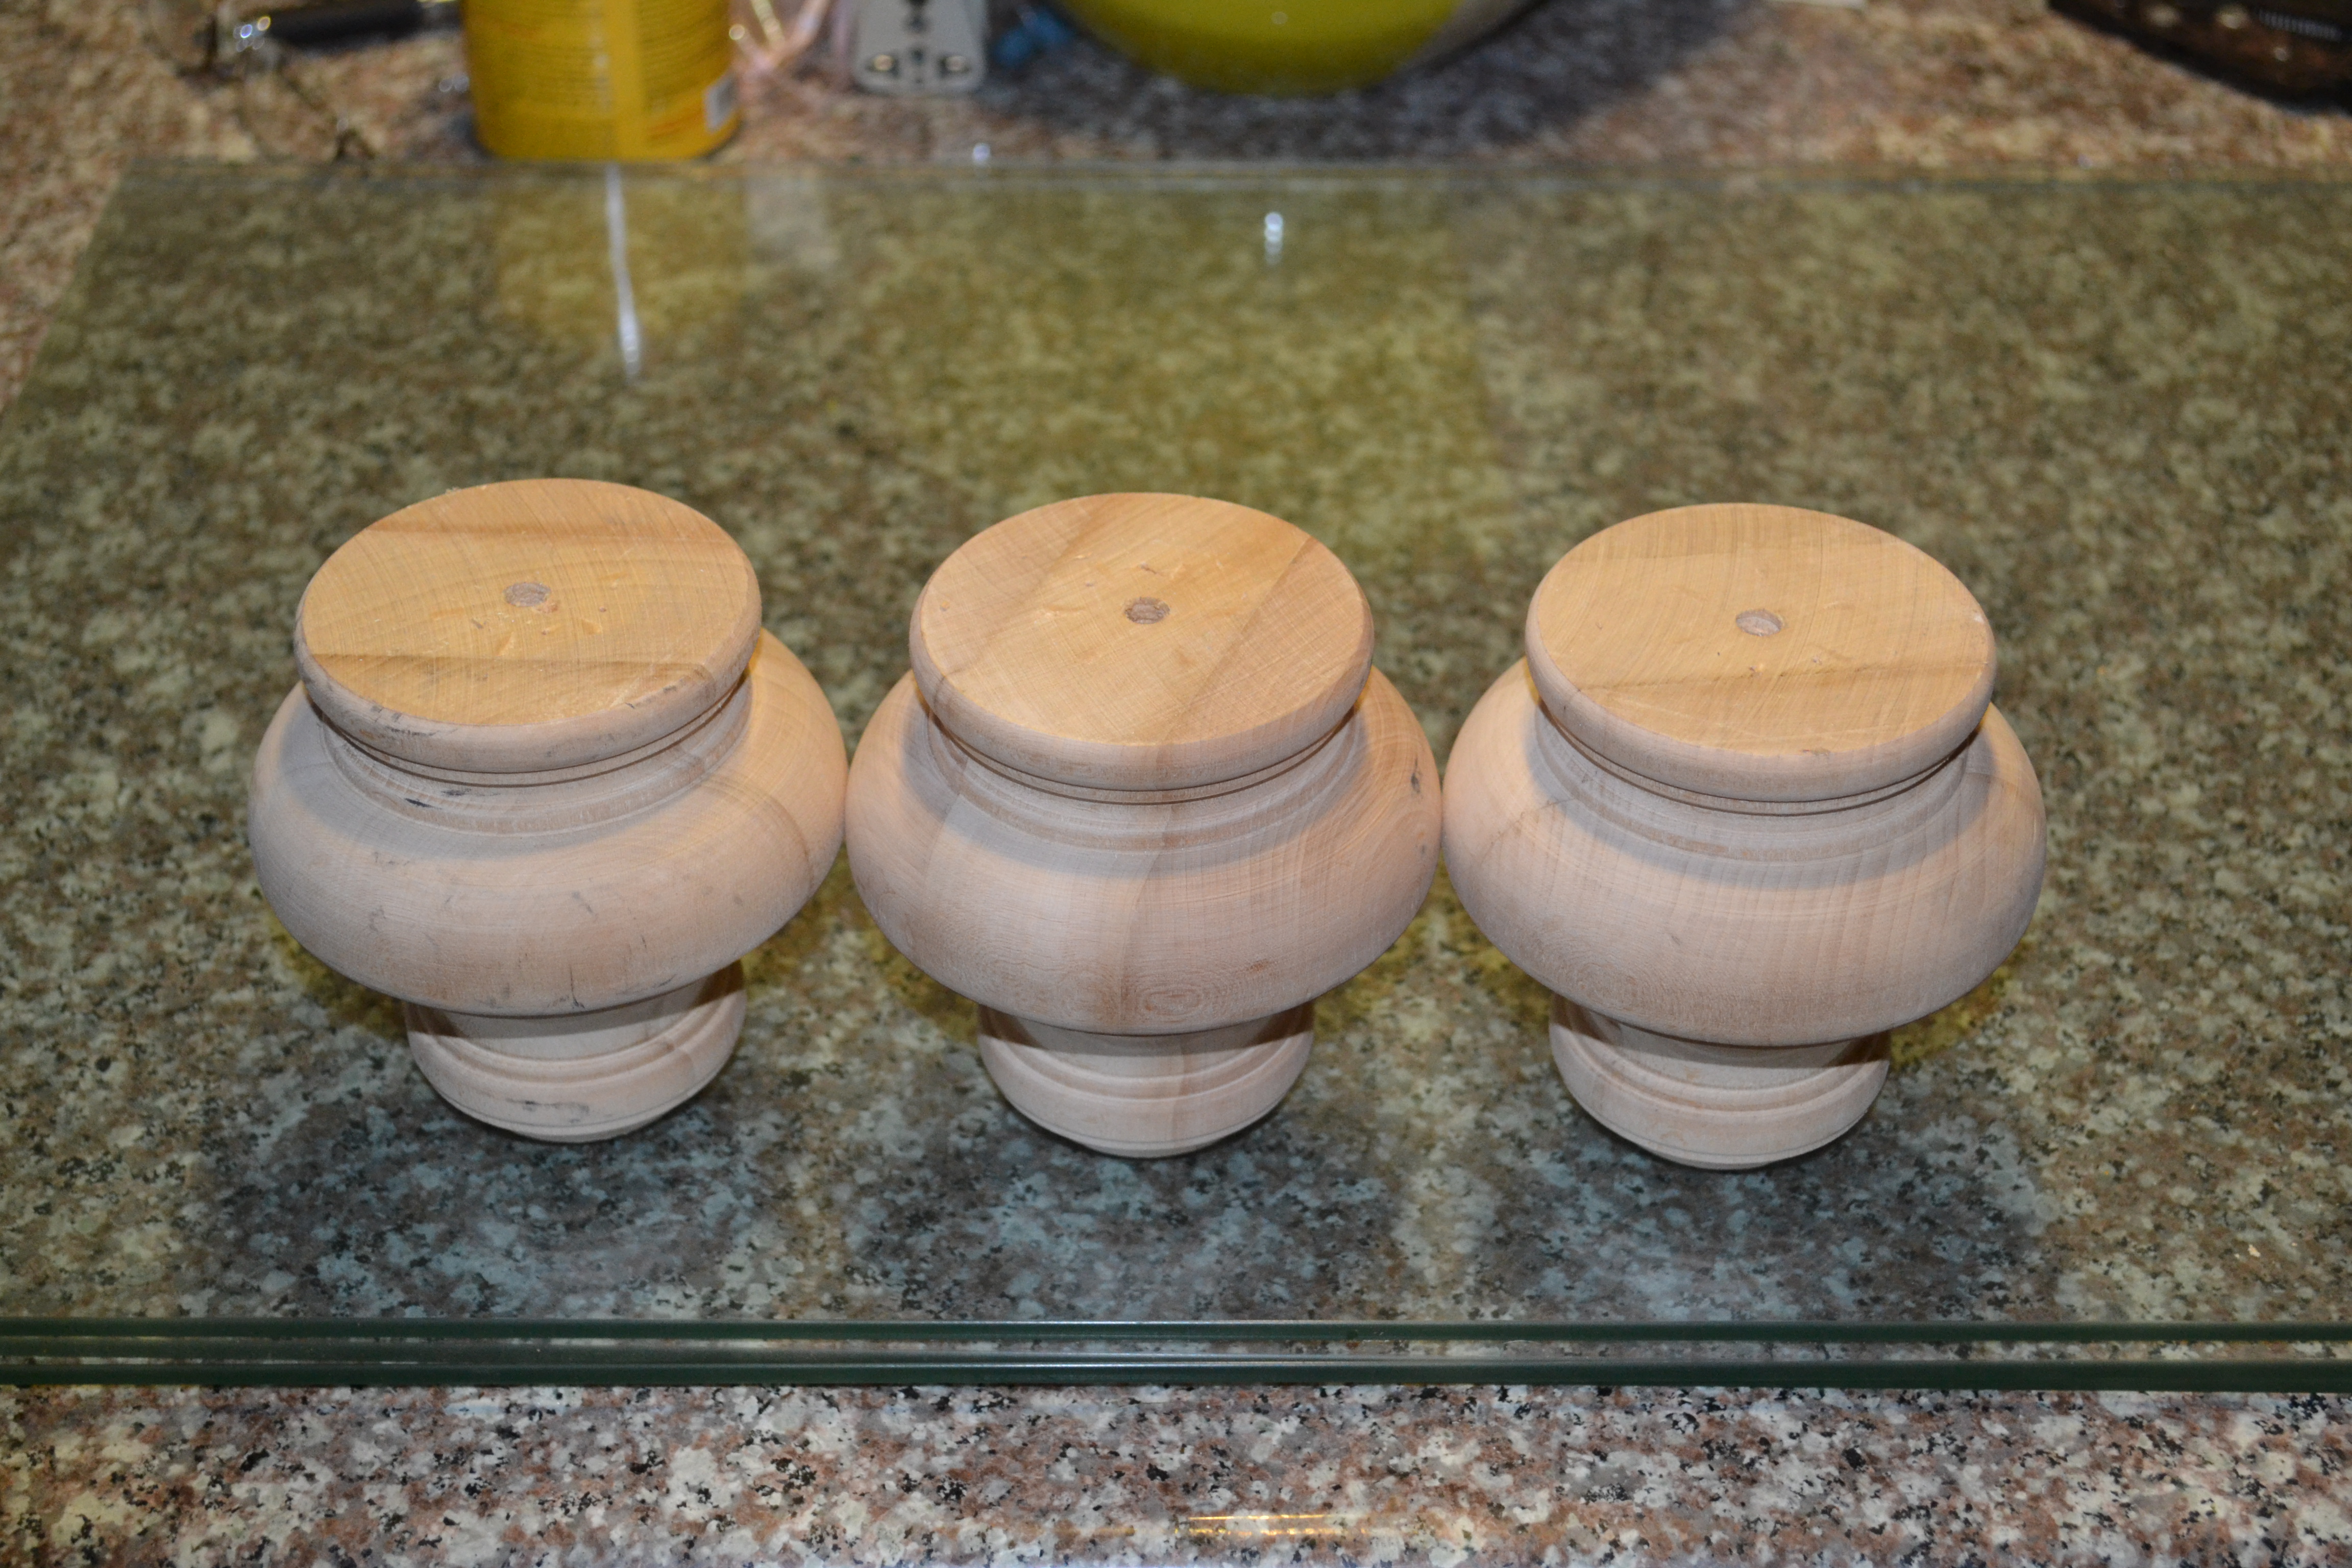
(Imagine that they have screws sticking out of them, which is the way they came, but I forgot to take a picture until after we yanked them out … oh, by the way, spoiler alert.) Which are great, except we wanted to use them the other way. (Told you.) We removed the screws, flipped them over, drilled new holes, and put the screws back in. No sweat! Especially not for me, since I spectated the entire ordeal.
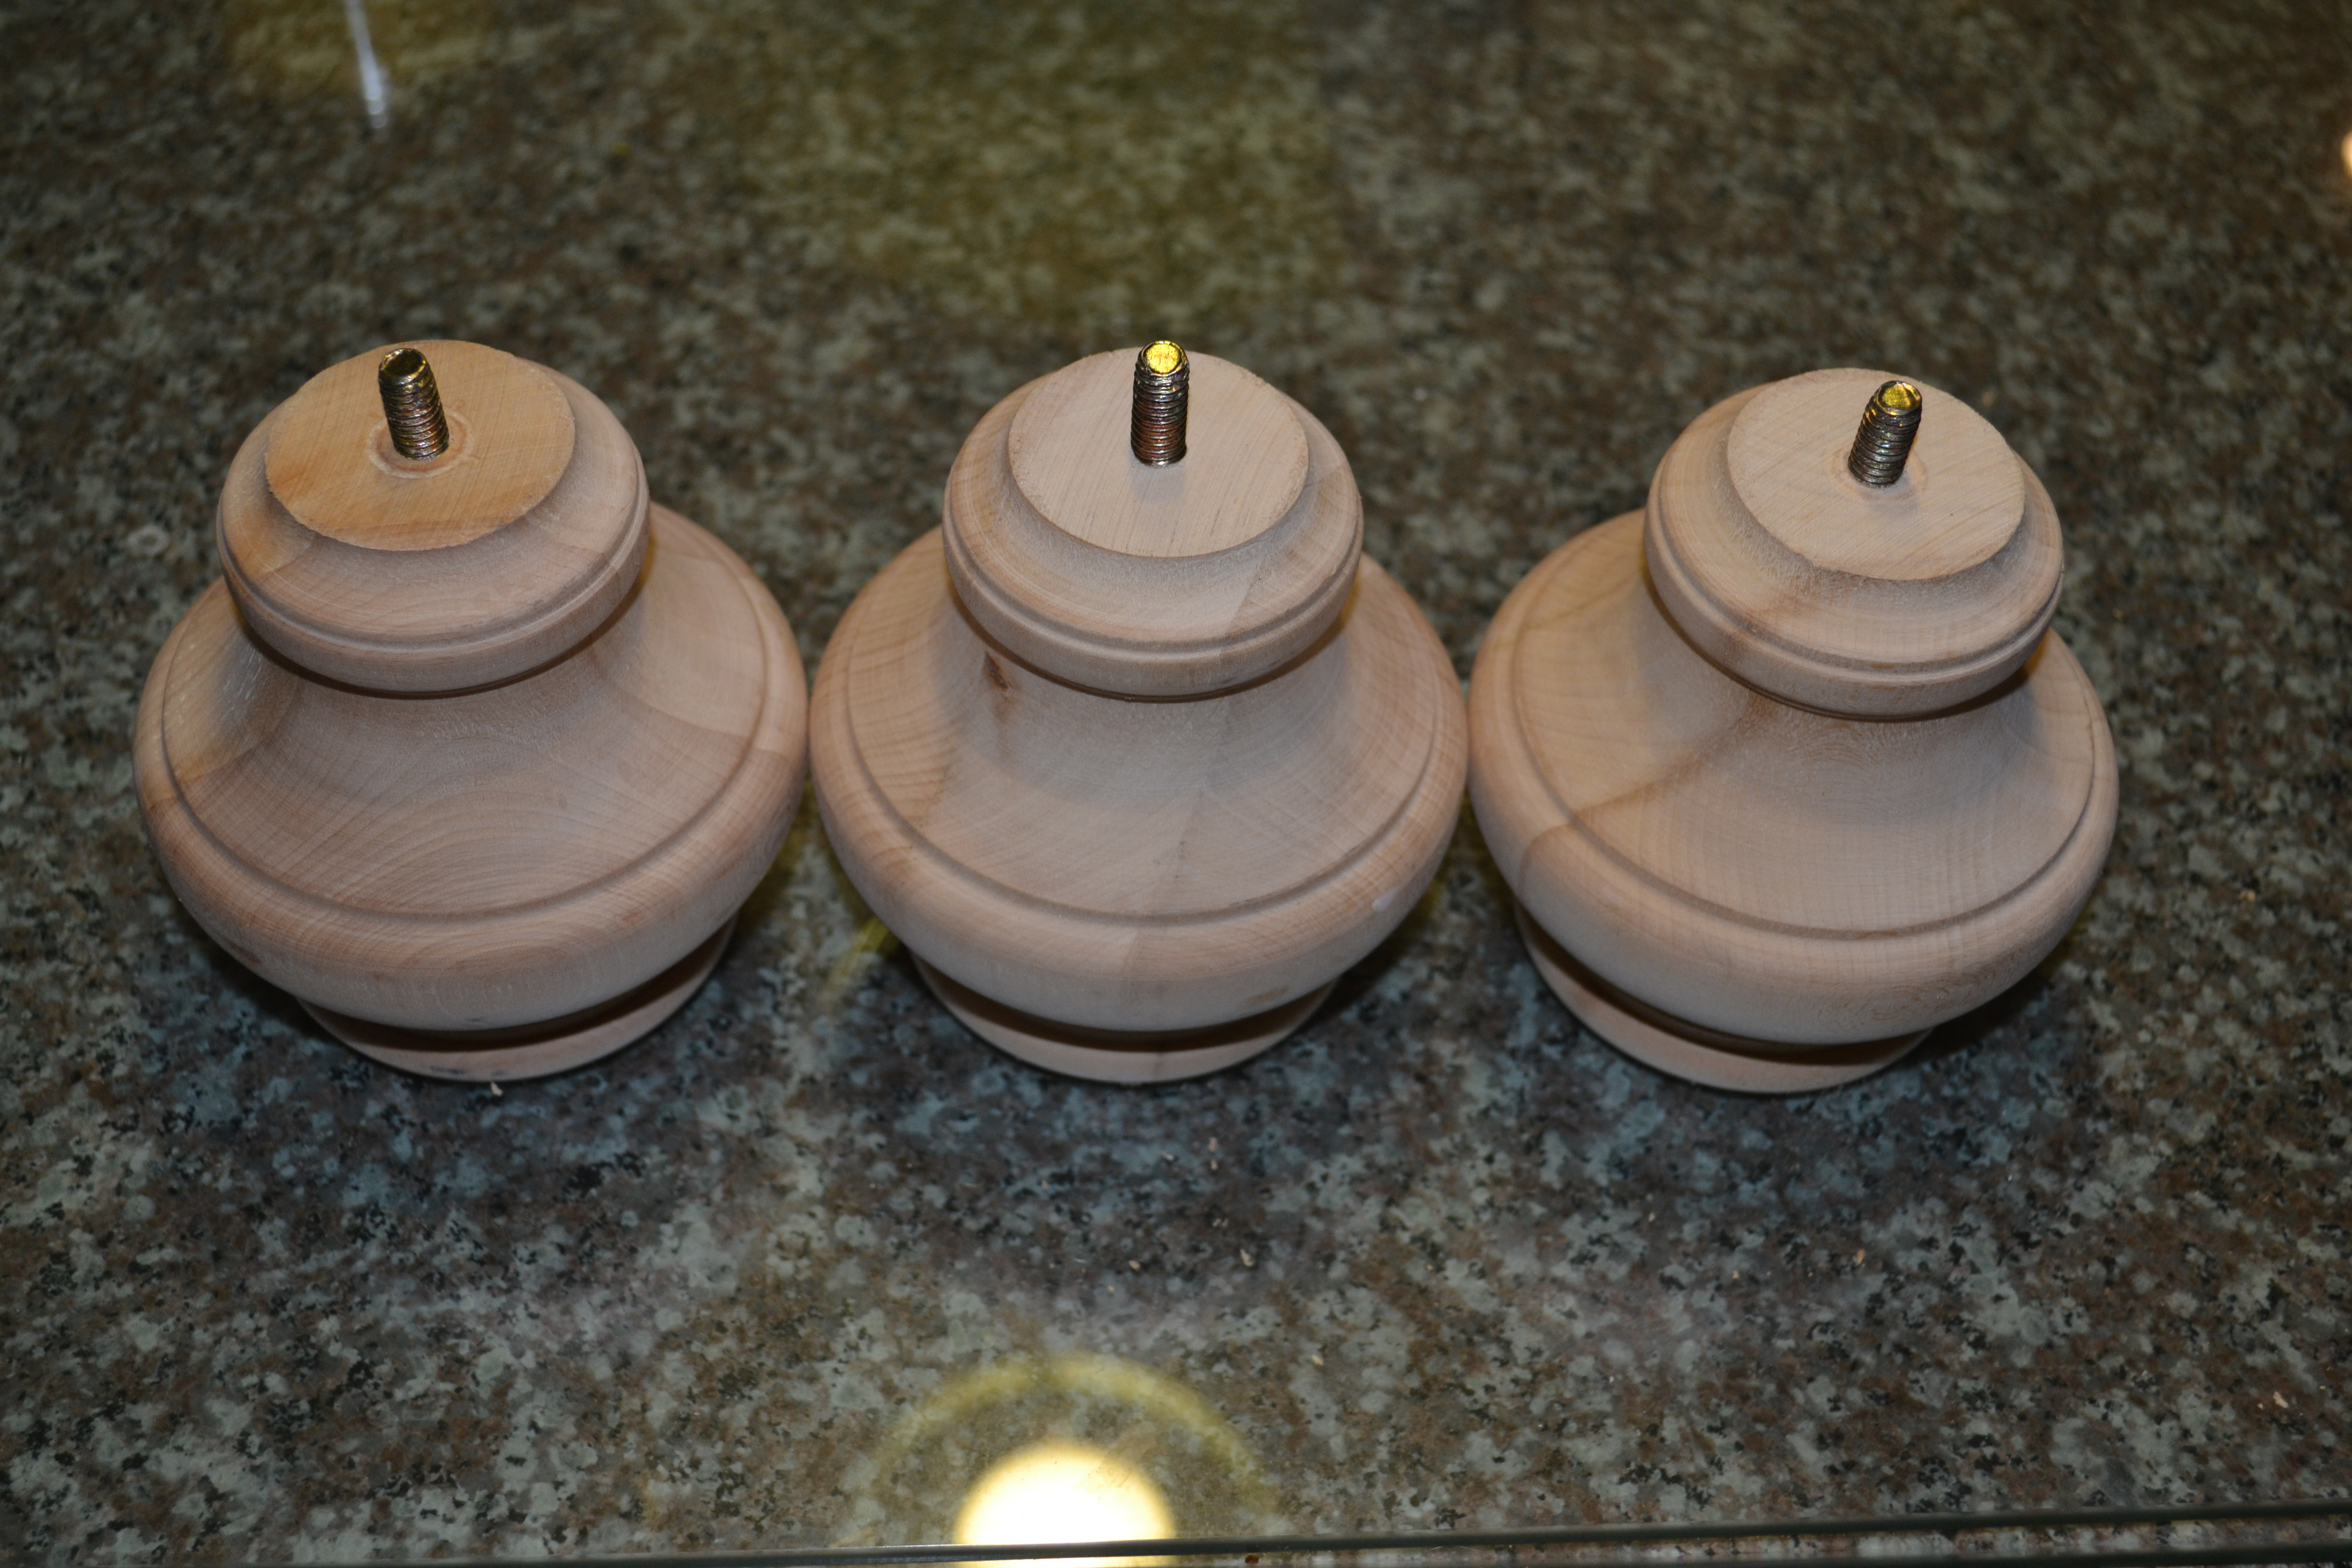
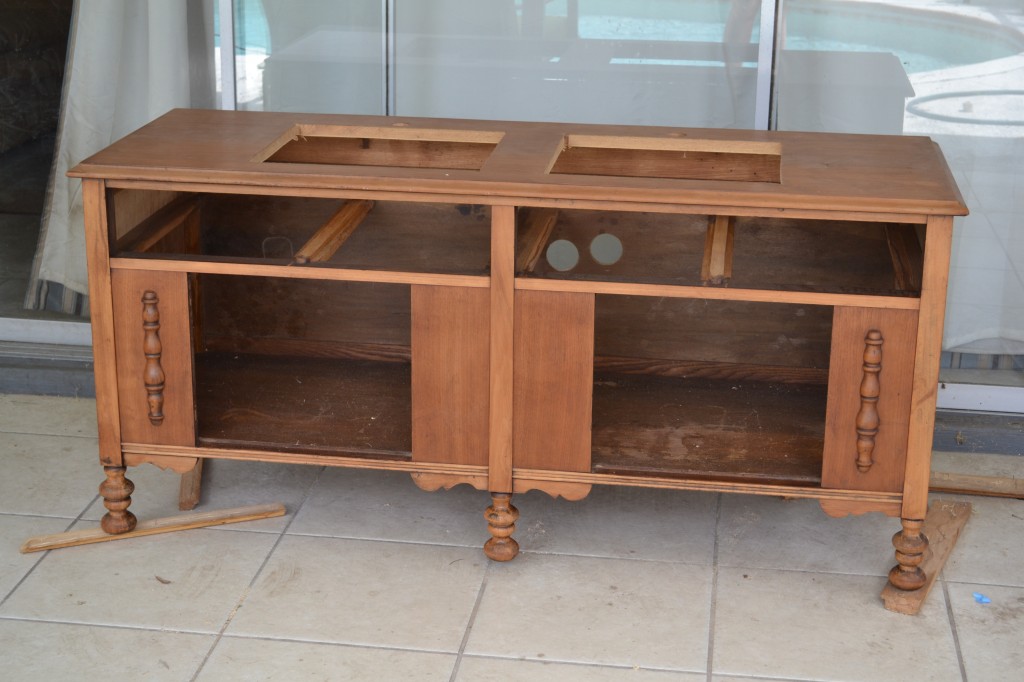
You might notice that they are sitting on three sheets of glass. That is yet another ongoing project in this storage unit we call home (which you can now read about here). You might also notice that there are only three knobby feet. The vanity has two different feet – two square ones in the back, three rounds ones in the front (see photo above). Therefore, I found a scrap of wood that was just about the same dimension as the back legs, and tried to cut square add-ons the same height as the knobby add-ons. Is this making any sense? Probably not.
The REALLY fun part was when we realized that both square feet were actually at a bit of an angle on the bottom, making attaching functional additional height quite a challenge. I started with a 6 foot board, and by the time I discovered the angle by method of trial and error, with an extra helping of error (it was 2.5 degrees, if anyone cares), and cut my two 4 inch pieces, I had about 1 foot of board left. Then – THEN – for added fun and excitement, I “lost” my correctly cut piece in the enormous pile of wrong pieces! If you can tell the difference between a 2 degree angle, and a 2.5 degree angle, kudos to you. You may be surprised to learn that I cannot. I moved quickly through the stages of grief, anger being stages 1-6 for me, then a bout of despair, followed by some self-loathing. Once I had come to terms with my loss, I took the entire effing pile into the bathroom, and put each one atop the feet until I located the correct one. Infuriating.
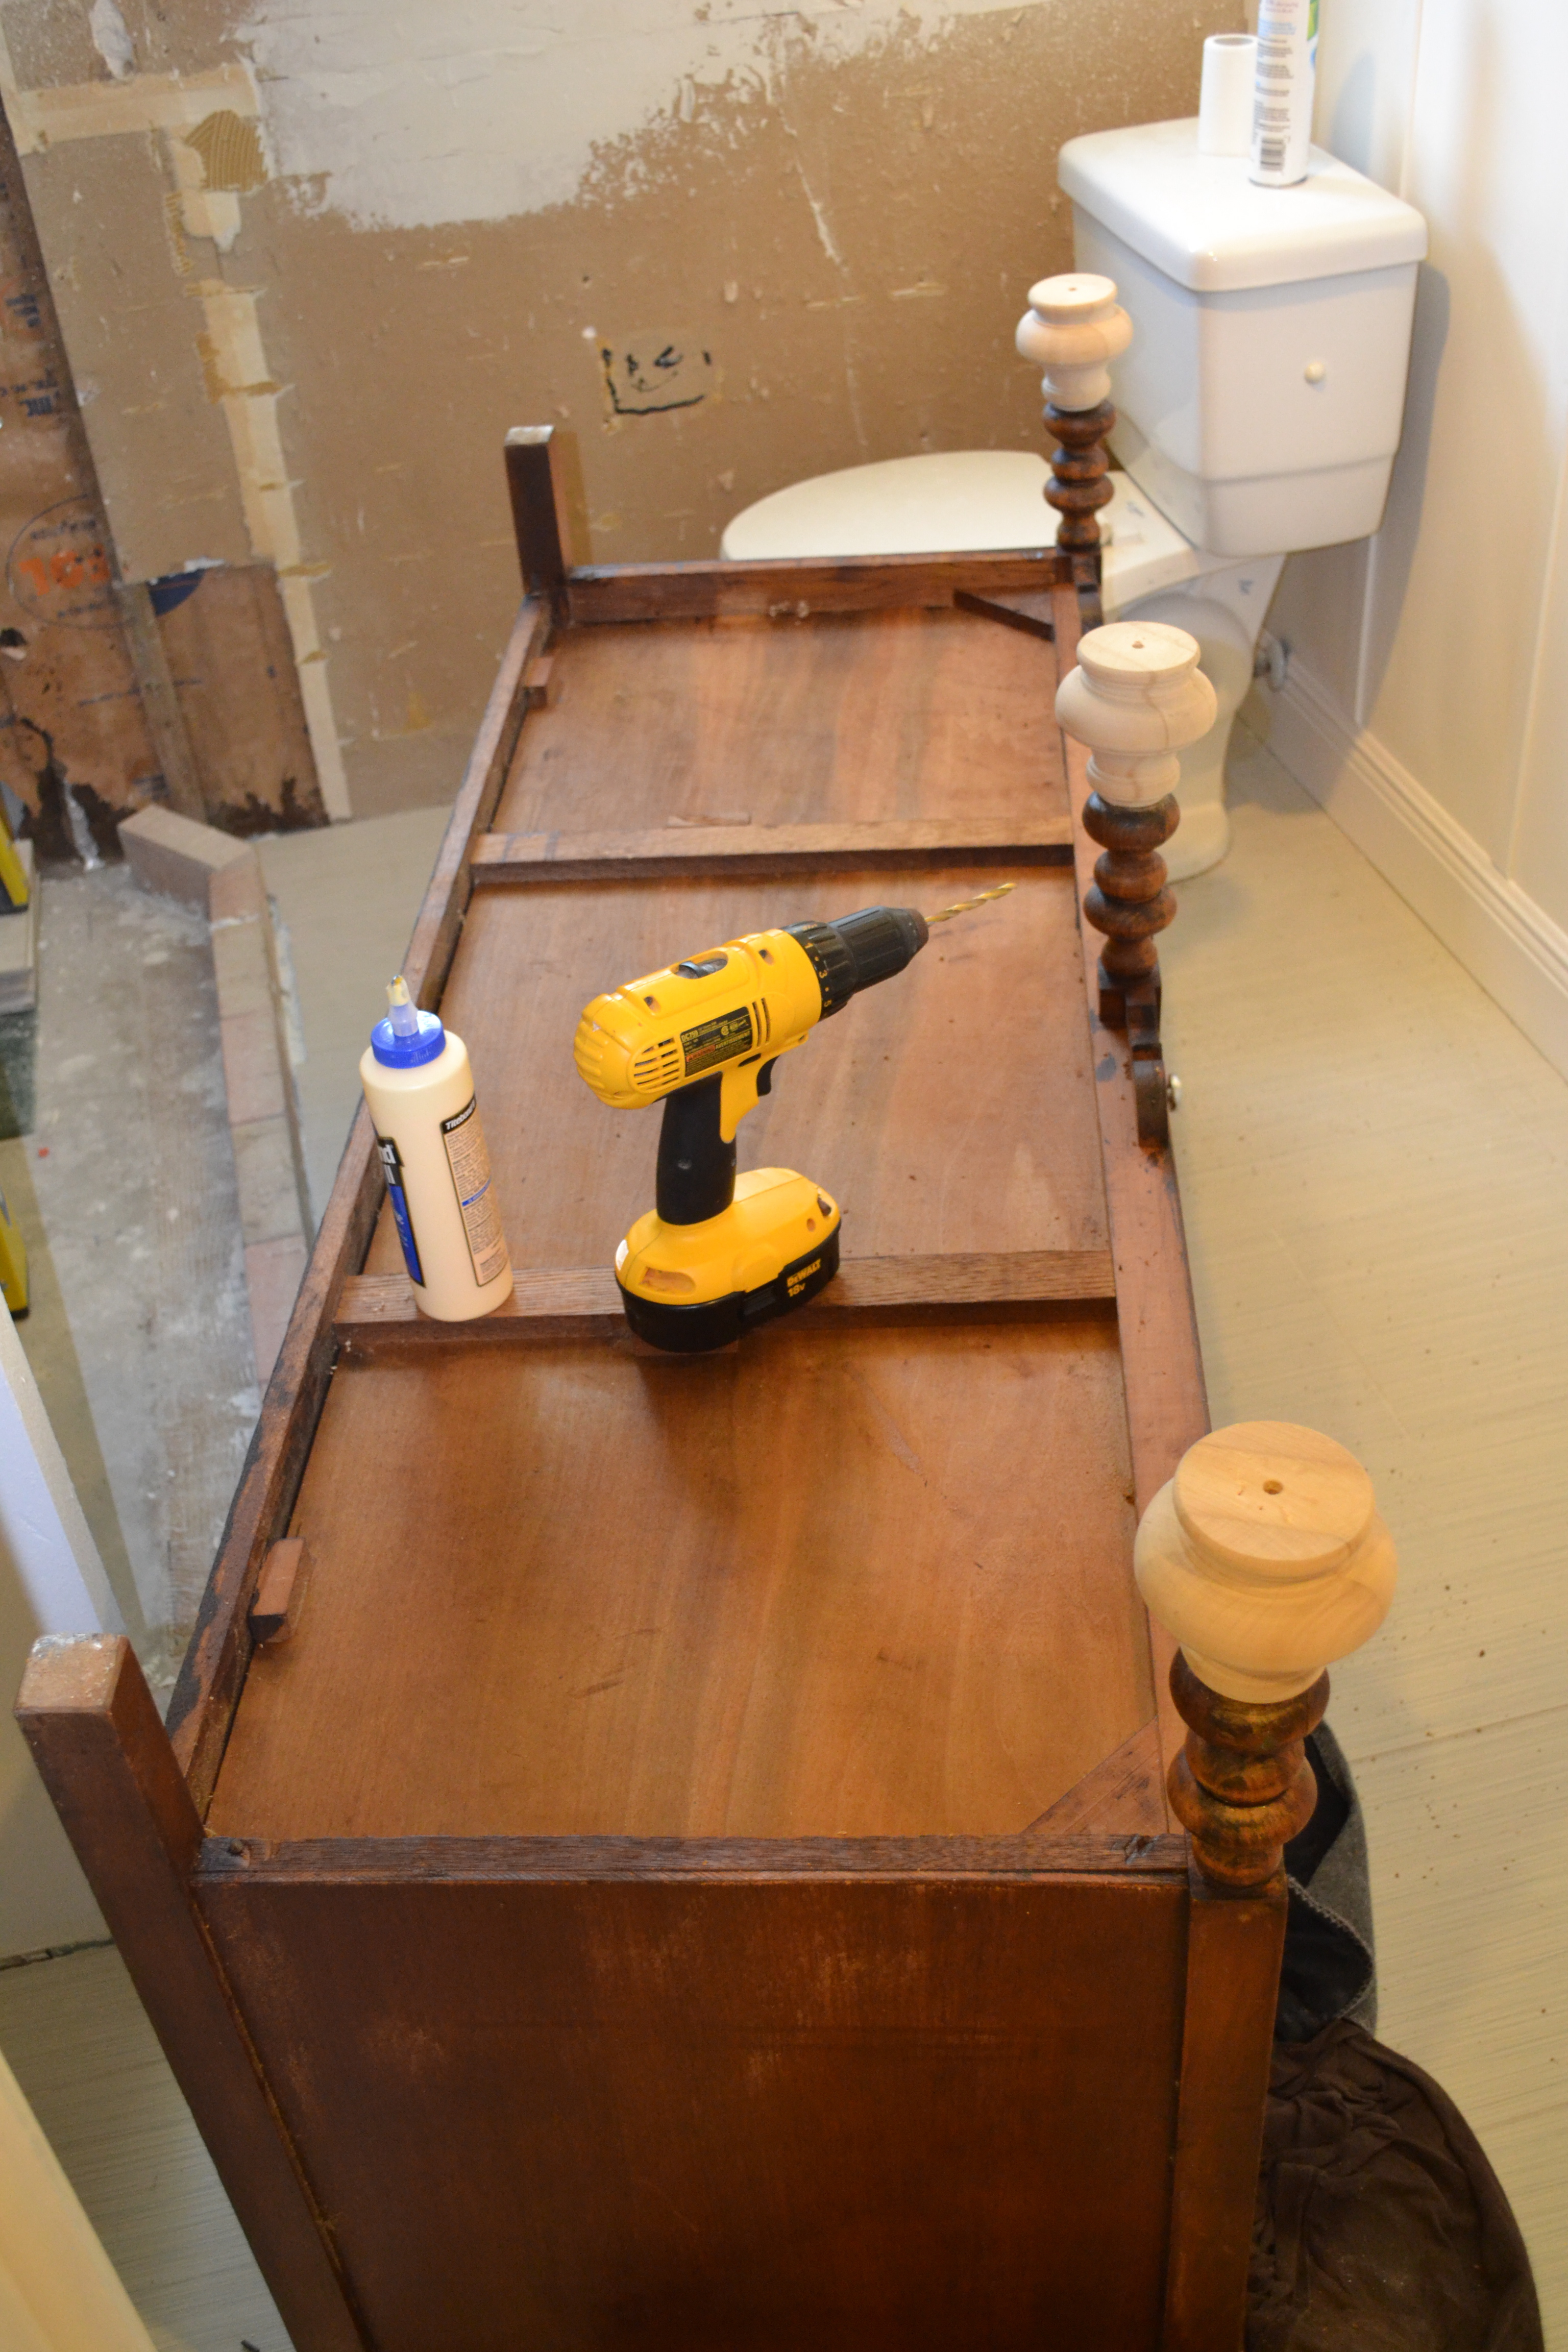
The Boy mixed up stains until he came as close to a match as he could, and stained the feet. Once dry, we attached the new square feet with a dowel and wood glue, and used some wood glue on the knobby feet along with the screws. Here was a pre-stain dry fitting:
And the finished product (PS – you can see the wood we were stacking up to acclimate for our flooring adventure!):
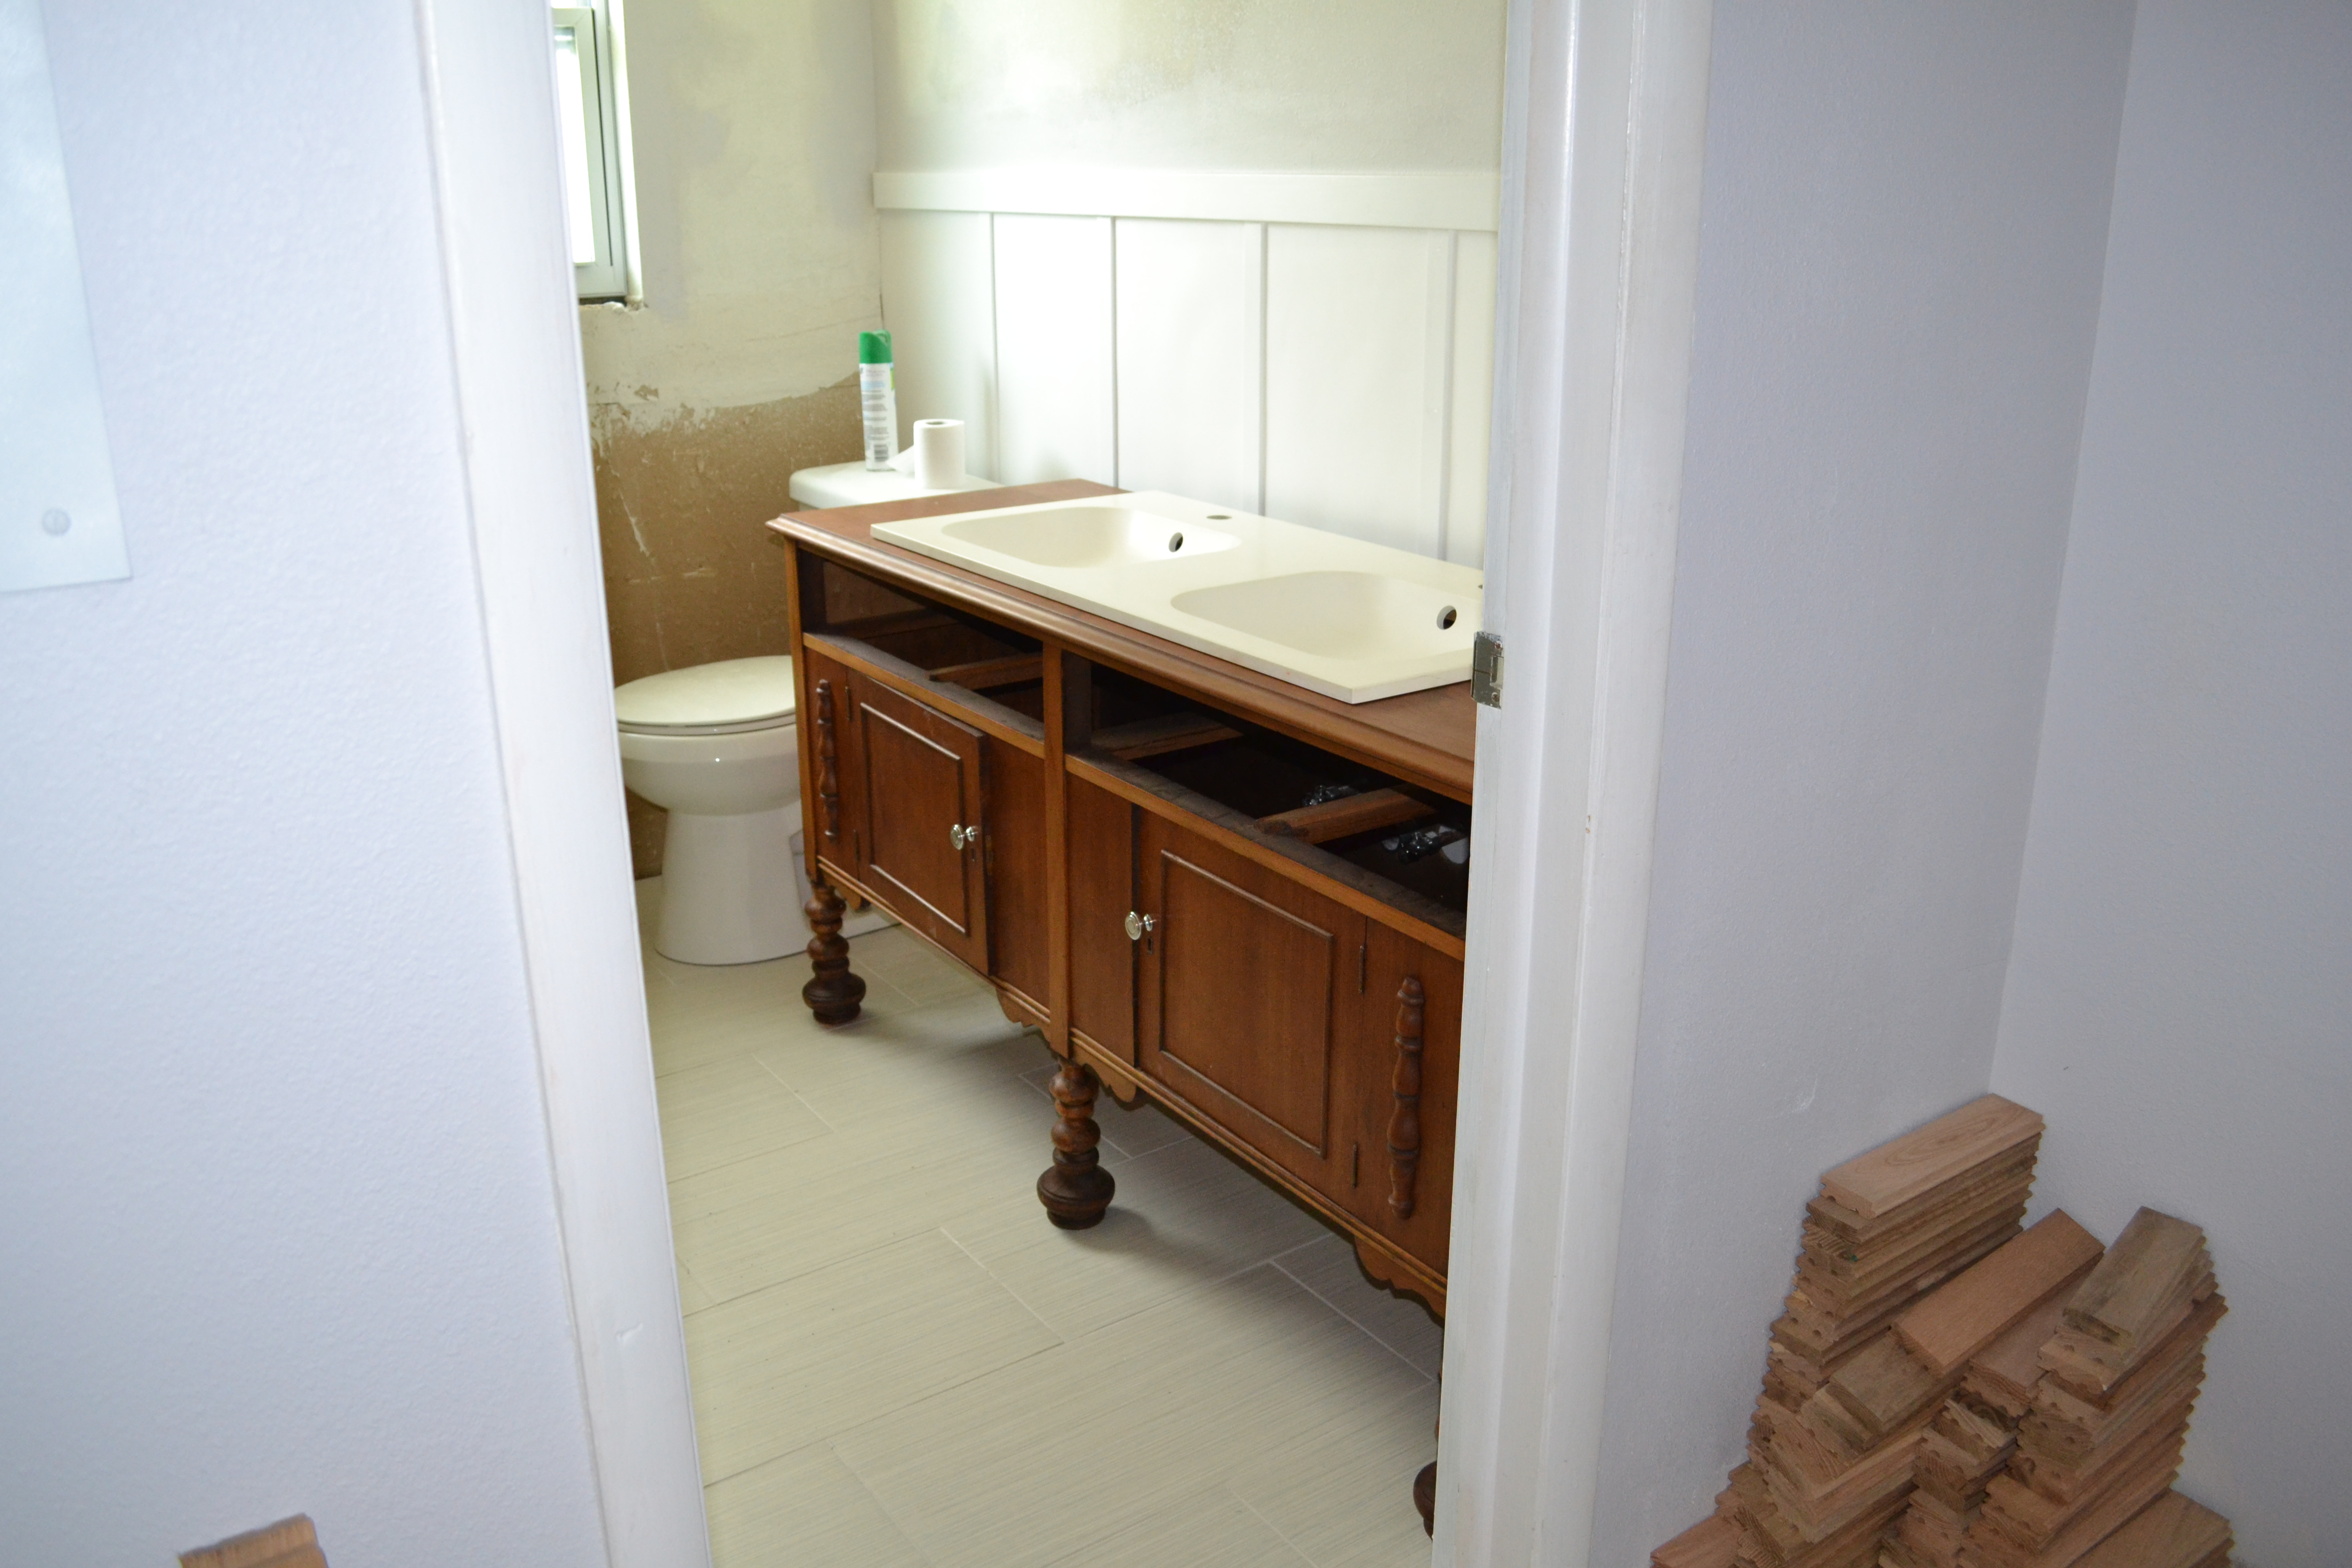
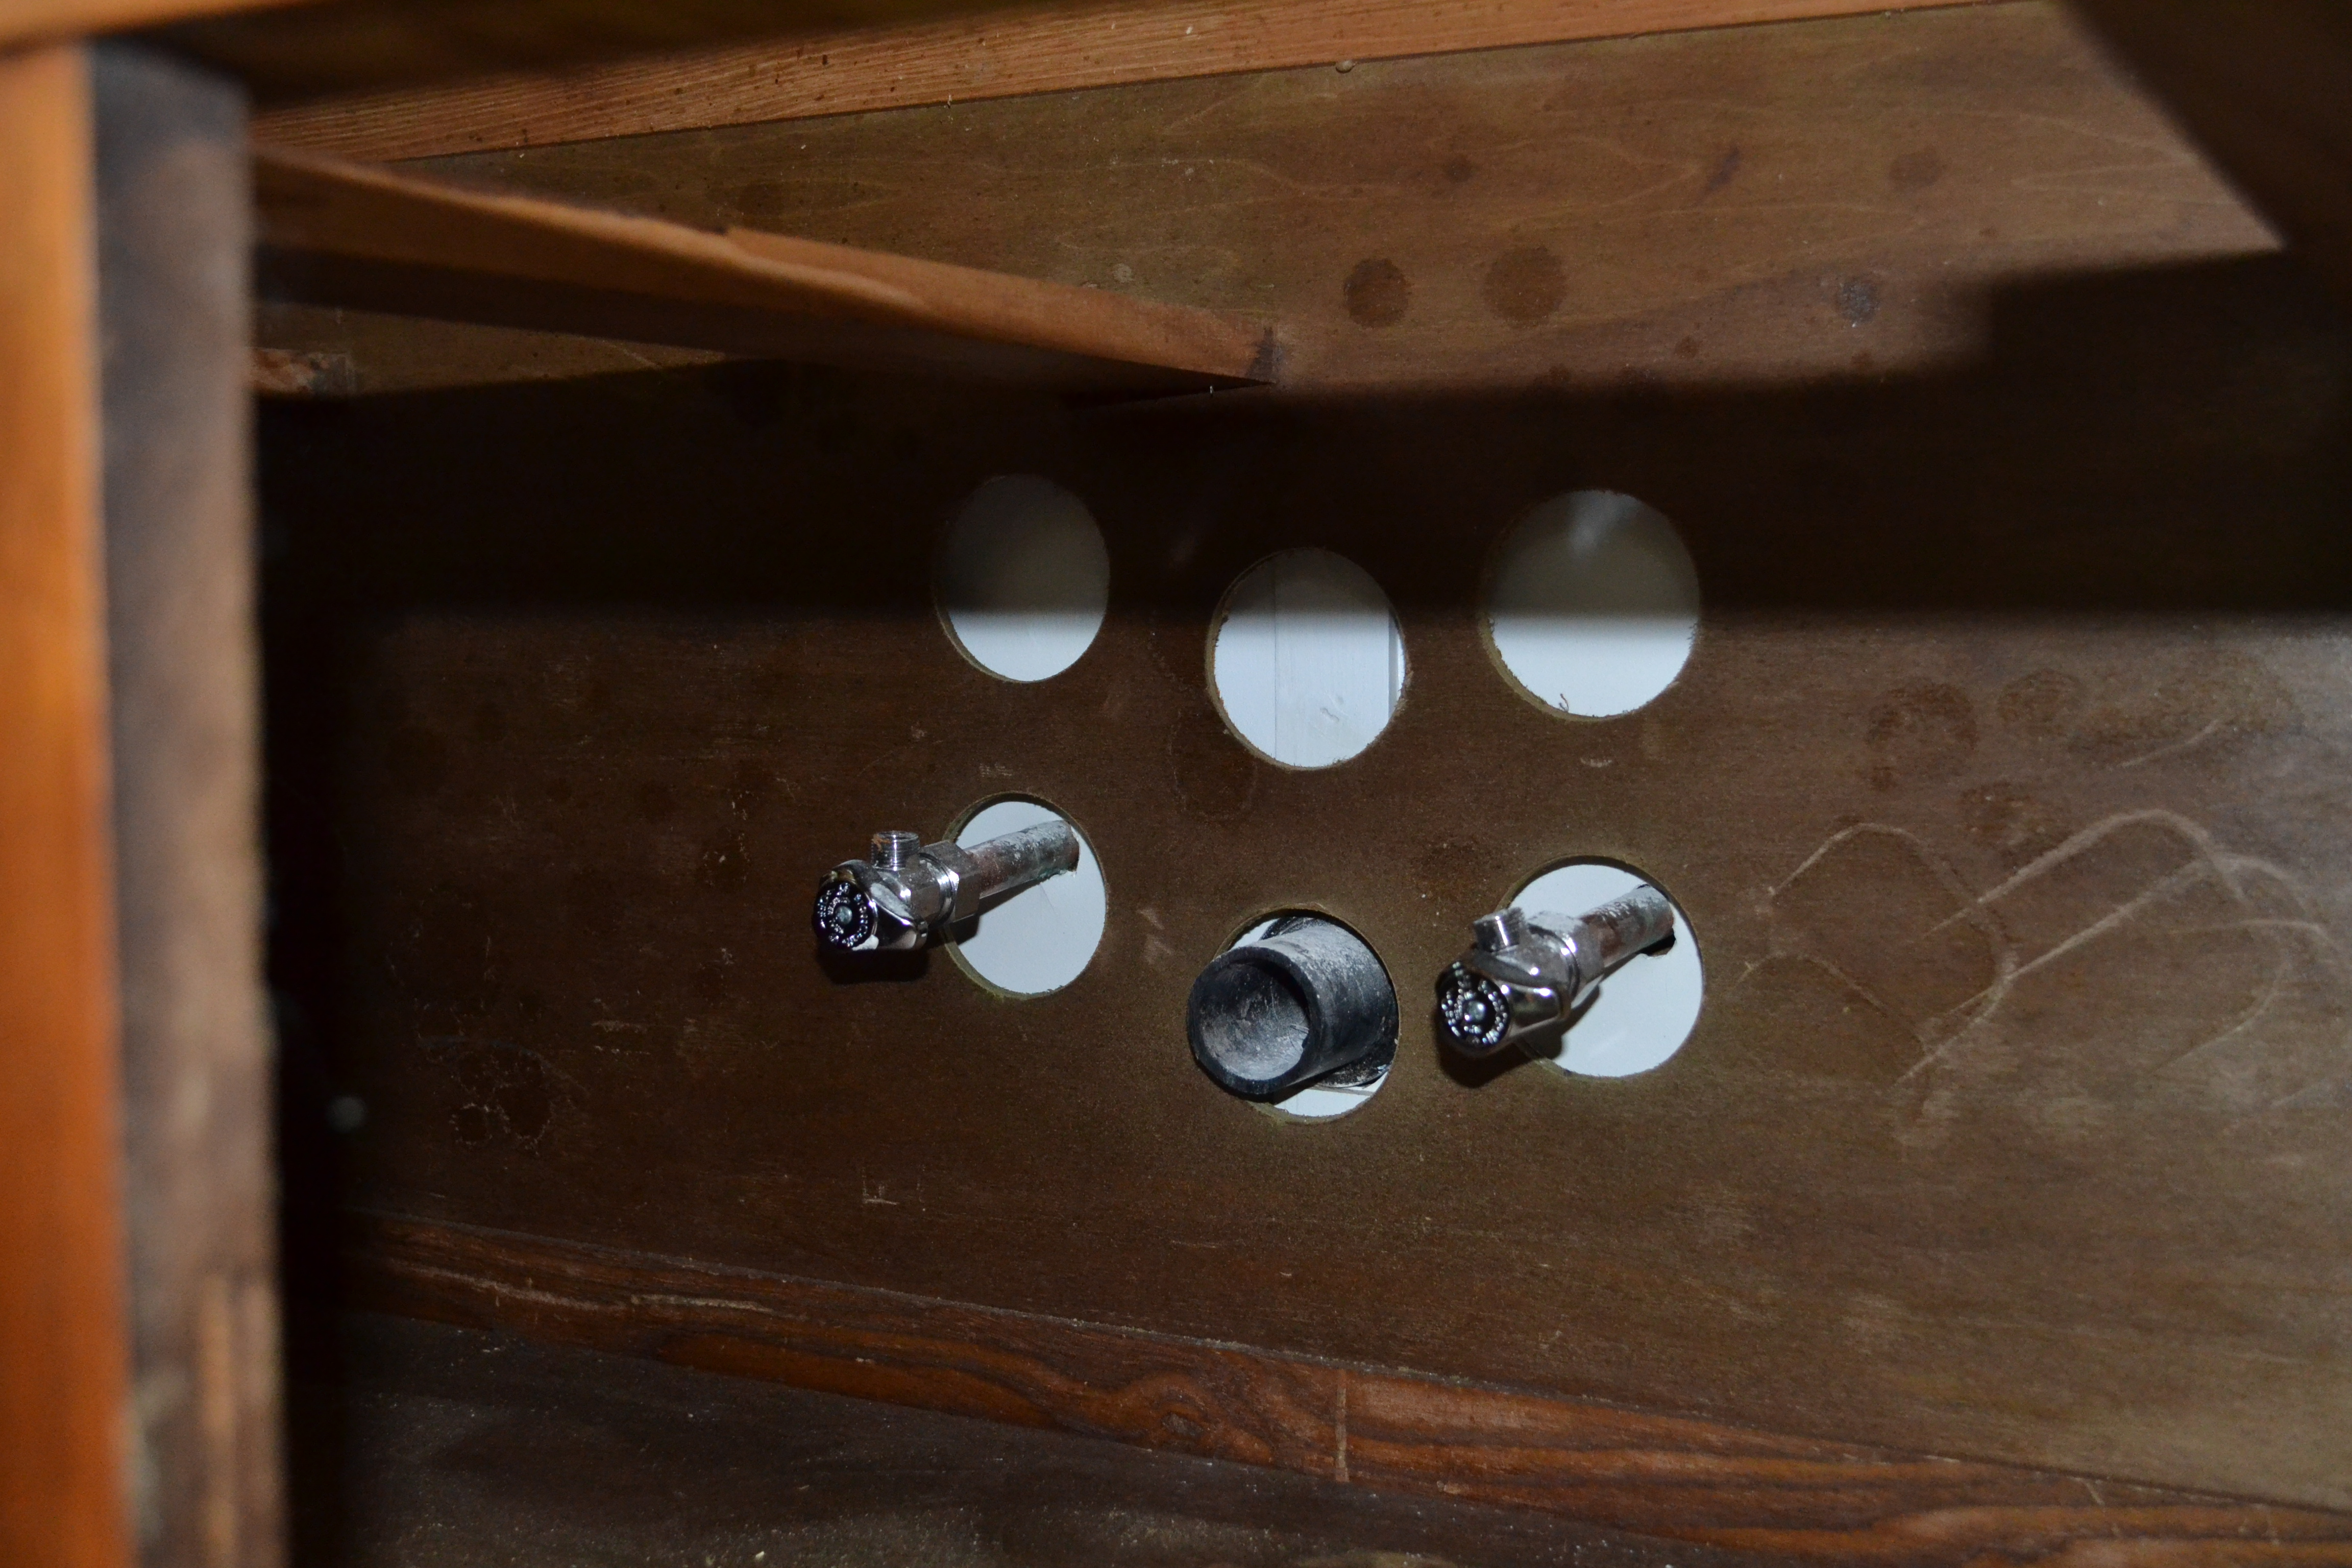
We had to cut additional holes in the back of the vanity for the drain and water valves, since they were now lower, but I can’t imagine it will be too noticeable once we put all of our crap in it.
Things left to do:
-
Plumb sink and install faucets
-
Paint closet and bathroom
-
Install lighting
-
Hang mirror
- Finish painting and staining cabinet, move it in, re-attach trim so it looks built-in
- Lay floors (then sand, stain, and poly them)
- Baseboards
- Install closet system
- Shower (yes, the whole thing, from plumbing, pouring floor, to tiling, and everything in between)
As I mentioned, we are partially done with a few of these items, but none can be crossed off just yet. On a related note, things I found in The Dog’s fur this weekend include wood glue, sawdust, and clear silicone. She is a true DIYer, who cannot bear to be excluded from any of the “fun.” She fits in well.