I’ve Been Framed!

Sometimes it just feels good to make something out of the stuff The Girl and I have laying around in the garage.  It is usually inexpensive, and let’s face it: using power tools is a good way to relieve stress.  There’s just a very satisfying feeling when you pull down on the mitre saw and the blade eats through the 2×4, and at the end of the day, you’ve made something…even if it’s just a pile of cut up 2x4s.

But, in an effort to be more productive than just turning one large piece of wood into several smaller pieces of wood, I’m going to take some otherwise useless leftover flooring and turn it into a rustic picture frame.

AAAAAAAAAAND…..the inevitable “The Boy takes time to mathify and be boring and plan a whole bunch instead of just cutting and gluing” portion of the episode.  Skip ahead if you’re not interested in the mathitude and just want to see whether or not I end up with as many fingers as I start with after using all sorts of spinning blades.

First things first: figure out what size photo you want to frame.  In this case I’m framing a photo that is 24 inches wide and 16 inches tall.  If you decide to tackle this kind of project, I would recommend starting much smaller just to get used to the process.  The width of the frame will be 2 inches on all sides, so the total width is now 28 inches (24 for the picture, 2 for each side) and the total height is 20 inches (16 + (2 x 2)).  The only other thing we need to take into consideration is the width of the inner lip.  This is what holds the picture inside the frame.  When we’re done, there will be a 1/4 inch lip all around the inner edge of the frame, which means we need to subtract 1/2 inch from our width and height totals.  This gives us a frame width of 27 1/2 inches, and a height of 19 1/2 inches.

And now back to our regularly scheduled not-boring portion of the post!

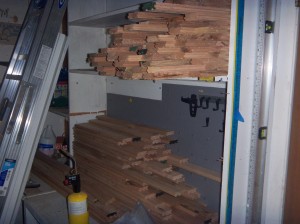
Here are the stacks of leftover wood from the (ongoing) flooring project that had holes or knots in them, which made them unusable for flooring:

This wood has what The Girl and I like to call “character.”  Character is not good for flooring, but it IS good for frames!  The first step is to pick out four pieces, long enough to make up the sides of the frame.  I cut them to length on the mitre saw, leaving me with two pieces of 27 1/2 inches, and two pieces of 19 1/2 inches.  So far, so good.

The flooring I used had a tongue on one side, and a groove on the other.  I believe that this type of flooring is called tongue and groove flooring.  Clever, no?  Unfortunately, I didn’t need either the tongue, or the groove, so they had to go.

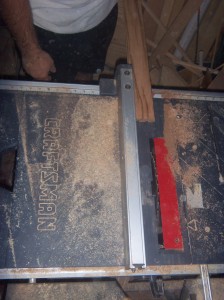
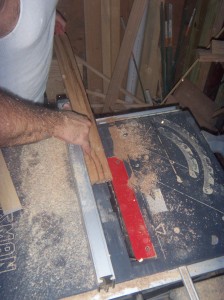
Now, for the dangerous stuff: the table saw.  We wanted 2 inch widths for our frame, so I set the rail at 2 inches.  Then I ran each piece along the rail with the groove against the rail, essentially cutting off the tongue.

Before…

…During…

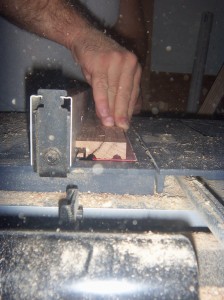
…(almost) After! USE A PUSH STICK!

After ripping each of the four pieces to 2 inch width, we needed to make the 1/4 lip on the inner edge.  For this, I set the rail at 1/4 inch and set the depth of the blade so that it just cuts above the bottom of each groove.  Then I ran each piece across the blade, groove side against the rail.

REMEMBER: the blade is below the board, so you can’t cut your fingers so long as they are ON the board, but be sure you are not pushing at the end of the board or you WILL cut your fingers (off).

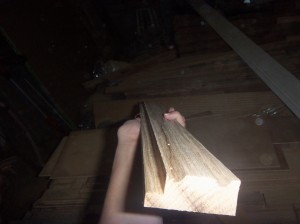
Result: four nice, smooth, pieces of wood with a 1/4 inch lip cut into them.  SWEET.  Time to cut some 45 degree angles on the edge of each.  The side with the lip is the short edge, and the smooth side is the outside edge.  Back to the mitre saw.

You got a purty mouth…lip…whatever.

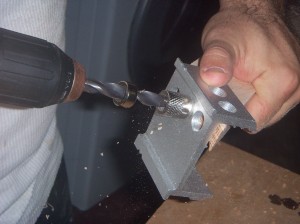
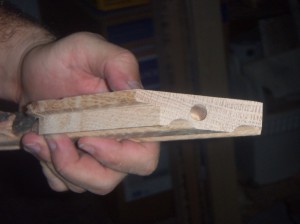
Now that the dangerous stuff is over, it’s time for putting it all together.  I’ve used a biscuit joiner in the past, but I was out of the small biscuits and decided to use a dowel jig instead.  After using the dowels this time, I will be using them again in the future…much easier.  Drill a hole in each side of all four boards and then use a dowel and wood glue to put all the sides together.  Set it and forget it. (for a few hours, then remember it)

I love it when a plan comes together.

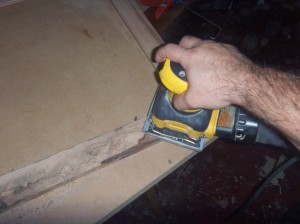
Time to pretty it up.  In a very tough and rugged fashion, obviously.  I sanded the front of the frame with 60 grit.  Then I used a wet cloth (sock) to dampen the freshly sanded edge. This makes the wood swell slightly, and the fibers of the wood will stand up.  Once it’s dry again, I hit it with 100 grit to make it extra smooth.  BOOM!

Finally, a coat of stain, and polyurethane to protect the wood and the stain.  Makes for a very rustic picture frame.  I didn’t show it here, but you can pick up hardware for hanging the frame and securing the back of the photo at your local hardware shop.  You’re on your on for picking out a photo for the frame!

That’s a good lookin’ picture!

Pinbusters – Cutting a Glass Wine Bottle

Have you ever wondered if the stuff people post on Pinterest is true? Well I have, and I test them all so that you don’t have to, ’cause ain’t nobody got time for that.  Click here to check out all of the pins I haven taken on. You might be surprised by some of the results!

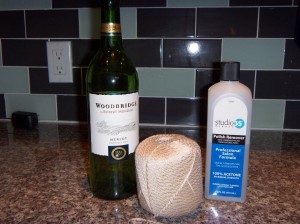
I am really pulling for this one.  It looks so cool!  All of the elements are there, too:  water, fire, ice, wind, acetone … let’s get down to business.

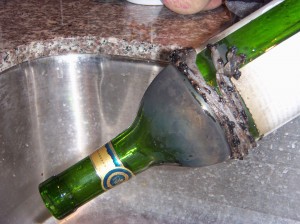
The pin in question claims that you can “cut” a glass bottle (in reality cause a thermal fracture due to differential expansion) by soaking a cotton string in acetone-based nail polish remover, wrapping it tightly around the bottle, setting it on fire, and then dunking it in an ice bath.  Sounds easy enough.

The Boy was skeptical, and said you would have to get it REALLY hot, and then REALLY cold immediately to cause the glass to break along the clean line.  I agreed, but remained optimistic that it would work.

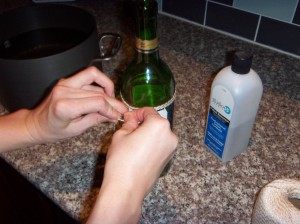
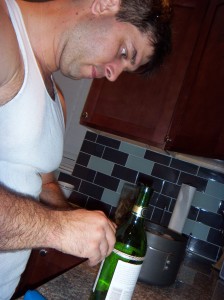
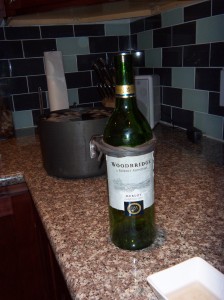
I chose a length of cotton string, and wrapped it very tightly around the bottle three times. (Note: it is not preferred to drink an entire bottle of wine right before attempting this task.  I did drink this bottle over the course of a few nights, and every time I poured a glass I declared that I was “drinking in the name of science!” which frankly everyone should do more often.)

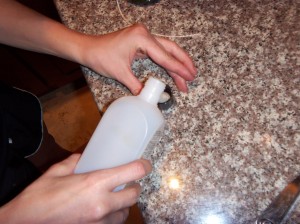
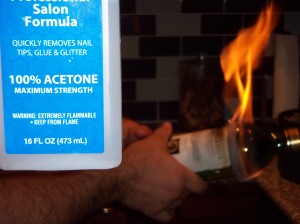
I removed the string, and soaked it in 100% acetone for at least 30 seconds.  Then I fished it out and slid it back onto the bottle.

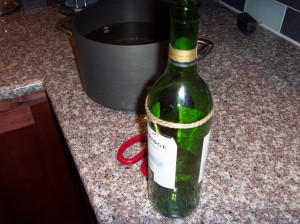
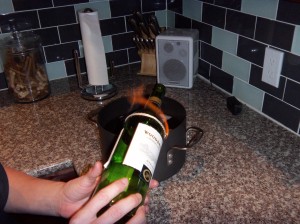
Next: light it on FIRE!!

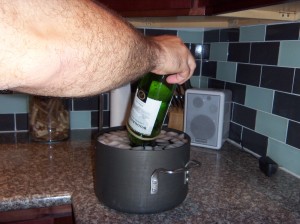
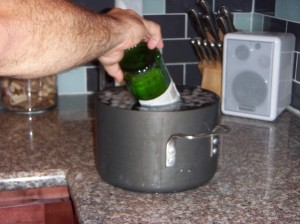
It didn’t take too long for the flames to die out, and I immediately dunked the bottle in the cold water.

Nothing.  Nada.  Not even a gratifying crack.

The Boy was now interested in taking a shot at it.  Permission to light things on fire in the kitchen granted?  Count him in!

We chose a longer length of string, and he wrapped it around 5 times or so.

This time we dunked it in regular nail polish remover (with acetone), put it back on the bottle, and lit it.

The flames were about the same, but did burn longer.  I also added more ice to the ice bath to bring the temperature down.  Flames started dying down, bottle took a swim, and …

NOTHING.  I was just about ready to break this bottle the old-fashioned way.

Last ditch effort.  The Boy sacrificed a shoelace from his yard work tennies.  We soaked this baby in 100% acetone (there should be no difference between the regular nail polish remover and salon strength stuff, because its only purpose is to be flammable, and the acetone is the ingredient that is flammable, so the salon strength 100% acetone should work best).  We let it soak for about a minute, during which I emptied our ice maker’s contents into the ice bath.

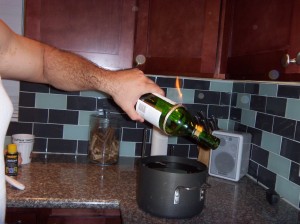
Then, we squeezed the shoelace around the bottle, backed away from the kitchen cabinets, and got our pyromania on.

Flammable? Ya don’t say.

The Boy, holding a flaming borderline-Molotov cocktail, suddenly started looking up and all around the ceiling, and then said “Oh thank goodness we don’t have any smoke detectors.”  Thank goodness?!?  This burned for well over a minute, and as soon as it started to go out, The Boy dunked it, even hitting it against the bottom trying to cause a fracture.

BIG FAT NOTHING.  And it caused the kitchen to smell vaguely of nasty burnt shoelaces.  Yum.

I haven’t been this disappointed since NKOTB got back together (why can’t we just have our lustful childhood memories and leave it at that?  Sigh).

Verdict:  Don’t try this at home.  Liar, liar, bottles on fire (c’mon – I HAD to do it).

Pinbusters – Photo Transfer to Canvas

Have you ever wondered if the stuff people post on Pinterest is true? Well I have, and I test them all so that you don’t have to, ’cause ain’t nobody got time for that.  Click here to check out all of the pins I haven taken on. You might be surprised by some of the results!

I am back with another riveting episode of Pinbusters.  The Boy and I have vowed to DIY as many Christmas gifts as possible this year.  The goal is not necessarily to save money, since we will still have to buy supplies, but to give more meaningful and thoughtful gifts. Therefore, many of the pins we will be busting are dry runs for Operation DIY Xmas.  If you are a friend, family member, or just plain hoping to be surprised by a gift from us, stop reading.

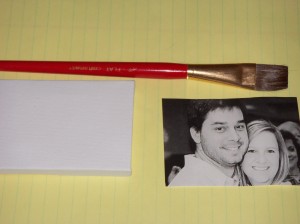
OK, now that we have established that we will not be giving you a gift (you are still reading, aren’t you??), let’s do this.  I was intrigued by the many pins showing various methods for transferring a photo printed on plain ole computer paper to canvas.  I had a tiny little spare canvas left over from a prior project, so I thought it would be perfect for this test.  I browsed my Facebook photos, picked a cute one, and printed it out on my laser jet printer (many of the sites say to print using laser jet, but I have no idea if it is a requirement, and an ink jet won’t work … another test for another day, I suppose!).  Here are the supplies needed:

First step:  Coat canvas with the highly acclaimed miracle craft material – Mod Podge! (Isn’t this just gel medium? No? What am I missing here?)

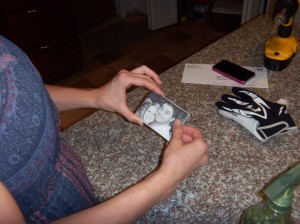
Place photograph, image side down, on the canvas.  Push down and rub the paper all over to ensure good contact and adhesion.  This was easy for me since my canvas was so tiny, but on a larger canvas people recommend using a tool of some sort.  Also, you could paint the canvas prior to this step if you want.

Let dry for several hours.  I let it dry for about 24 hours, just because I was busy, but I am sure overnight would be more than sufficient.  I then used the spray bottle (a/k/a The Dog’s worst enemy and “Bad Girl!” deterrent mechanism.  Seriously, she hates this thing, and it is the only “punishment” that works on her.  I once used it to spray down The Boy’s hair during an at-home haircut, and she must have been reeling at how bad he had been to deserve such treatment) … where was I?

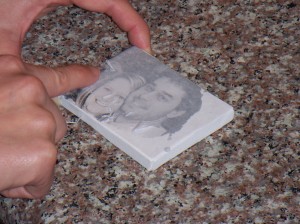
Oh yes, spray the paper.  I had it on jet instead of mist, so I got it really damp, but it didn’t seem to matter.  Then I started rubbing until the paper started peeling and rolling off.  It wasn’t very difficult, and the results were pretty awesome.  I was pleasantly surprised!

So cute!

The Boy said we both had double chins in the picture. This is my “retract your statement immediately or die” face.

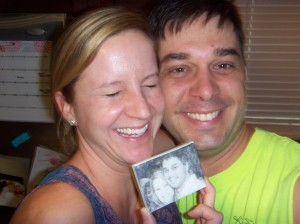
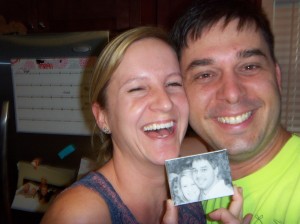
We then attempted to take a photo of us, with the canvas held up to our faces.  I tried first, and then The Boy took over, furiously snapping photos like a paparazzi, but we both failed miserably, and here is the series of photos that resulted:

Take 1.

Take 2.

Take 3.

Take 4.

Take 5.

Take 6. Yikes.

Enjoy, ya’ll.