The holidays were such a whirlwind and I cannot believe 2013 snuck up on us like that. Here’s to a month or more of my backspace key getting a workout everytime I type 2012 … then have to fix it.
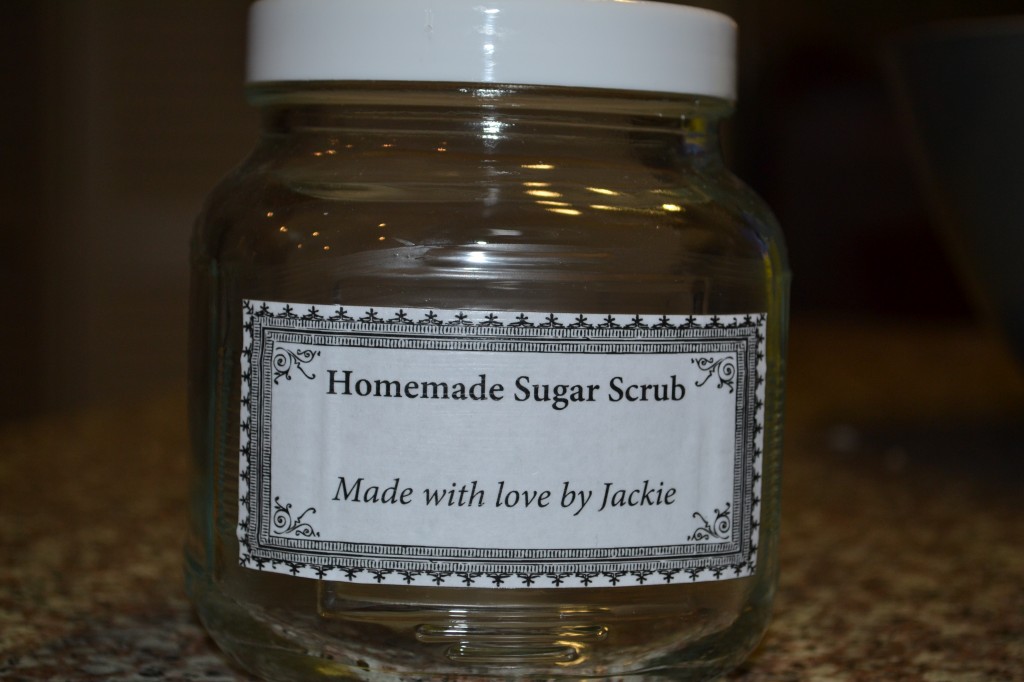
I wanted to share some of the DIY Christmas presents we gave this year. I made a ton of sugar scrub to give family, friends, and coworkers. It was surprisingly easy to make and the ladies seemed to enjoy it. The process involves a lot of sugar, some baby oil, coconut oil, and essential oil for scent (or flavor, as I call it). I made one batch with a little bit of almond and vanilla extract, and it was VERY sweet smelling (maybe too much). Also, after using lavender oil to scent one lavender batch, I discovered lavender-scented baby oil, which was fantastic. The lavender scent was much less over-powering with that batch. I made and gifted 8 jars total, and even made my own labels for some of them.
For my family, when Christmas started getting expensive with the addition of children (I have 6 nieces and nephews!), and still buying for all adults, we talked about a solution. Since it was unanimous that the stocking was everyone’s favorite part, we decided to each have one person to prepare a stocking for. It is fun to pick up things all year long, and then give a huge stocking full of small-ish gifts. We only do this between my sisters and my mom, so there are four of us. I had a hard time coming up with homemade gifts for my sister Stephanie this year. She obviously got some sugar scrub, and some lip gloss that came out mediocre. My attempt to make her etched glasses was a bust pre-Christmas, then I figured it out post-Christmas. I tried to re-create the photo transfer to canvas on a larger scale with a photo of her boys, but it did not pan out.
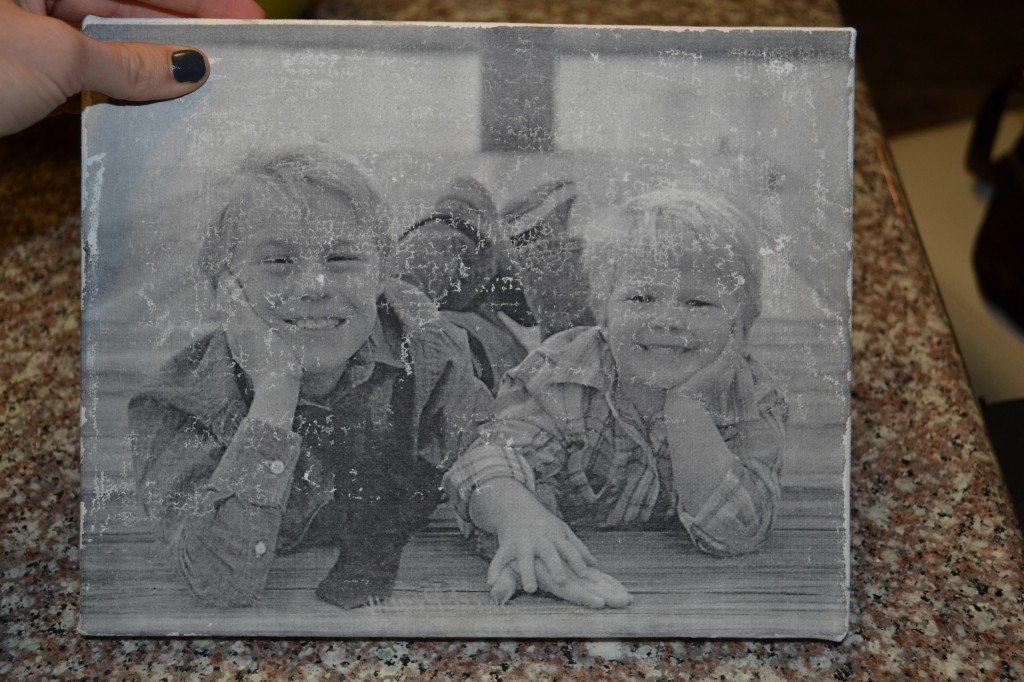
Adorable kids, crap-tastic gift
This picture is proof that a camera makes anything, except me, look better. This looks much worse in person. The original tutorial mentions that the process of wetting the canvas and removing the paper requires patience and is painstaking, which I did not experience initially. However, a 2 x 2 canvas, compared to a 8 x 11 canvas, is a totally different ballgame. It came out so bad that I did not give it to her, because I was worried she would feel obligated to hang this monstrosity on her wall. Sorry, Steph! I made up for it by fixing the dresser in the playroom while I was there.
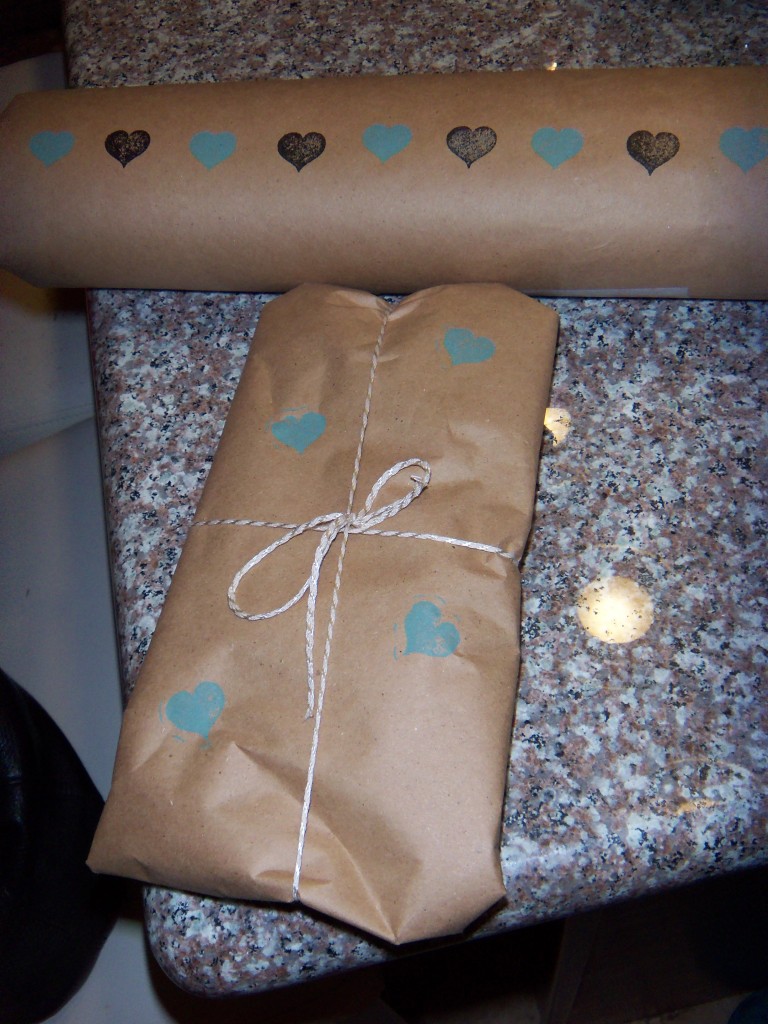
Oh, in case you are wondering, I did NOT attempt to make anything for the kids. I want my nieces and nephews to actually like me, and not think of me as the weird aunt. They might already, but I don’t want to continue encouraging it. I did get crafty with their gift wrapping, though, using some string, ribbon and stamps:
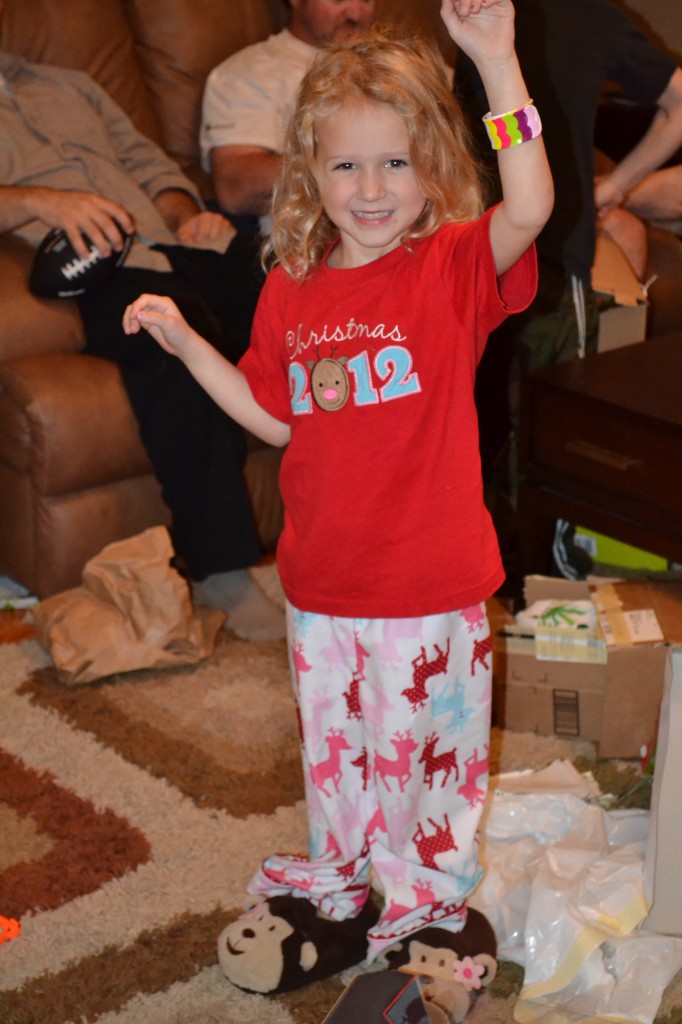
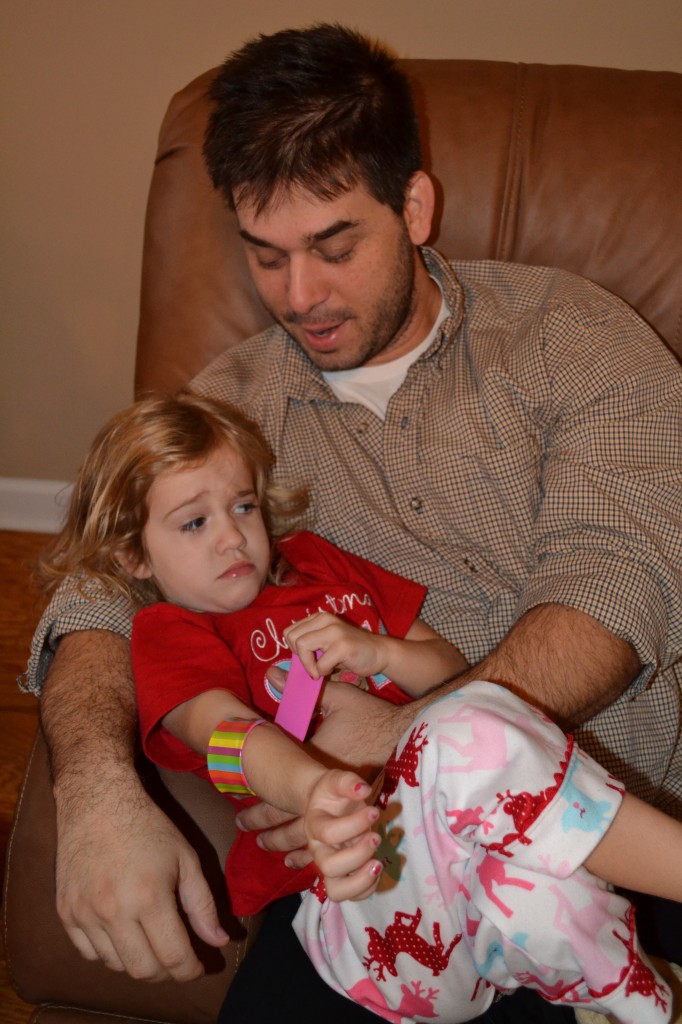
Here is my niece, Avery, in the slippers and slap bracelet from us (we gave her brother and sister a similar gift):
Here is Uncle The Boy explaining the virtues of the slap bracelet, while Layne looks skeptical (can’t blame the girl!)
My nephew, Ryan, opening his Inkoos (a stuffed animal you can draw on):
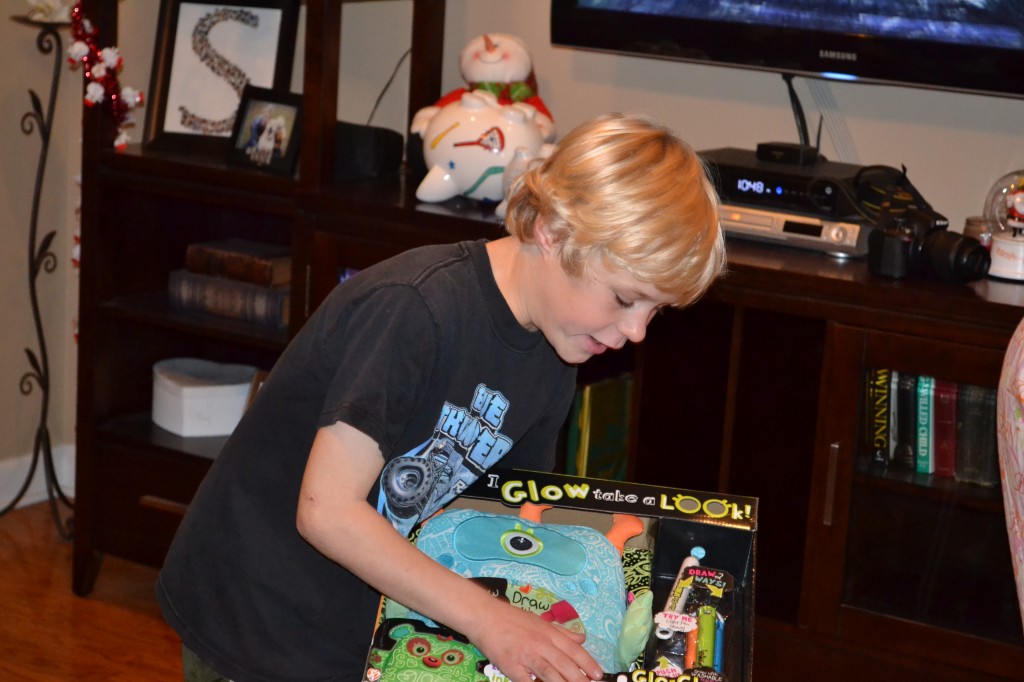
We gave his little brother a mini version of Inkoos and I received this photo later:

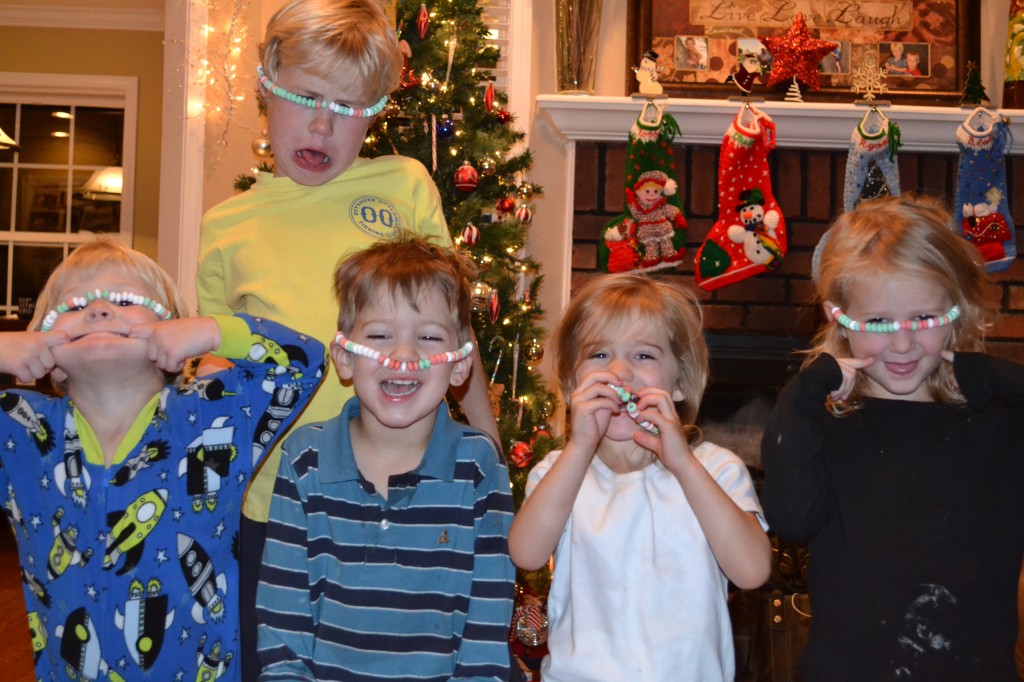
I realized that the only two “kids” I haven’t included pictures of are Dylan and Taylor. Taylor is 17 so I don’t feel confident selecting a picture she won’t kill me for. Here is Dylan making creative use of his candy necklace:

And a group shot of the candy necklace fun:
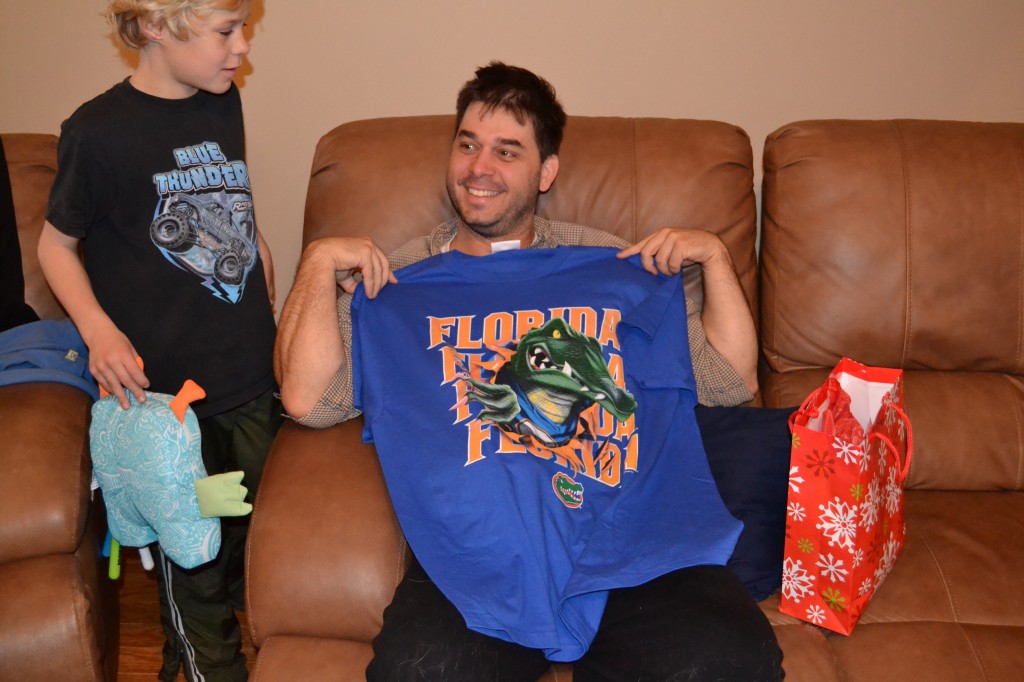
The Boy received the obligatory Florida Gator shirt (and I received a matching one) from my brothers-in-law, who are both Georgia fans, and can barely stomach the thought of having an actual UF fan trying to weasel his way into the family.
Confession: I wrote Taylor (17 year old) a check. At first I felt bad, but then I realized it was the best gift possible for a teenager. She didn’t seem to mind at all!
Have I mentioned that we have a ton of hardwood flooring firewood? We were just as eager to get it out of our garage as people were to burn it, so solid oak firewood was The Boy’s version of my sugar scrub. No one was safe from receipt. We gave some to my sister we were staying with, not really as a gift but just to get it out of my trunk. They took it grudgingly but have since requested more! (We may need to start charging – ha!)
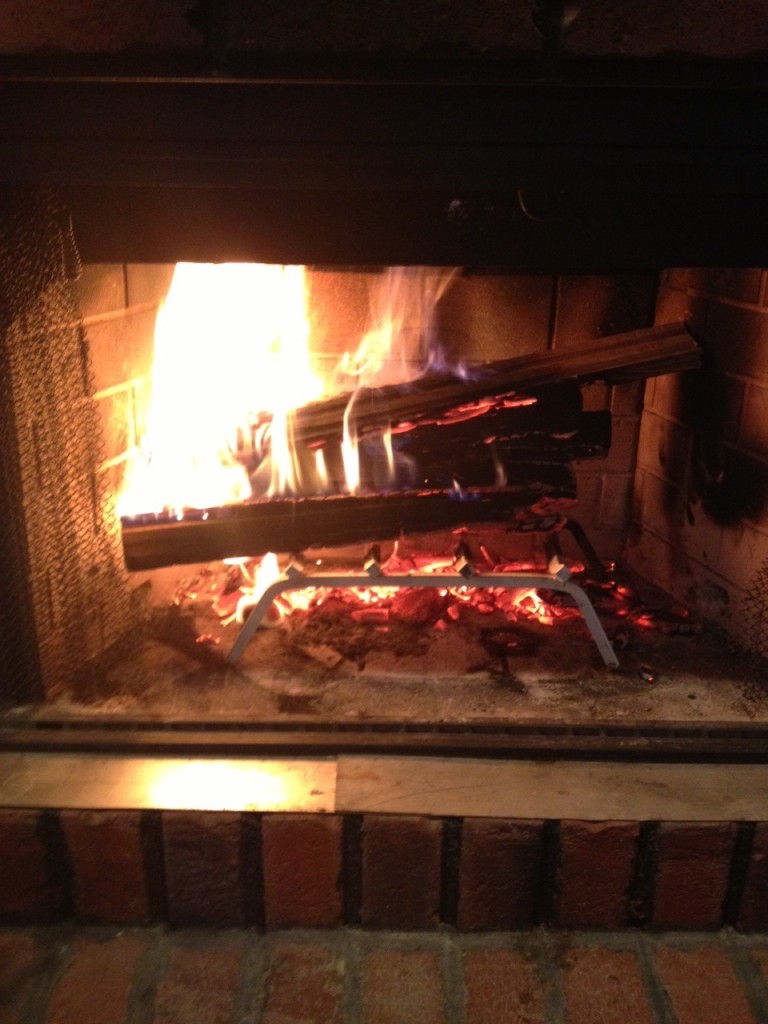
For The Boy’s side of the family, we have all adults, so it was easier to DIY some gifts. A lot of his family members have fire pits and/or fireplaces, so the firewood was a big hit. I classed it up a bit (“Hey, here is the leftover scrap wood we are dying to get rid of! Merry Christmas!”) by making some firewood carriers, which I thought would be particularly helpful for dragging wood out to fire pits. My inspiration came from designs like this and this. I made them using lengths of scrap wood, burlap, and durable rope. Unfortunately, I took a few photos of the process, but none of the finished product, so use your imagination:

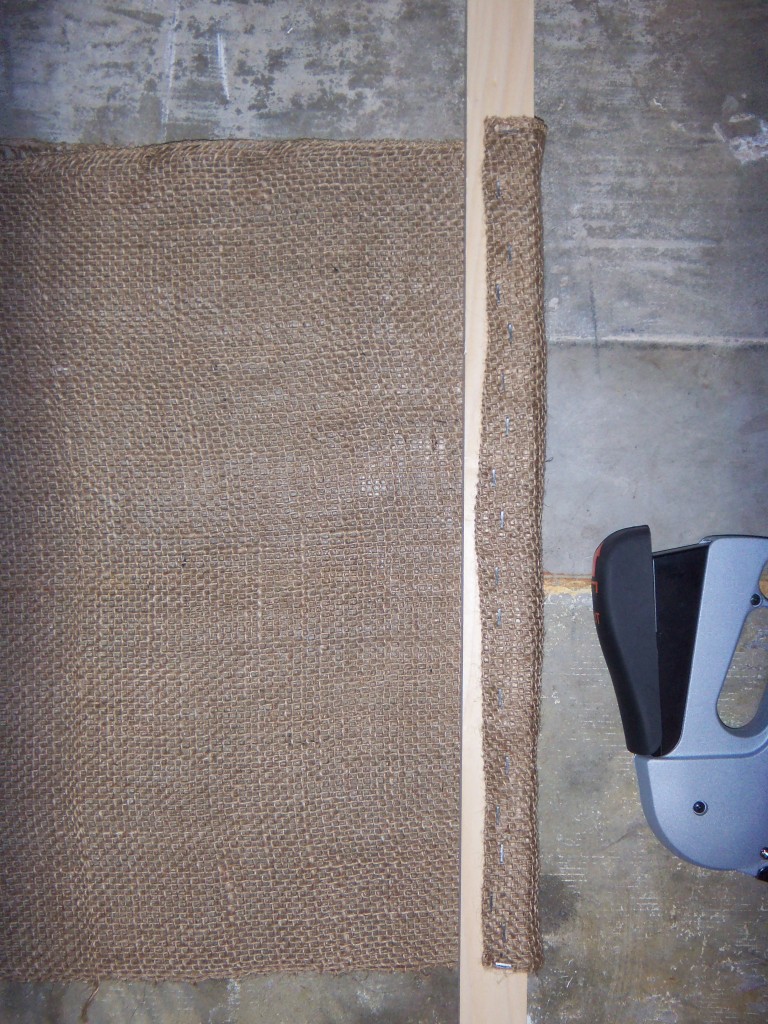
I doubled over the burlap for strength, stapled it to a length of wood, then drilled holes in each end of the wood. I ran a length of thick burlap-type rope through the holes, and made knots to keep it in place for a handle on each side.
We also gave several family members enlarged photos in homemade frames. Again, I failed to take pictures of these. I always make mental lists of my new year’s resolutions, and then can’t ever remember what they were. This year – write stuff down, and take more pictures (look – I already wrote it down!).
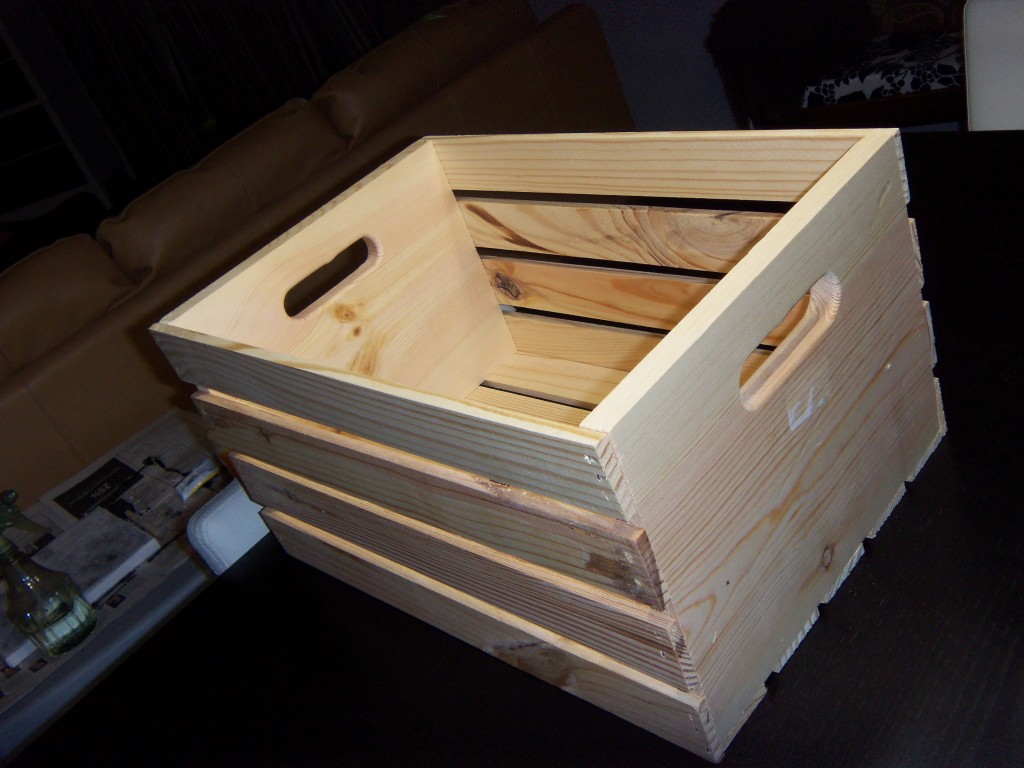
Another DIY gift that turned out surprisingly well was a box I made for The Boy’s mom. I wanted to give her something rustic, durable, and unique to lug some of her gardening supplies around in, so I bought this plain box at Michael’s:
Then I beat it up (mostly with a hammer, even scraping the claw side across it). I tried a few different stain mixtures and finally settled on the weathered oak by Minwax that we used on Madonna. I still wasn’t particularly satisfied, so I used some odd weatherproofing stain I picked up at Home Depot on a clearance end cap who-knows-when. I alternated dipping my rag in the weathered oak and the waterproofing stain, and it gave the wood a streaky look that was perfect.

I finished it off with two coats of polyurethane, and some personalization on both sides. One was stenciled with her last name, followed by “Farms,” and the other side was this:
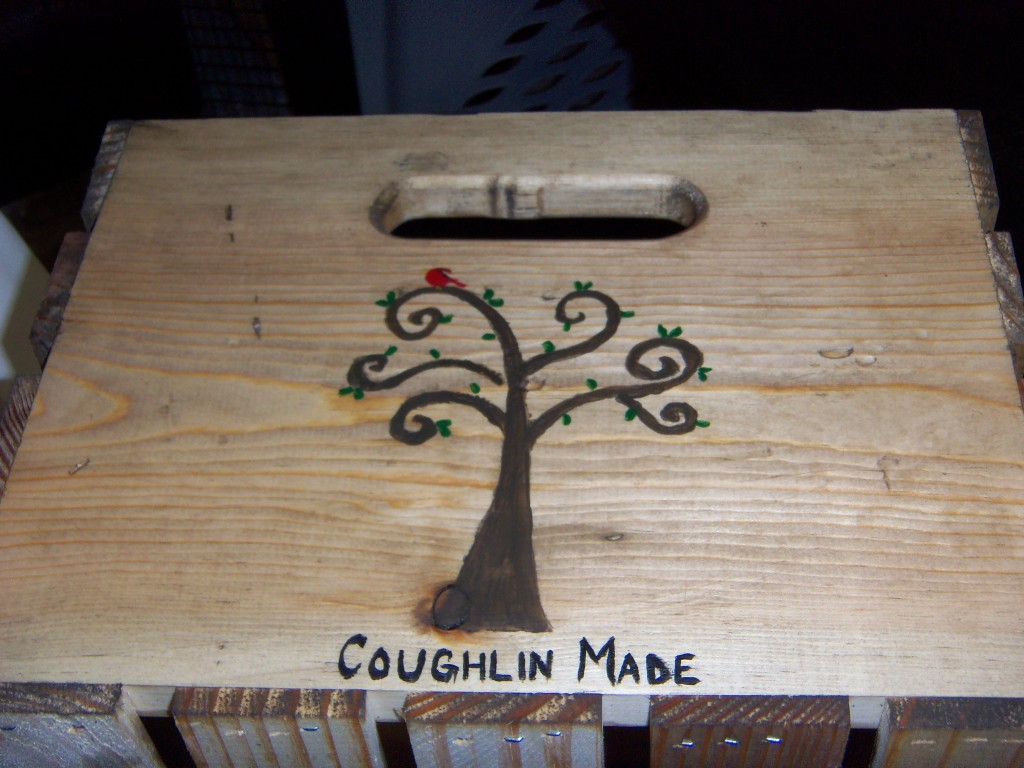
You may recognize that tree from the dresser I refinished for a friend here (same stencil!). I made the bird red because cardinals are meaningful to her.
So there you have it! I am pretty sure that sums up all of the DIY gifts we not only attempted, but also actually gave out. I already have some great ideas for next year! My worst fear is that people will not like the gifts, be too kind to tell me, and feel obligated to keep this stuff just because I made it. Look, I’m not in kindergarten, and one woman’s handicraft is another person’s handicrap. I get it. Feel free to come up with creative reasons how the homemade gifts met their untimely deaths, though. Or – immediately burn them, as most people happily did.
We survived Christmas with both families, with only one faux-proposal (we went on a walk Christmas Eve and when we returned, my sister screamed, “Show me your hands!” Needless to say The Boy and I were baffled, then figured it out) and only one person (The Boy’s dad) asking if I was pregnant. We get it, people. Remain calm.