My brother and I have a very special Christmas tradition. Every year, I buy him a new video game. Every year, he buys me the same video game. We wrap them – poorly, and usually on Christmas morning, and then twelve minutes later unwrap them. We act surprised. People take pictures. Just a good time all around.
Our festivities had a somber setting to them this year, however, because a few months ago, within days of each other, BOTH of our Playstations 3s died. Kicked the bucket. Bought the farm. Croaked. Gave us the yellow light of death, known as the YLOD, and laughed at us. We both researched the internet, AND the world wide web, and tried the “hair-dryer fix.” I give the “hair-dryer fix” a grade of D-. It let me turn on the PS3 for twelve seconds, so I can’t give it an F.
Further interwebs research resulted in this video. The guy isn’t…well he’s not a stand-up comedian. But, he IS informative, and his technique is pretty much spot-on. There were a few differences between his PS3 and mine though. The steps below were for my PS3, his video covers his. At the end of the video, you can link to Part 2, and at the end of Part 2 is Reassembly.
Before you follow my steps, you SHOULD watch the video to make sure I didn’t miss anything. Then you SHOULD have no problem with the process.
Legal disclaimer: I am a lawyer, albeit not a particularly good one. So I am obligated to “lawyer up” from time to time. I’m not telling you to void your warranty, melt your PS3, or otherwise wreck stuff. I’m telling you what *I* did. You put your big boy/girl panties on and make your own decisions. Don’t sue me.
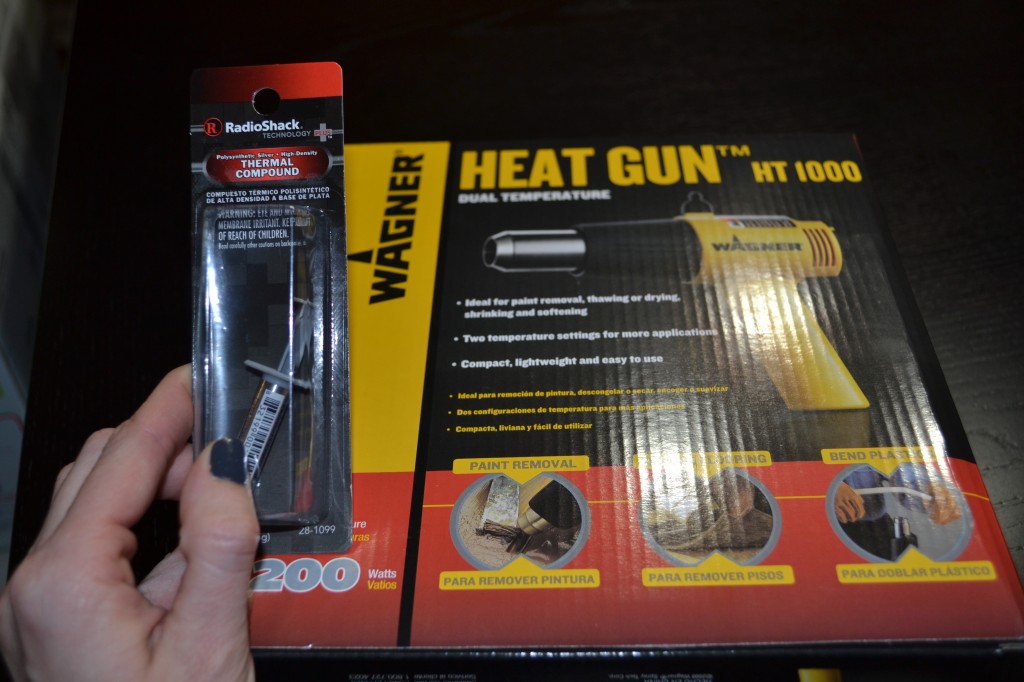
Here’s what you’ll need and where to find it:
Heat gun
Screwdriver (you need a general screwdriver, and one with a very fine tip)
Torx T-10 security screwdriver. The important part is the “security” aspect. It means there’s a hole in the tip of the bit, which you won’t get on general Torx bits. I bought mine from Home Depot, but of course, the one I bought wasn’t listed on the website. The one I linked to will get the job done.
Thermal Compound
Flux capacitor
Also, I used a piece of paper and a pen to identify a few screws, and had plenty of space to lay out the other screws.
Not pictured: Torx, screwdriver, The Boy.
Step 1: Deep breath, unplug all plugs from the PS3. Put the PS3 on your work surface.
Step 2: Remove long panel that covers the hard drive. Use the fine tipped screwdriver to remove the blue screw, then flip the wire tab, and pull the hard drive toward the front of the PS3 and remove it.
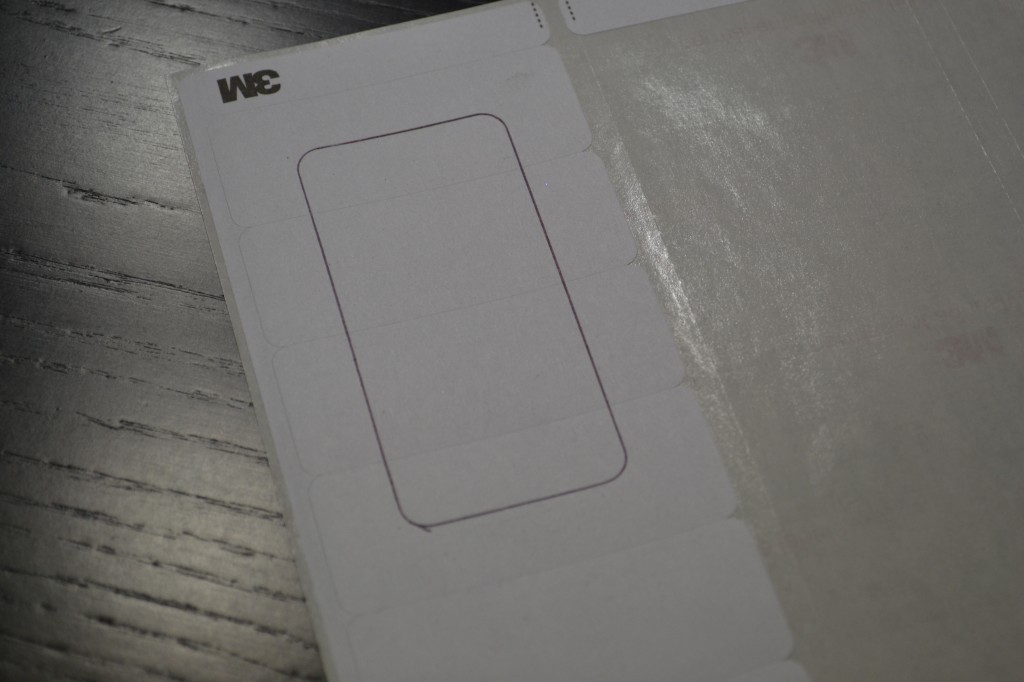
Step 3: Remove the sticker above the now-removed hard drive panel. Congrats, you just voided your warranty! Pull the rubber foot off, slowly. Don’t break it. I said don’t!
Step 4: Use the T-10 security Torx driver to remove the screw that was hidden by the rubber foot. The one I said not to break. Then remove the top of the PS3 by sliding it toward the side that had the screw.
Step 5: Under that panel, the plastic cover should have a series of arrows that point to the screws that hold the next piece on. While you’re removing them, make sure to lay them out somewhere in the same pattern because I don’t believe they are all the same length. Then remove the next plastic cover.
Step 6: Remove the blue-ray player, making sure to unplug all wires and ribbons. The ribbons can be a little tricky because you have to flip up the black part of the plug for the ribbon, and it’s a very small moving part. Maybe use tweezers? I used my coke nail. By which I mean the nail that I use to open Coca-Cola cans.
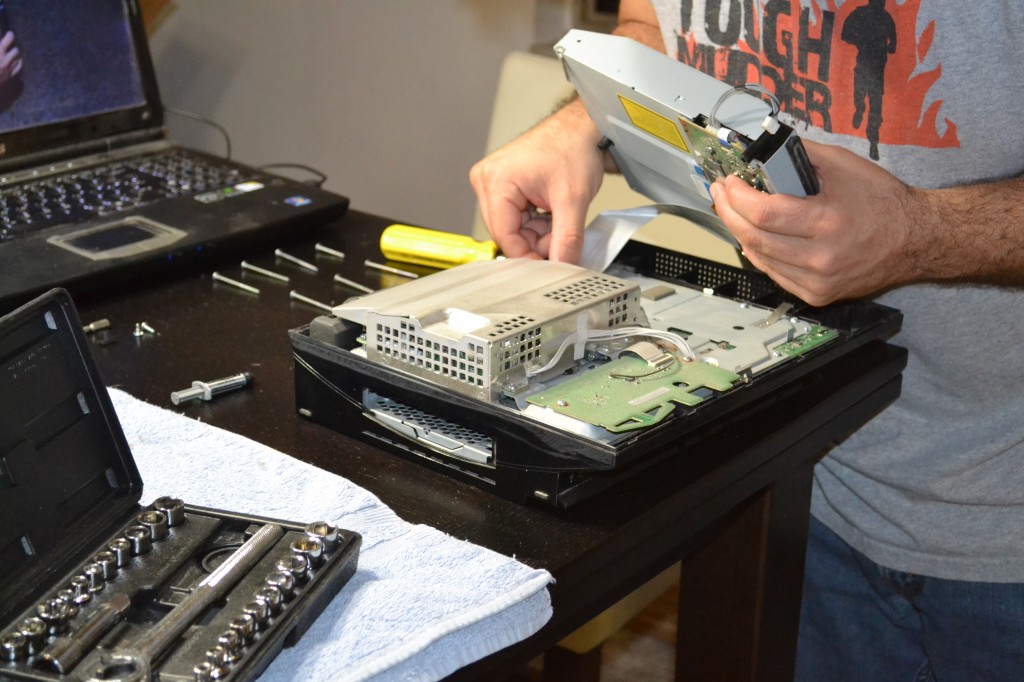
Blue-ray player – BEGONE!
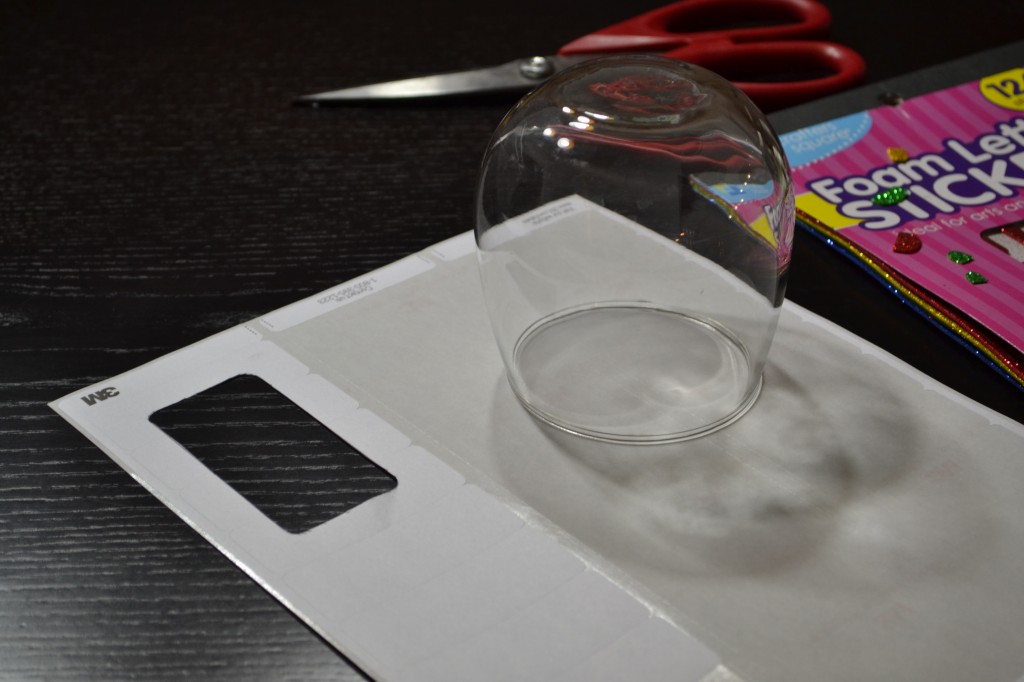
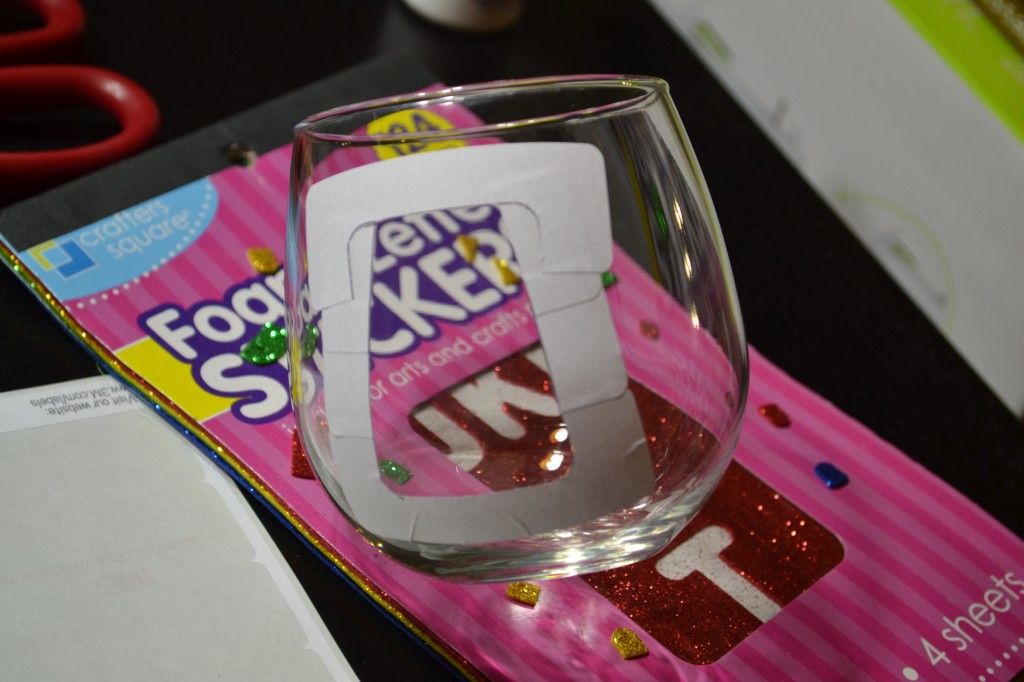
Step 7: Screwdriver. Use the link above.
My “screwdriver” stand-in.
Step 8: Unscrew the one screw holding the blue-tooth or wireless receiver. That’s the thing with the long wire coming out of it. Mine was taped to the side of the power supply, and did not disconnect from the small circuit board it’s attached to. I just peeled back the tape and left it for reassembly. I put the screw for the receiver on the piece of paper and wrote what it was for.
Step 9: Unscrew the small circuit board. Remove.
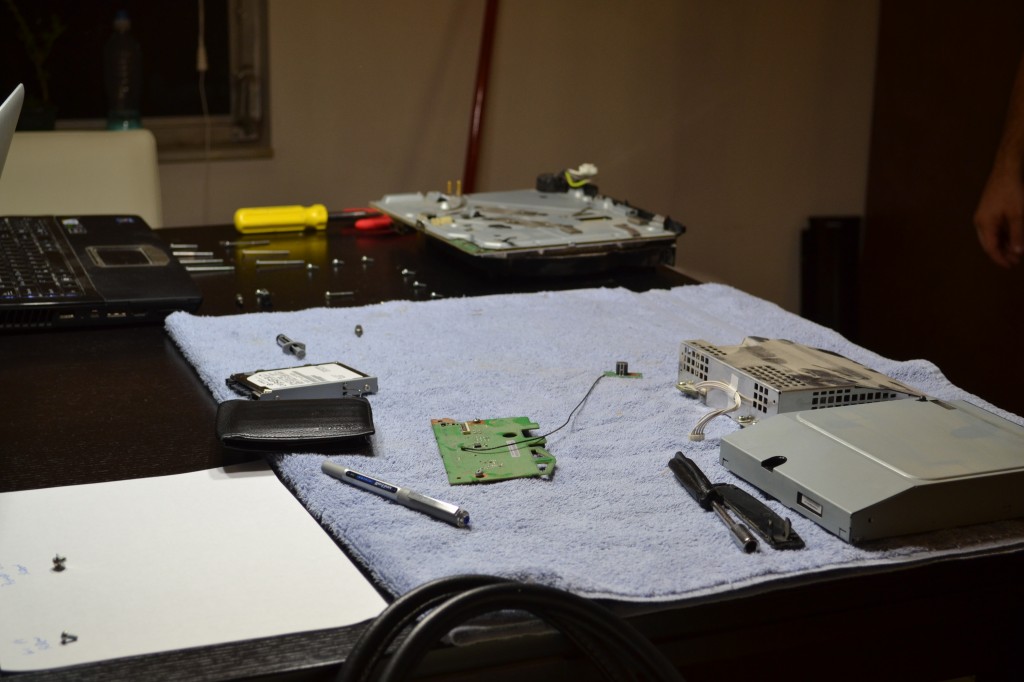
In surgery: guts on the table. Power supply, blue-ray player, small circuit board.
Step 10: Next, unscrew the power supply. The housing has arrows for all of the screws. Again, possibly not all are the same size, so keep them organized by their hole locations. Remove the ribbon, remove the power supply.
Step 11: Now we’re gonna remove the bottom plastic tray. The metal cover plate ALSO has arrows with screws. You know the drill. Remove, organize. Then you will have to pull the bottom plastic off. Mine took a little wiggling. Be patient.
Step 12: Remove the three screws holding the fan on. Remove the fan. CLEAN the fan.
Step 13: Remove the four screws holding the two diagonal metal plates.
Step 13: At this point, you should be able to open the two metal halves of the case like a clam shell. Clean the old thermal compound off of the two processors, and the heat sink. I used paper towels, but any cloth should do.
Step 14: I’ll refer to the video on this one, as I’ve only done this once, and I’m not 100% sure on the distance to hold the heat gun, or the length of time. I think the video is real-time though, so if you can watch it while you’re using your heat gun you’ll know when to flip the board, and how long to heat each side.

Oh yeah, this looks legit.
Step 15: Heat just the processors now. When you’re done, let it sit for 15 minutes to cool. DON’T MESS WITH IT. DON’T LET YOUR THE DOG MESS WITH IT.
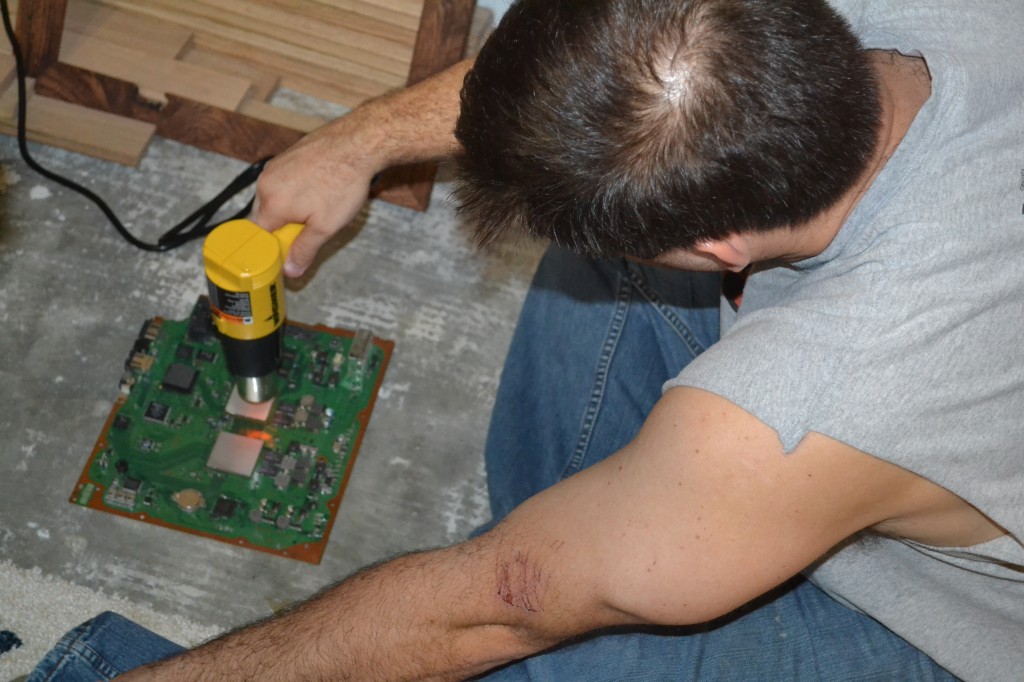
Heating just the CPUs.
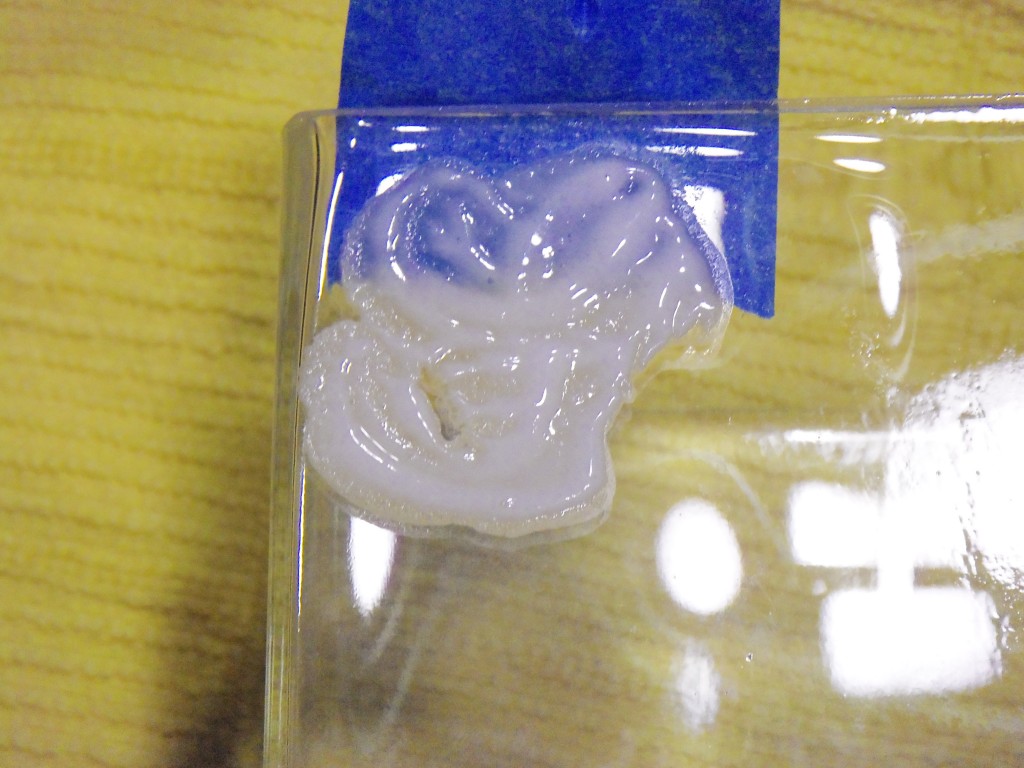
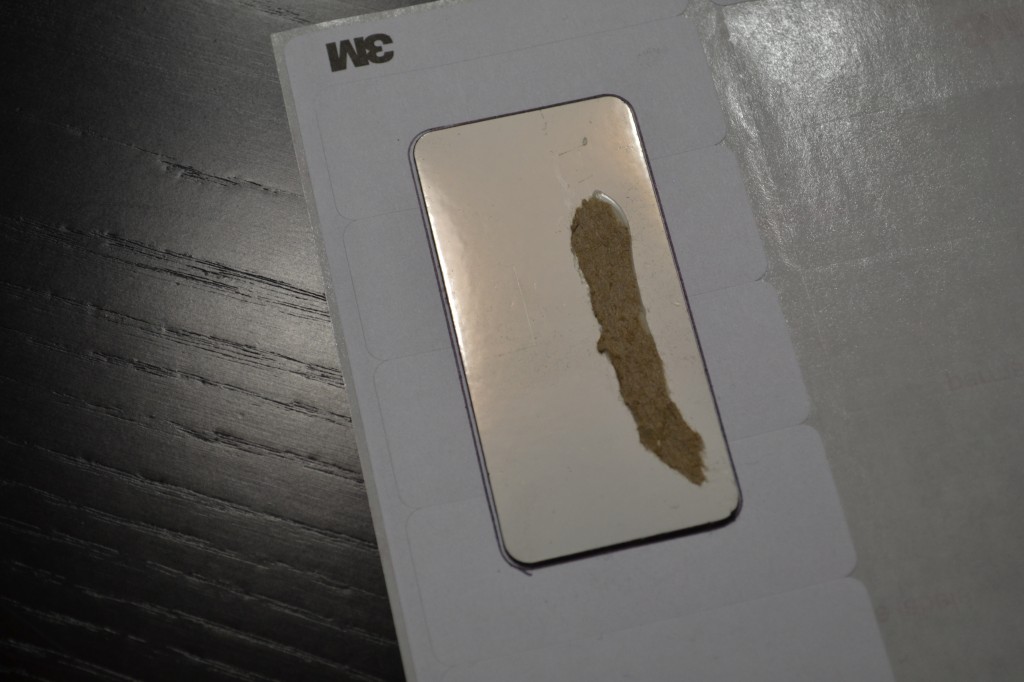
Step 16: Apply the thermal compound, and spread it with a credit card, or credit card substitute. Not too thick, not too thin. I just covered the whole surface of both processors, scraped them smooth, and let ’em be.
Step 17: Reassemble.
Step 18: Screwdriver. Small prayer to any or all deities of your choice. Plug that bad boy in and see what happens. Worst case scenario, you broke your already broken PS3 a little more. Best scase scenario – you’re playing your PS3 to the wee hours of the night.
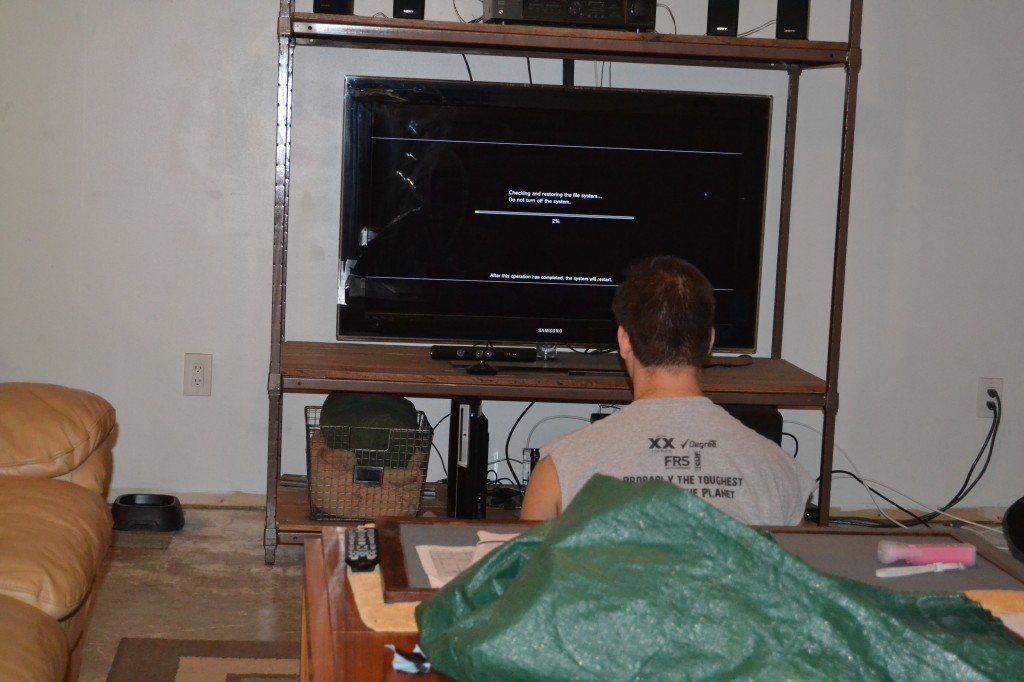
Success!