Let there be bathtub – and there was.

“Take out a shower, put in a tub.”  That was the plan.  It’s one of those things that sounds so much simpler than it turns out to be.  Between me and you, The Girl complicated things.  Did we get a regular ol’ free-standing tub?  Nope.  Did we get one that required a tub frame?  Yep.  Did the tub’s instructions explicitly state “NOT DESIGNED FOR OVERHEAD SHOWER USE?”  100% chance.  And then we installed an overead shower.  Believe it sister.

As per usual, The Girl and I had no previous tub installation experience.  We consulted The Dog, but her only response was to try to gnaw on our hands and beg for a treat.  Neither of which were particularly helpful.

I’m disguised as a dog that deserves a treat.

So I did my regular move, which The Girl will confirm consists mainly of staring at the instructions, drawing a lot of diagrams on scratch paper, reviewing the instructions, mumbling to myself, staring at the tub, measuring the 2x4s, and standing in the now demolished bathroom visualizing where the tub frame should go.  It’s not what I would call “exciting.”  But, after several hours of the regular move, I went ahead and cut the 2x4s.

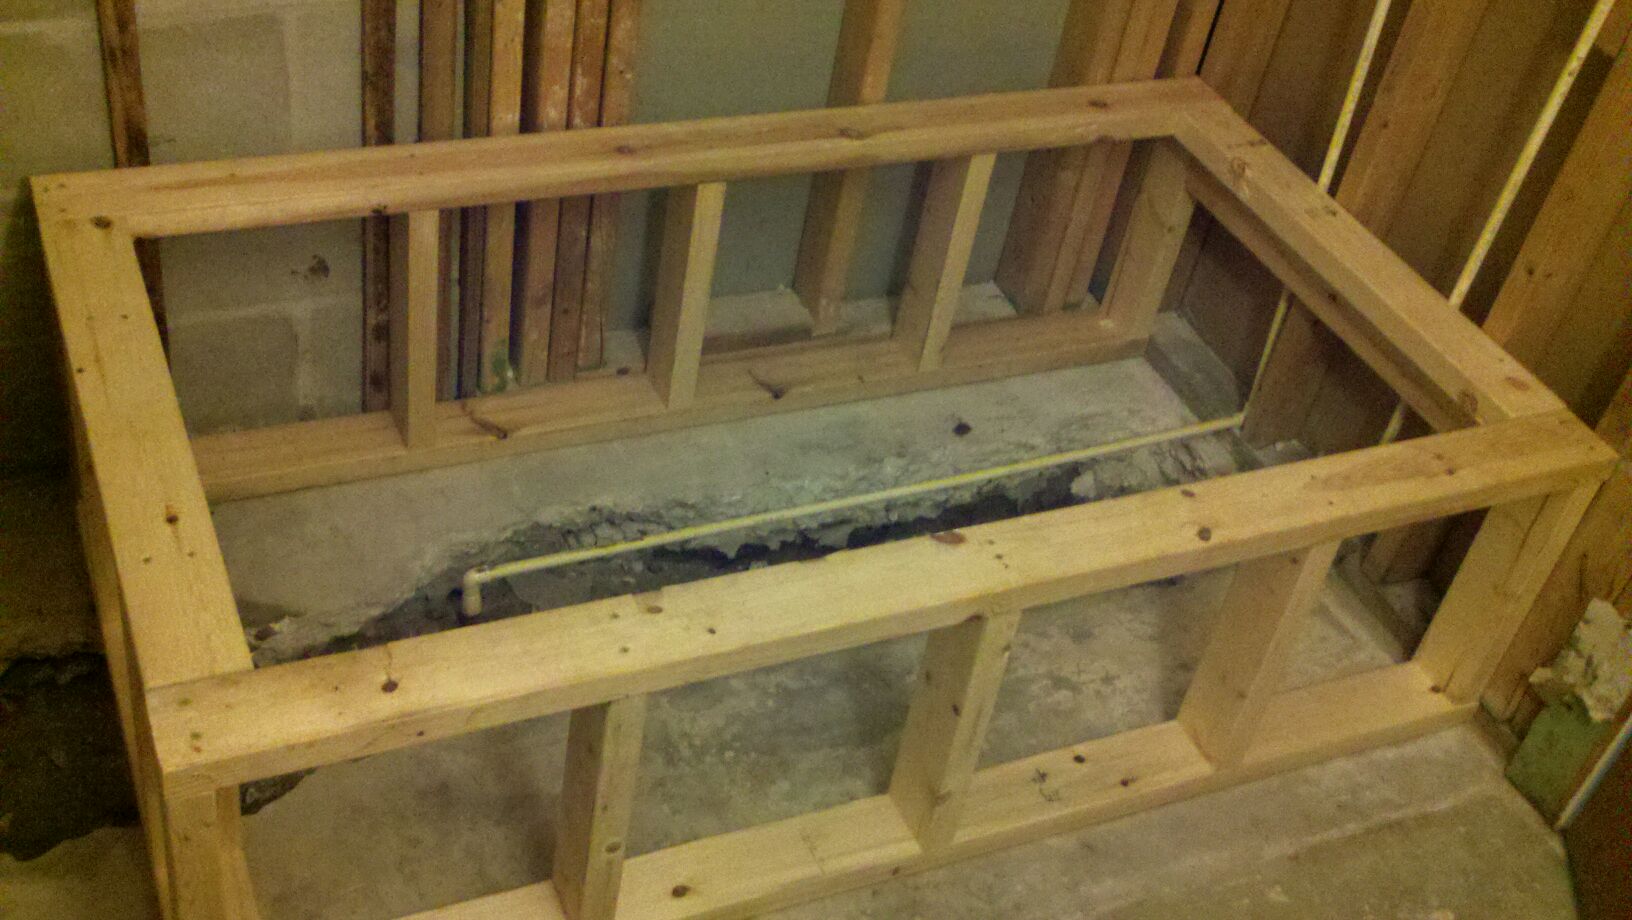
Dang! That is some good craftsmanship!

The frame actually turned out pretty well, and after dry fitting the tub (Bertha) seventeen times, we adhered the frame to the floor with liquid nails.  Then, more dry fitting of Bertha to make sure the plumbing was going to match up with the new drain.  Of course, all this dry fitting resulted in displeased looks from The Girl, but she stayed supportive.

Dry fit, remove, repeat. Ugh.

Let me just take a minute out to explain something.  The Girl and I are perfectionists.  This is NOT to say that we do everything perfectly (see the floor tile in the kitchen), but it DOES mean that we both stress out about doing things correctly.  When you have no idea what you’re doing, and the result has to be pretty close to perfect to avoid a catastrophic plumbing problem, there is a high degree of stress.  I can’t count the number of times that The Girl asked me “Is it supposed to look like that” or “Is that how you’re supposed to do it?”  And every time I responded with “Baby, I have absolutely no idea what I’m doing.”  I have found that it is better to just say “I’m dumb” up front, so there’s no surprise when whatever I’ve done is completely bassackwards.

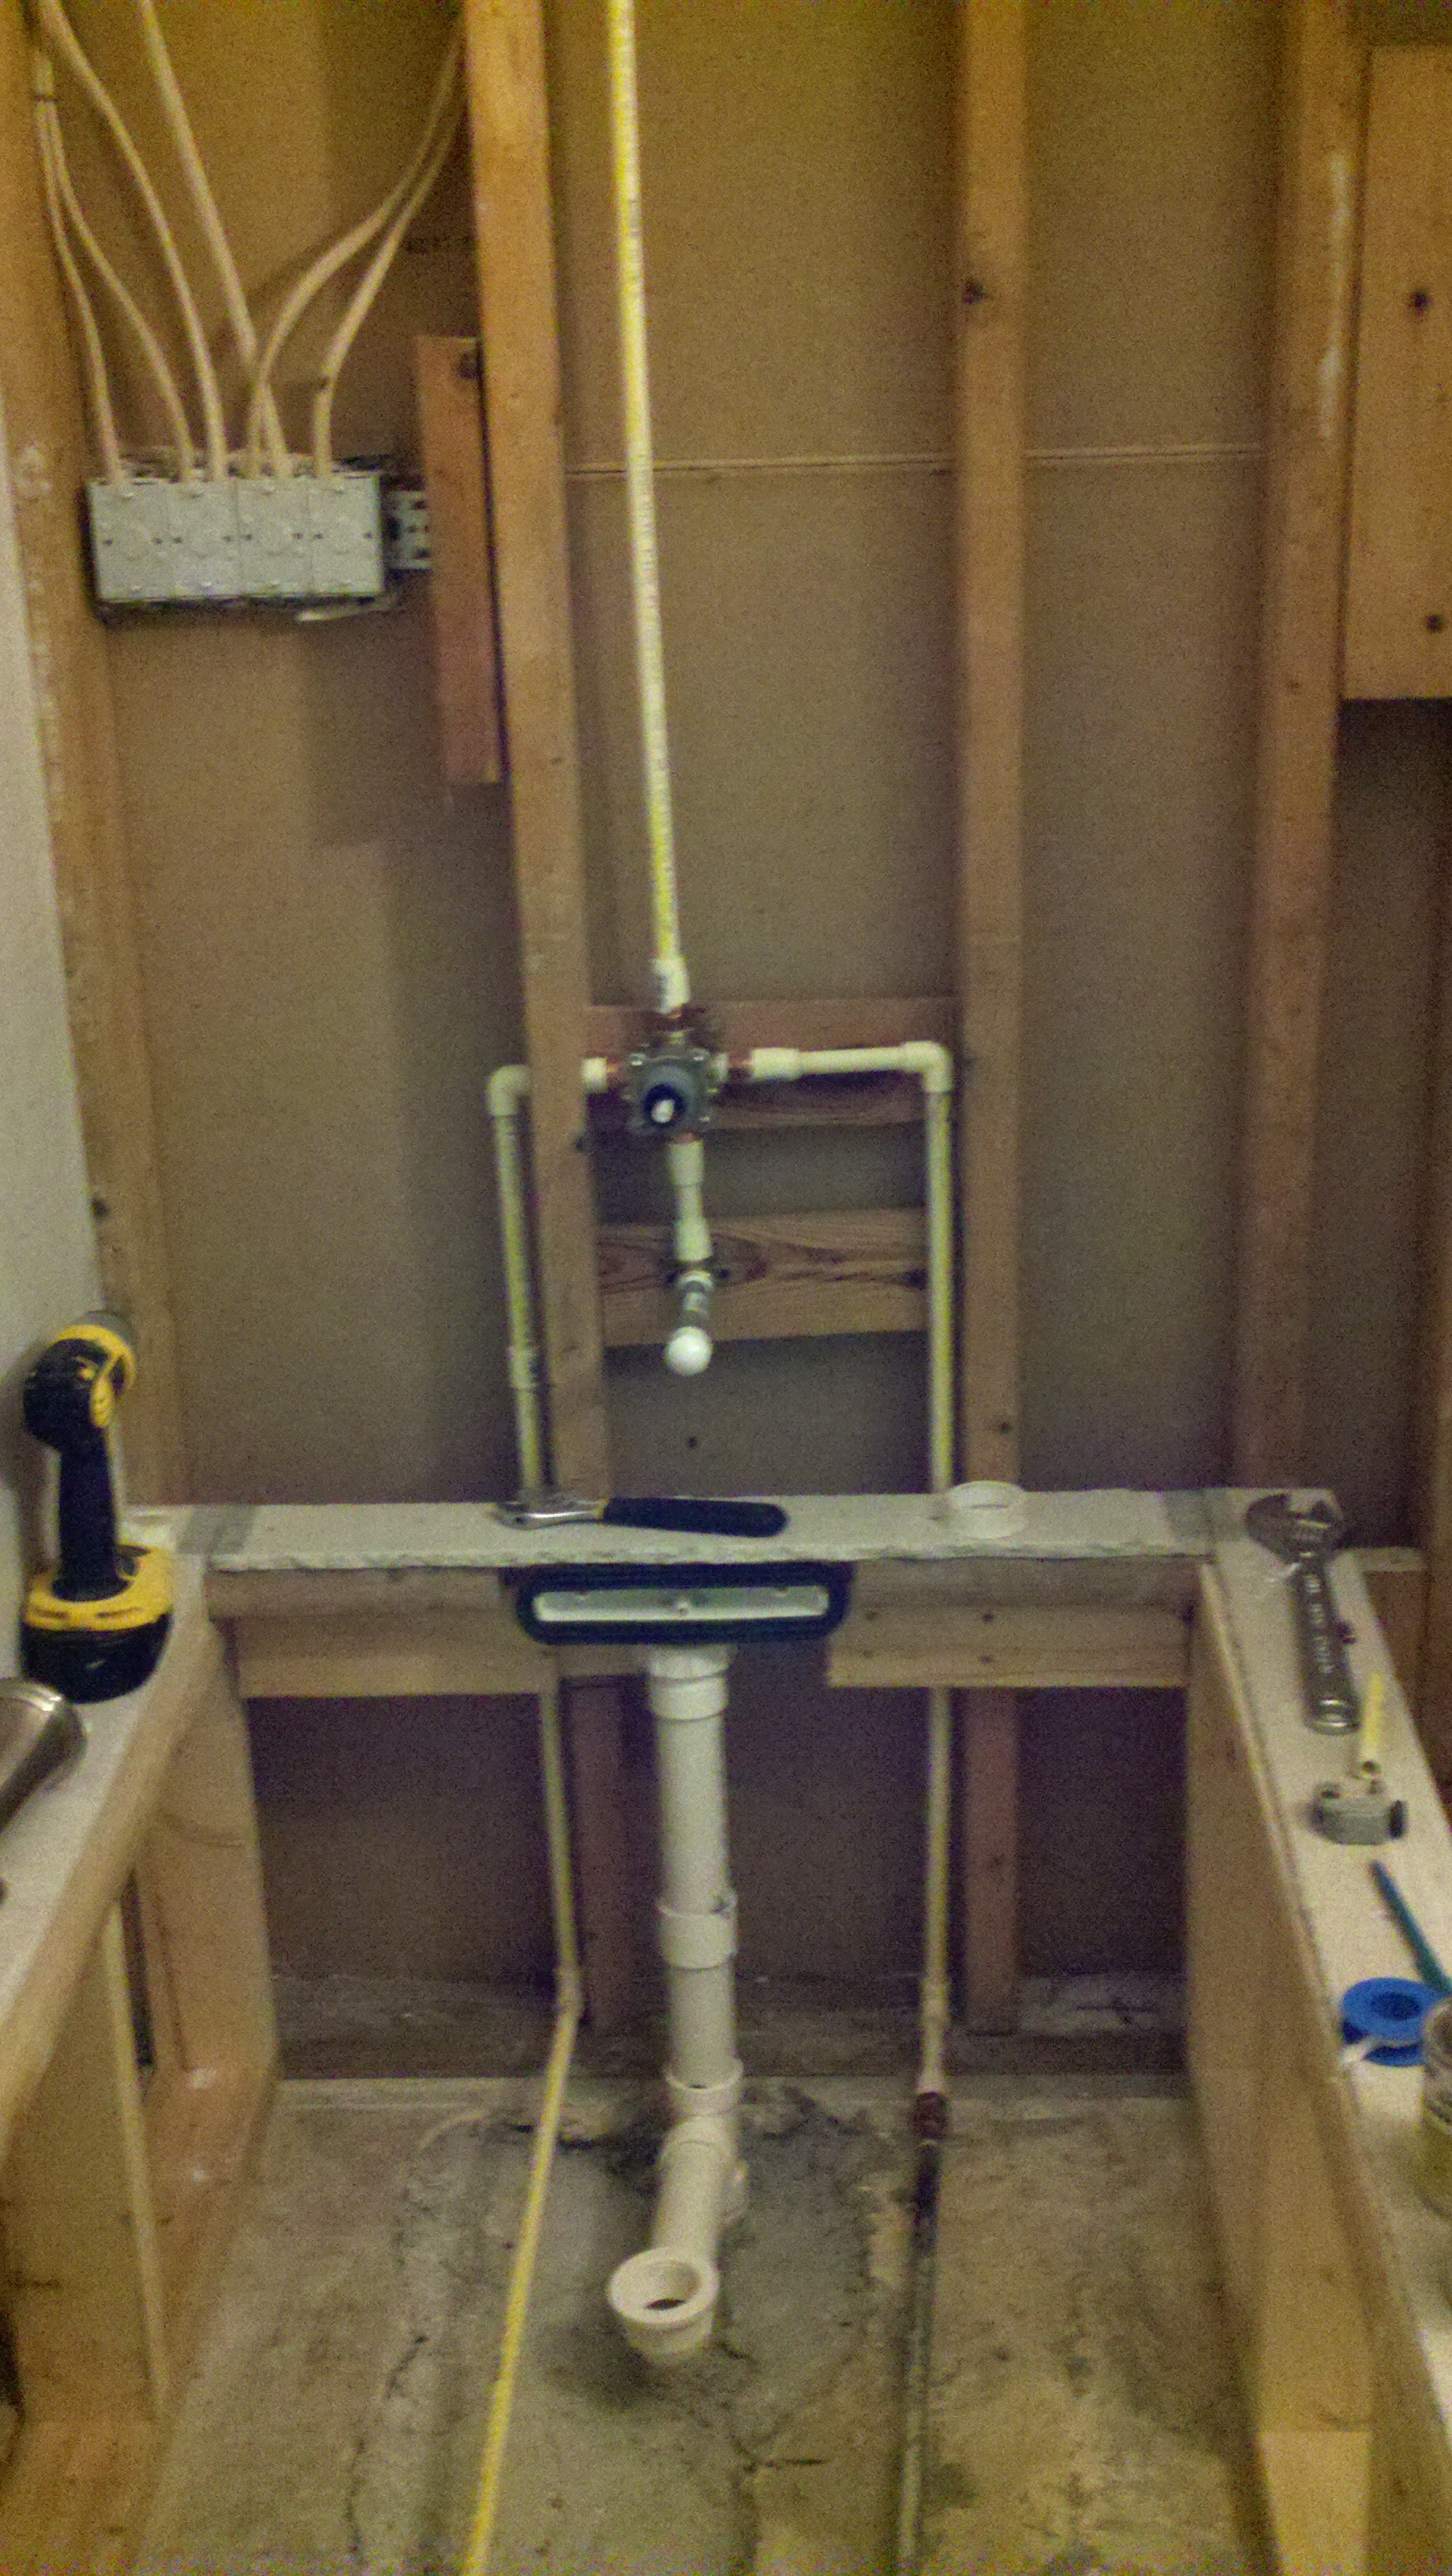
Now, having adhered the tub frame, and convinced that the plumbing was lining up properly, we went ahead and mixed the concrete (two or three bags of quickrete I think) and poured it inside the frame, making sure that it encased the hot and cold water pipes.  Next, we put the pvc glue on the plumbing coming off of Bertha, and finally put Bertha into the frame, on top of the concrete bed, and connected the plumbing.

Where we made a mistake was in not filling Bertha with water to give her the necessary weight to settle into the concrete.  We did apply as much pressure as possible with our hands, but in hindsight we should have filled her with water.

Did we do everything right?  Probably not.  What I DO know is that we haven’t had any plumbing leaks (yet).  And Bertha turned out flippin sweet after we put concrete backer board on the frame and tiled all around it.  Seriously, flippin sweet.

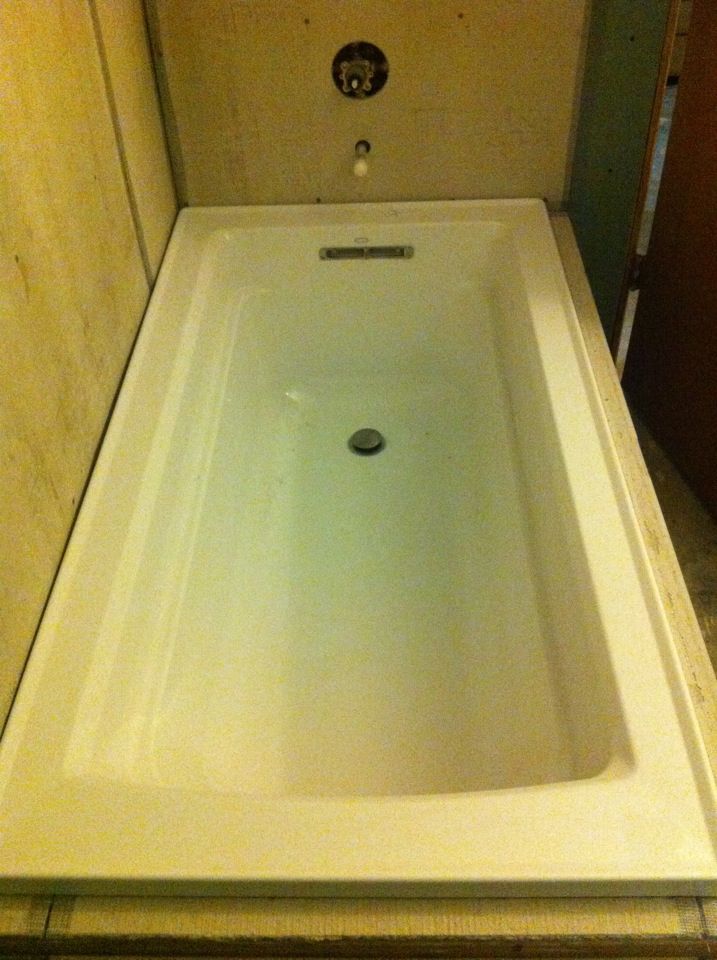
Untiled, but still flippin’ sweet.

The Girl and I have both bathed in Bertha, even showered (not designed for an overhead shower?  I beg to differ.  Stupid instructions.).  The Dog, however, is still limited to the green tub in the other bathroom – at least until she stops gnawing our hands or begging for treats and picks up a danged hammer once in a while.

Pinbusters – The Nutella Cookie

Have you ever wondered if the stuff people post on Pinterest is true? Well I have, and I test them all so that you don’t have to, ’cause ain’t nobody got time for that.  Click here to check out all of the pins I haven taken on. You might be surprised by some of the results!

The first and most delicious Pin I am tackling – the Nutella cookie.

It looks deceptively simple to make, and makes my mouth water.  I have to confess that I was not aware that this hazelnut-chocolate-throw-in-a-marshmallow-and-swirl-it-around-and-fish-it-out-with-a-spoon-and-then-eat-it-to-die-for deliciousness existed until a few years ago, when my amazing Latina girlfriend introduced us.  It was love at first taste.

Flash forward five years, and I am pinning every Nutella recipe in sight.  The stars aligned last week, when Nutella was on sale (and I had a coupon!) and we were the proud owners of not one – but two! – jars.  Happy fat kids over here.  The recipe called for the following ingredients:  1 cup magical deliciousness (a/k/a Nutella), 1 cup flour, 1/2 cup sugar (more sugar??), and one egg.  Here are those pretty little maids all in a row:

Sounds easy, right?  Until you get all of the dry ingredients together and then realize you have no eggs and it is 9:30 on a Friday night so your Publix is closed and you have to drive to three gas stations before you strike gold on a dozen eggs that are NOT expired.  However, if you pretend that didn’t happen, and we were a normal household with eggs on stand by, very easy indeed.

Nutella does not want to part ways with any container that it is in (the container is probably holding on for dear life!), so if you have a magical trick for measuring and then dumping into the bowl without losing ounces of this precious resource, please fill me in. Luckily I have The Boy, who was very pleased by this turn of events and “cleaned” the measuring cup and spoon exceptionally well.

Mixing the ingredients takes time and a little bit of strength, but eventually begins to take on the consistency of Play Doh, seen here:

Delicious Play Doh.

From there, you simply make little dough balls and put them on a greased cookie sheet.

Here is where the recipe gets a little squirrelly, though.  It says to bake for 8 minutes at 350 degrees.  Only 8 minutes to warm, hazelnut, chewy, chocolate amazingness?!? Too good to be true, indeed.  I set the timer for eight minutes.  Cookies were not done. Another 3 minutes.  Not done.  An additional 4 minutes.  Ahem.  I did the poke it with a stick test, and the stick was most certainly not clean.

Finally, after an additional 4 minutes, The Boy could not stand it any longer, and I took the cookies out of the oven.  I have to clarify that they were NOT burnt in any way, but it might have been better to leave them gooey.  Touche, recipe maker.

THE TASTE TEST:  These cookies are good.  They really are.  I mean, there is no cream-filled Nutella center, but they are sweet and vaguely taste of Nutella.

The Boy Approves!

However, given the rarity of the existence of Nutella in our house, and how delicious it is in its raw form, The Boy said, “Eh, they are good, but I’d rather have the Nutella by itself.”

So there you have it, ladies and gents.  Decent cookies, but I recommend using your Nutella with much greater care.


Phoebe Buffet

Having a “real” dining room for the first time meant finding furniture to fill it. We already had a bar height table in espresso finish from Scan Design (we are blessed to have a local outlet store!), and we could not find anything we liked, that we could afford, to match.  The easiest solution?  Finding a solid wood buffet we could refinish.  I spent countless hours on Craigslist and stopping in thrift stores, garage sales, and consignment shops before I stumbled across this beauty:

Sad Phoebe

If you can look past the old yellowed polyurethane and terrible hardware, she is a beauty. Also, she is solid wood, so I knew I could spruce her up with a much darker stain.  The Boy has grown very accustomed to random calls and texts saying, “Hey, wanna meet me at (random location) with the truck?”  He is a trooper.

After haggling over the price, I got the owner to knock the price down to $175.00, and it was a done deal.  I spent an entire weekend and several weeknights sanding Phoebe. That was by far the most time-consuming part.  I also searched the internet high and low for new hardware.  I knew I wanted brushed nickel with an antique look, and these were love at first sight:

However, at $7.98 per drawer pull times 6, plus two door pulls at $4.98 each, it was a bit pricey, so I procrastinated.  When I simply could not find anything I liked nearly as much, I pulled the trigger, and never looked back.  Unfortunately, the drawer pulls were not exactly the same size as the old ones, and I had to drill new holes in the drawers and putty the old holes.  I have tried several different types of putty over the  years, all of which claim to be “stainable,” but none seem to take stain as well as I would like.  The result of this is that the puttied area is very obvious, especially with a really dark stain.  Fortunately, though, thanks to the larger base of the new pulls, the old puttied holes were covered. Whew.  After sanding, staining, putting a second coat of stain on, a third coat of stain, and new hardware, she was dressed to impress:

Happy Phoebe

Phoebe Buffet is The Boy’s favorite furniture transformation to date.  I am still partial to Desk, but it is a close call.  Here is Phoebe Buffet hanging out in her new dining room (ignore the cement floors – that is a work in progress):

Welcome Home, Phoebe Buffet