I honestly don’t know where to begin. First, I had to remember my password to log in to the blog. Second, I had to weed through SO MANY spam comments. Third, I had to figure out where we left off – the condo we bought – almost a year ago. So much has happened since then, so let’s go!
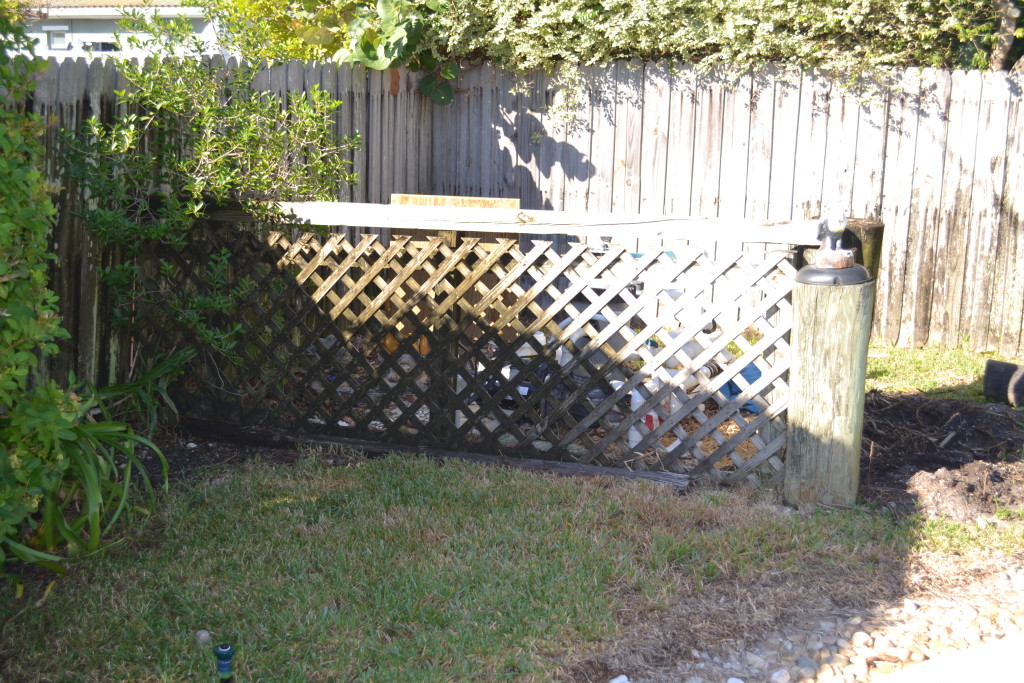
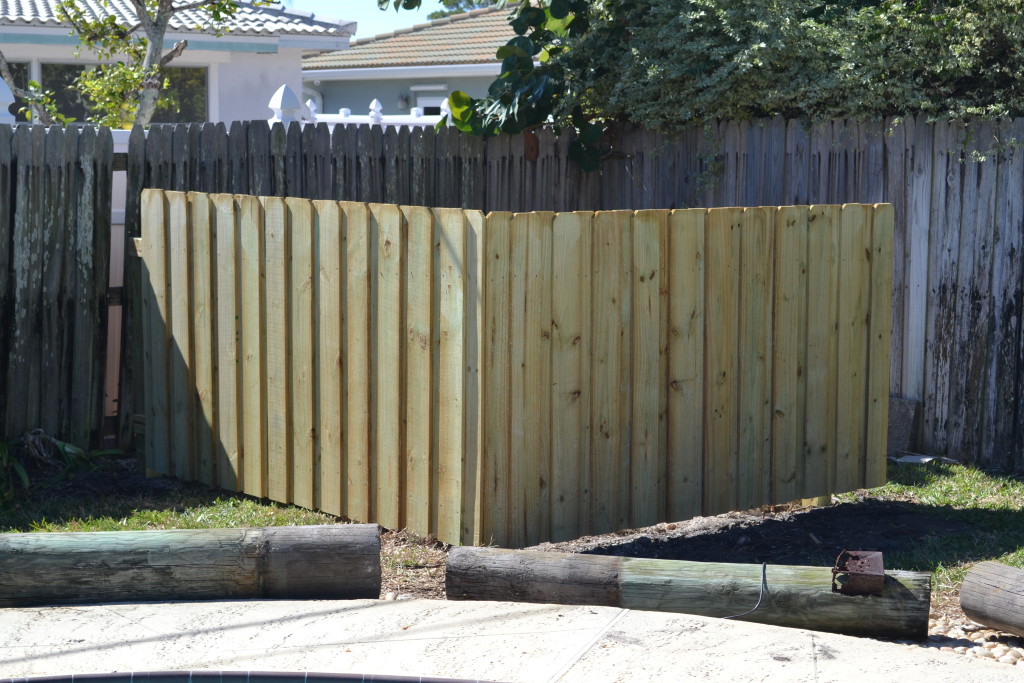
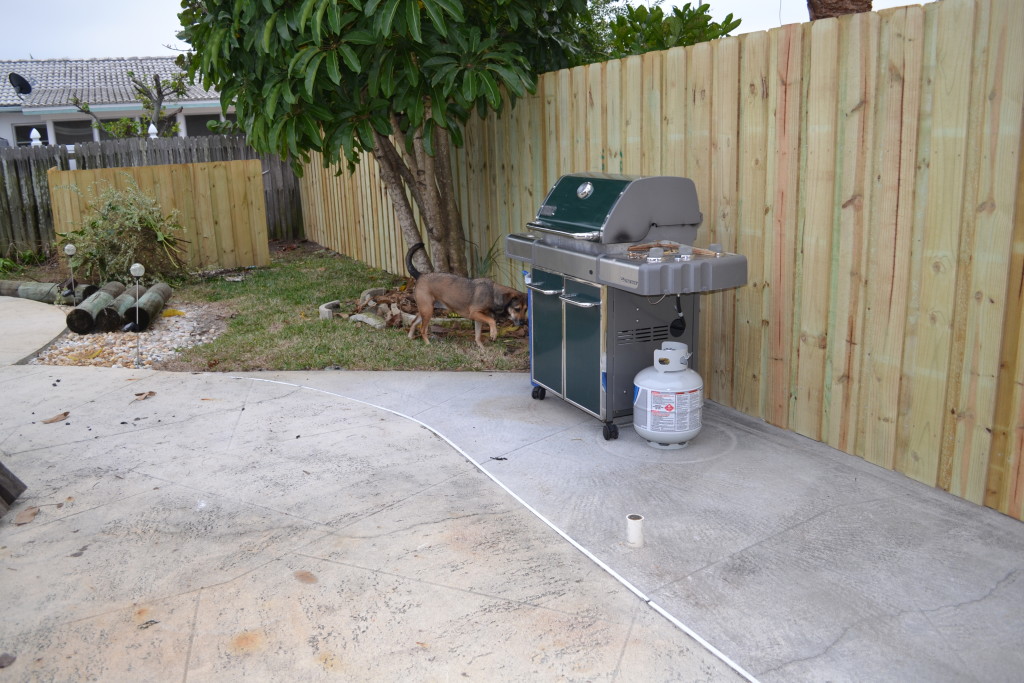
We started replacing sections of the old, rotting, leaning fence as soon as we moved in, which was literally propped up and tied to trees in places, with posts broken off in the ground, and the whole process took us about a year:
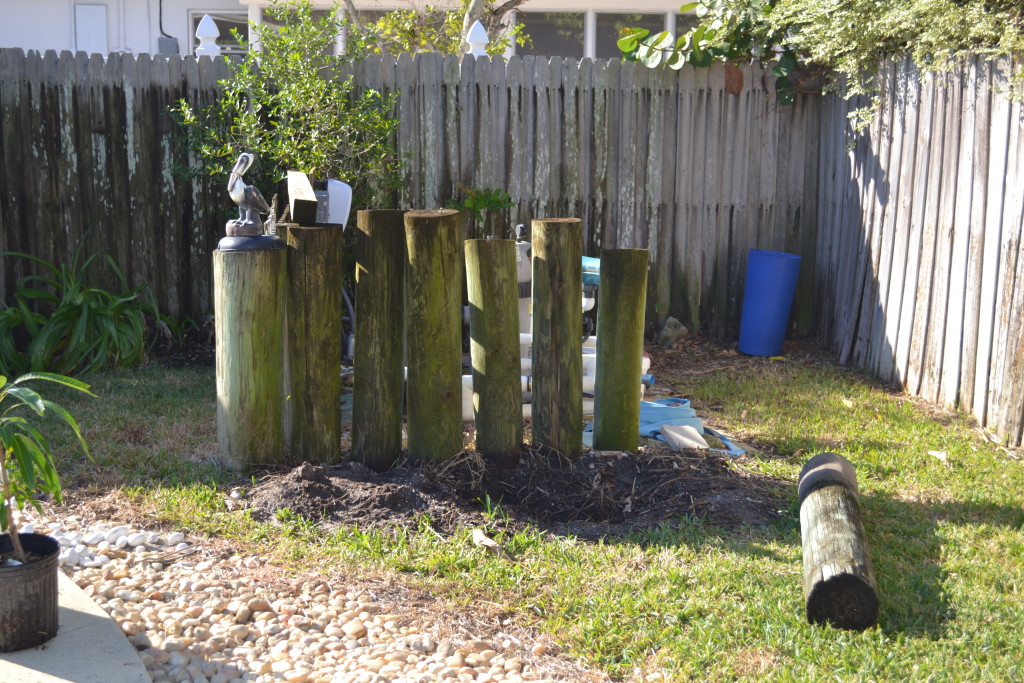
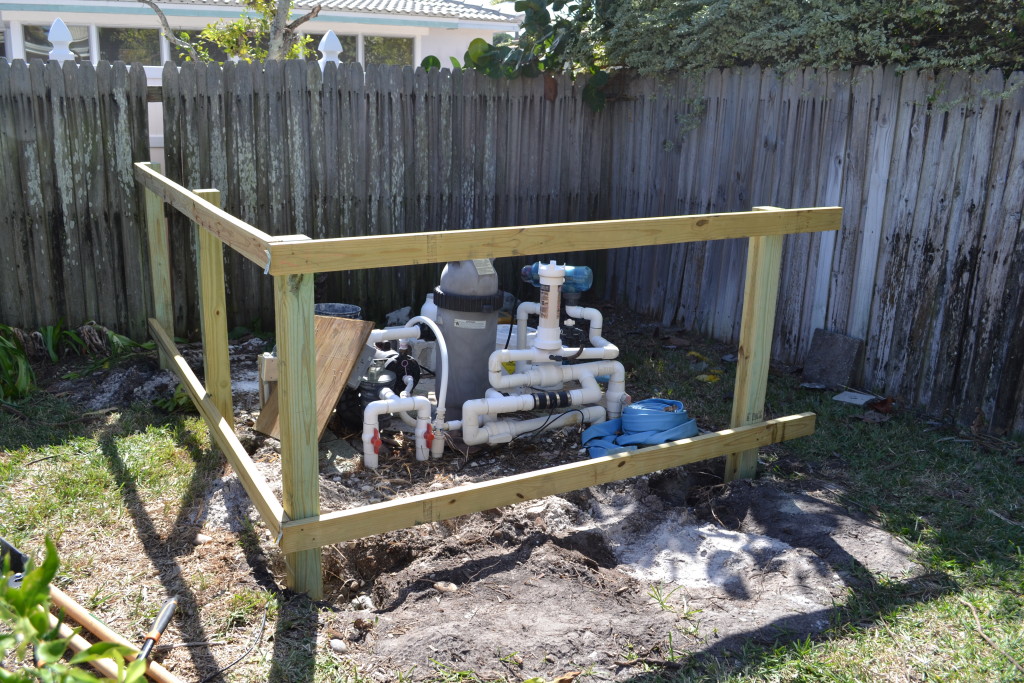


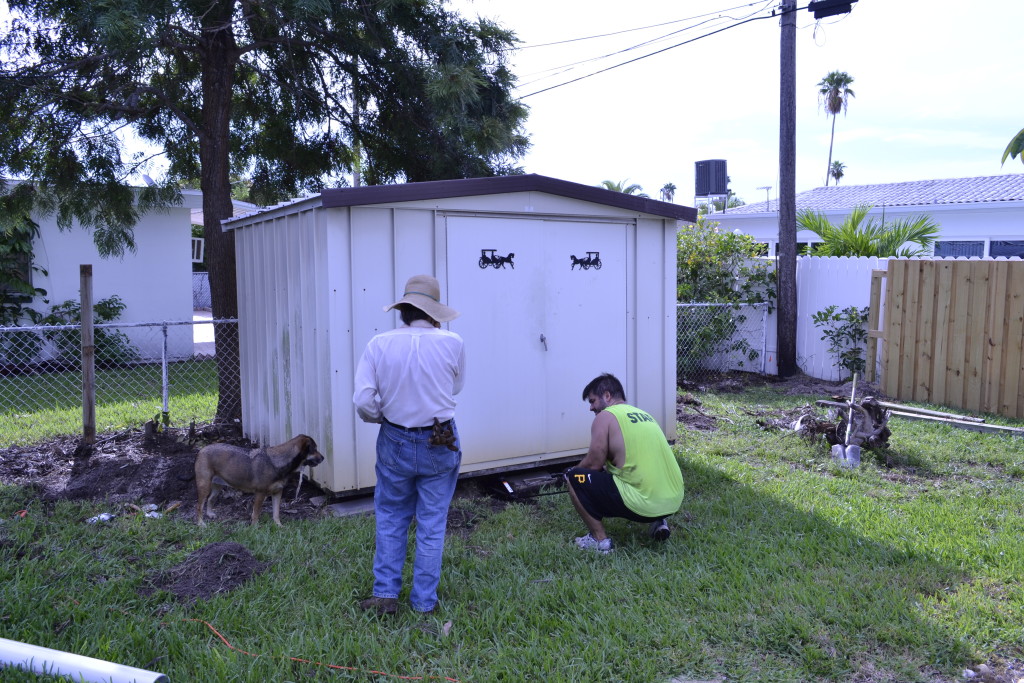
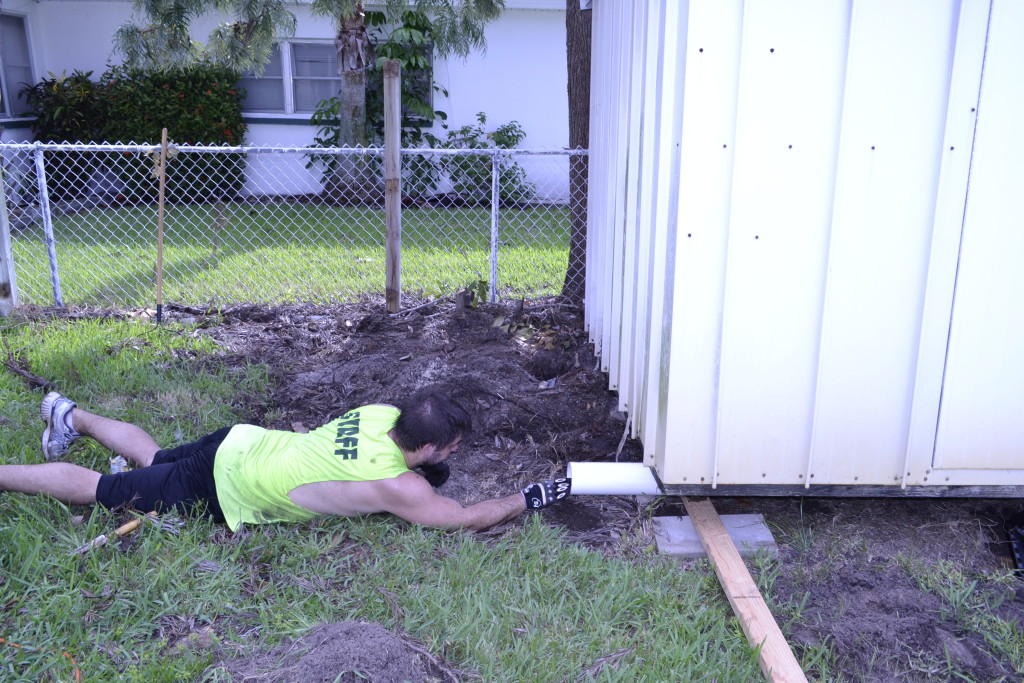
The Boy, his father, and The Dog figured out how to move the shed out from the fence using a car jack and 6″ PVC pipes so we could build the fence on that side of the yard.

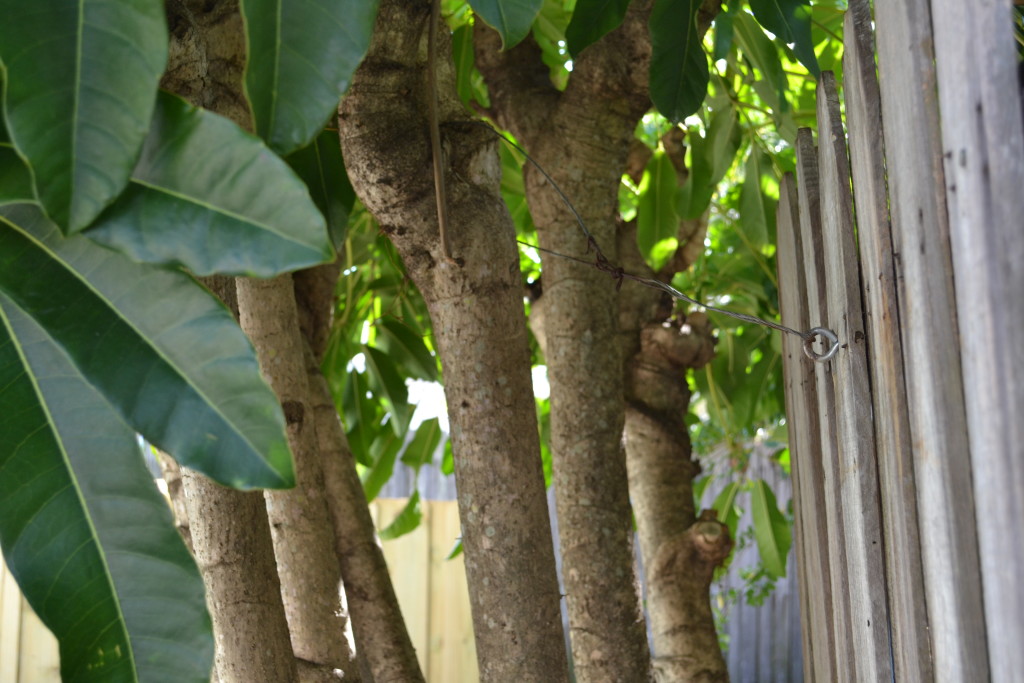
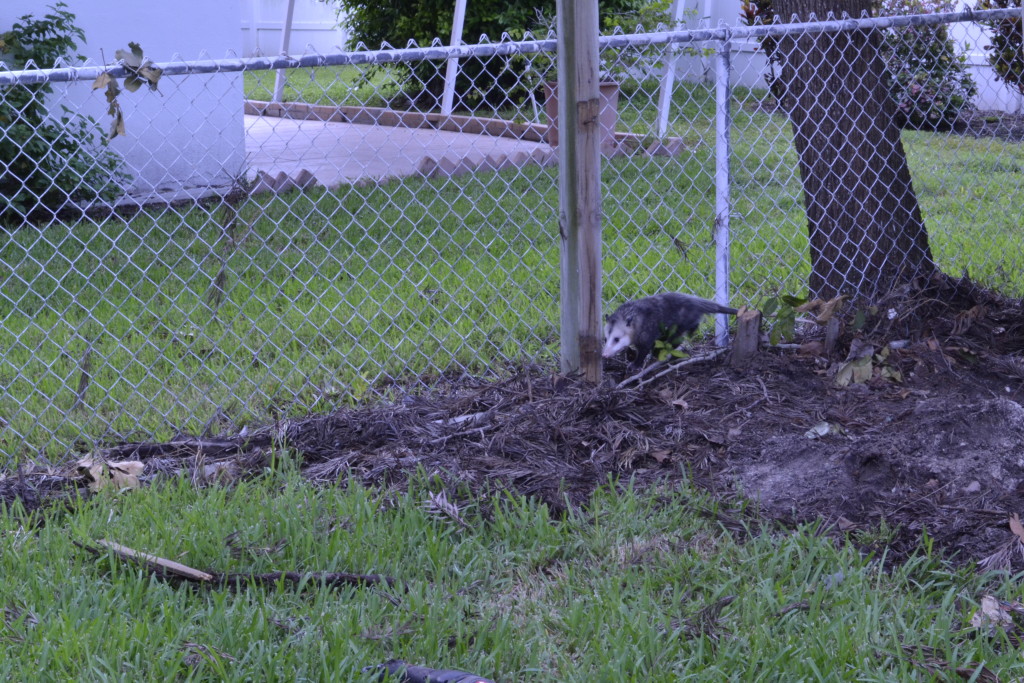
Which is when we discovered a friend living in the backyard:
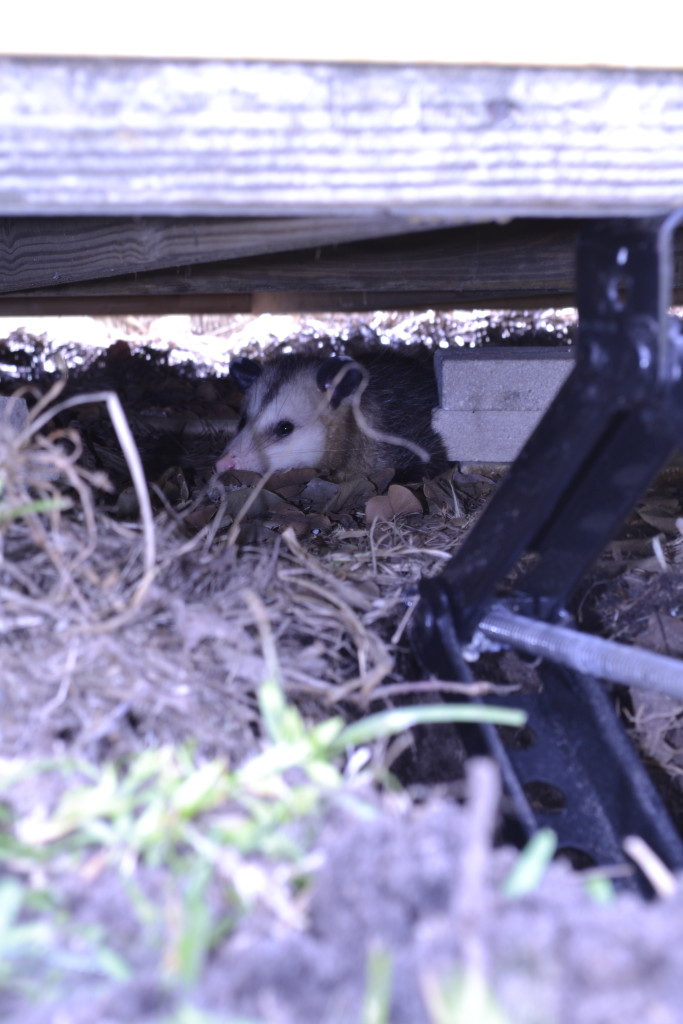
After much cajoling, he (she?) finally left without incident.
There was some pretty intense stump removal as well …
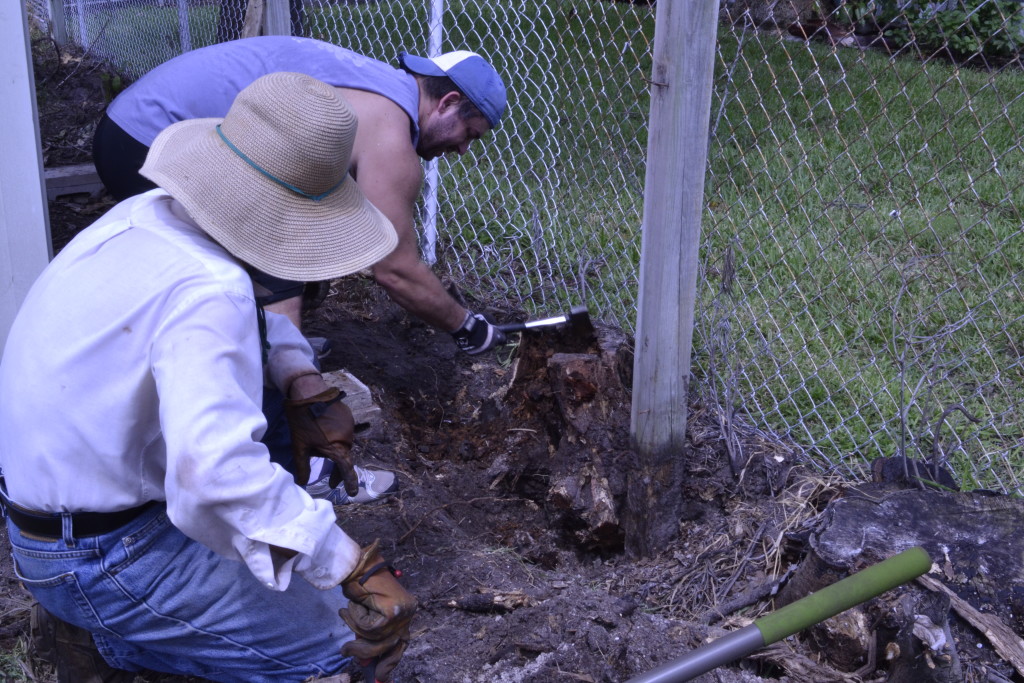
before the fence building could commence.

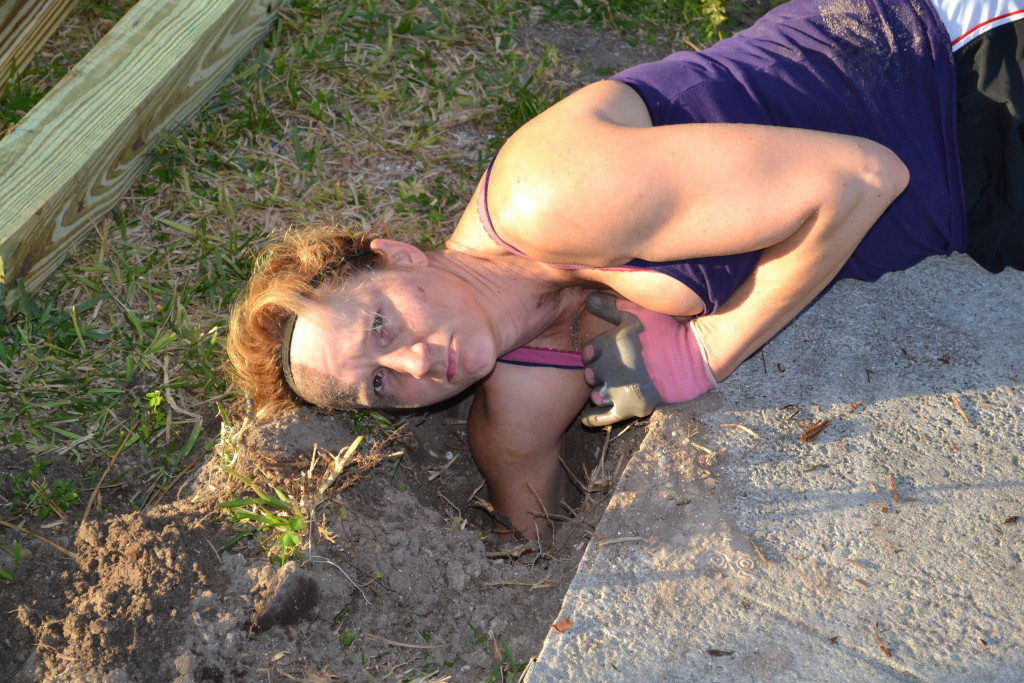
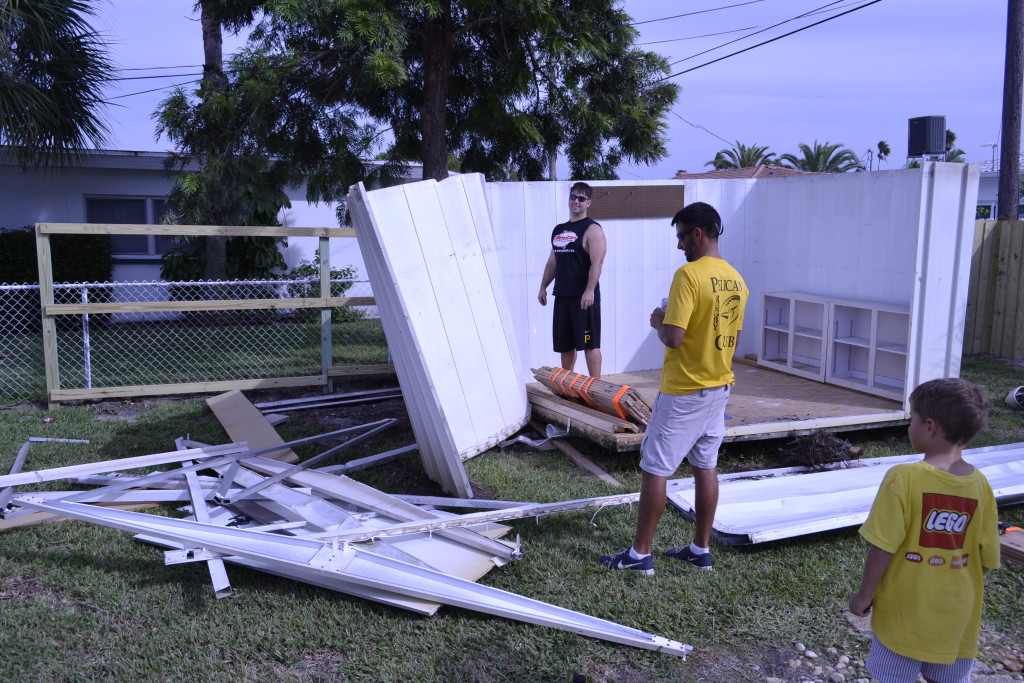
After all that, we made the tough decision to get rid of the shed, and brought in reinforcements to help with demolition …
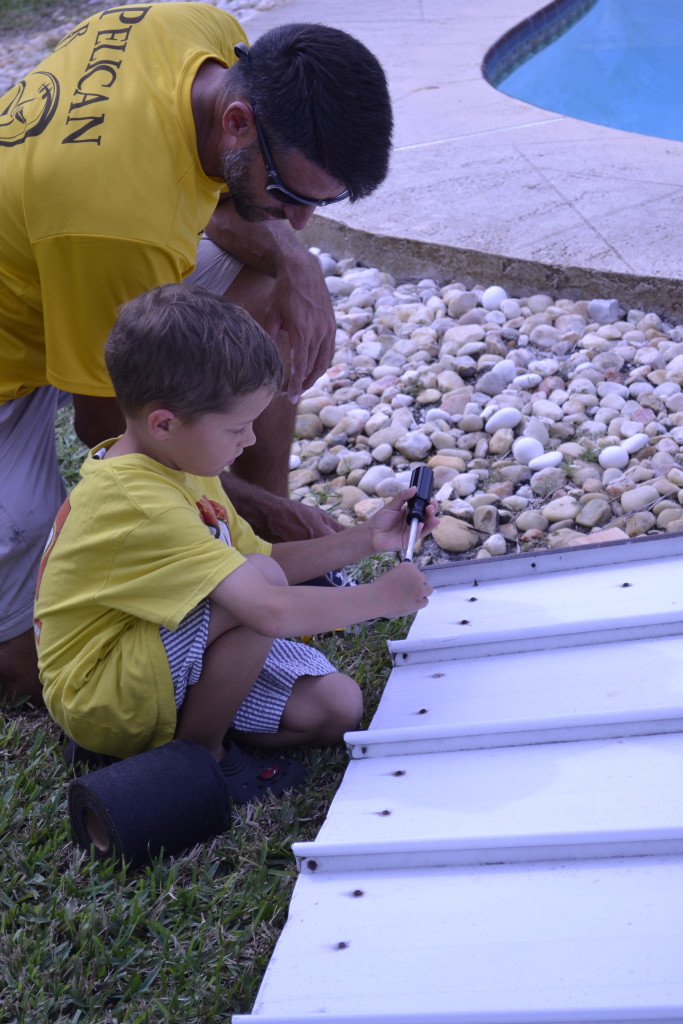
What child labor laws?
We had no idea that children could be taught to use tools, work for hours without breaks, and fit into small inconvenient spaces. In light of this new information, we decided to take matters into our own hands.

Coming soon, The Kid!