Pinbusters – Tinted Mason Jars

Have you ever wondered if the stuff people post on Pinterest is true? Well I have, and I test them all so that you don’t have to, ’cause ain’t nobody got time for that.  Click here to check out all of the pins I haven taken on. You might be surprised by some of the results!

I am not sure what the practical purpose of this pin is, other than decorating, which I am allergic to. However, in the spirit of busting pins (it doesn’t sound so elegant when phrased that way), I am going to give it my all.

Supplies needed: Mason jars, Mod Podge, food coloring, wax paper, cookie sheet, oven, and ramekins. (Okay, seriously, can’t we just say “little bowls”? I am not sure why this blogger feels the need to use such a ridiculous word.)

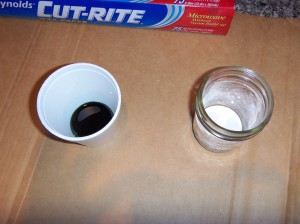
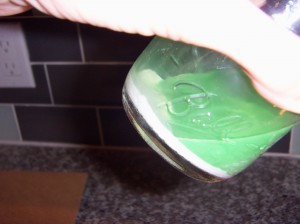
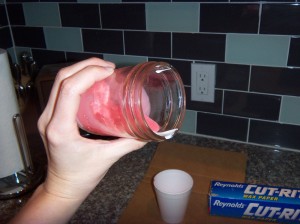
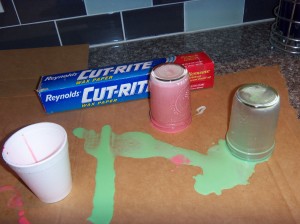
Please note my very fancy styrofoam little bowl ramekin. I followed the instructions perfectly, except with the first jar (green) I believe I used a terrible water to food coloring ratio. The liquid inside my Mason jar was way to soupy and sloshy.

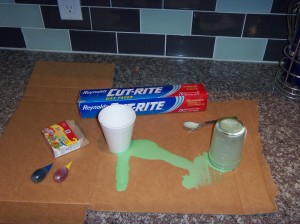
I did manage to get all surfaces covered and set it to dry (and thank goodness our granite is sealed and didn’t stain green!).

I did a second jar (red) to see if I could get a better result. I used way more food coloring and less water, and it was slightly better. I could roll it around a little better and get the sides coated.

I let them dry for about 30 minutes, then I put them in the oven on the warm setting. (Did you know your oven has a warm setting? I didn’t. I also just discovered the broil feature, though, so I guess I have a lot to learn about ovens.)

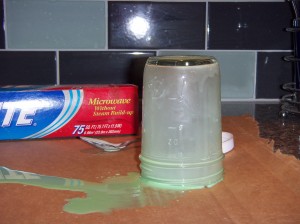
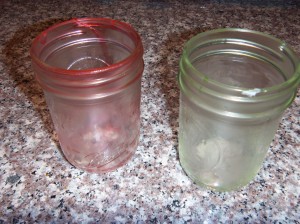
They did not turn out great, and do not look as good as the pictures in the original post, but I really think this is feasible. I think I should have turned them right-side up for the baking, because they really stuck to the wax paper. I also would just add food coloring straight to the Mod Podge, and skip mixing with water, to get a darker tint. Finally, I have no idea what the effect of using “matte” Mod Podge versus “glossy,” but I can’t imagine it is much. Point is, with some practice, and a dose of patience, I could get my jars to look like the ones in the original pin. You know, if I wanted to.

This pin is plausible!! Happy Black Friday, everyone. I hope you have a blast throwing elbows in WalMart to save $30 on a flat screen!

The Master-ish Plan

The Boy and I have decided to turn the Master-ish Bathroom into a (gulp) MASTER bathroom. No ish!!

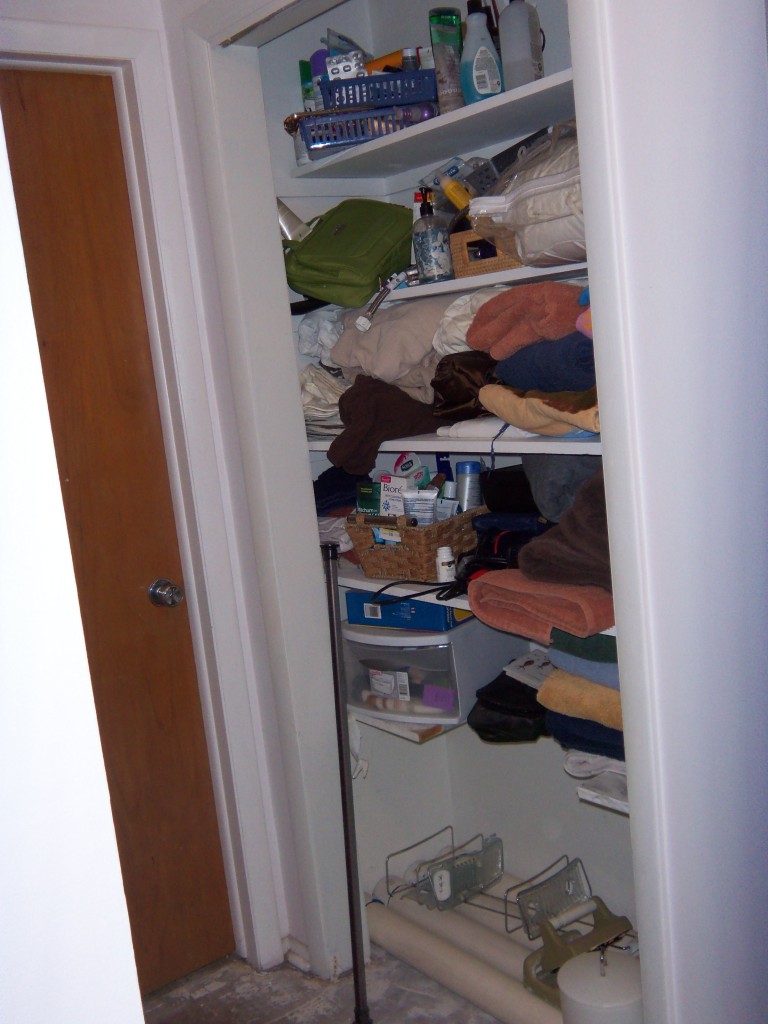
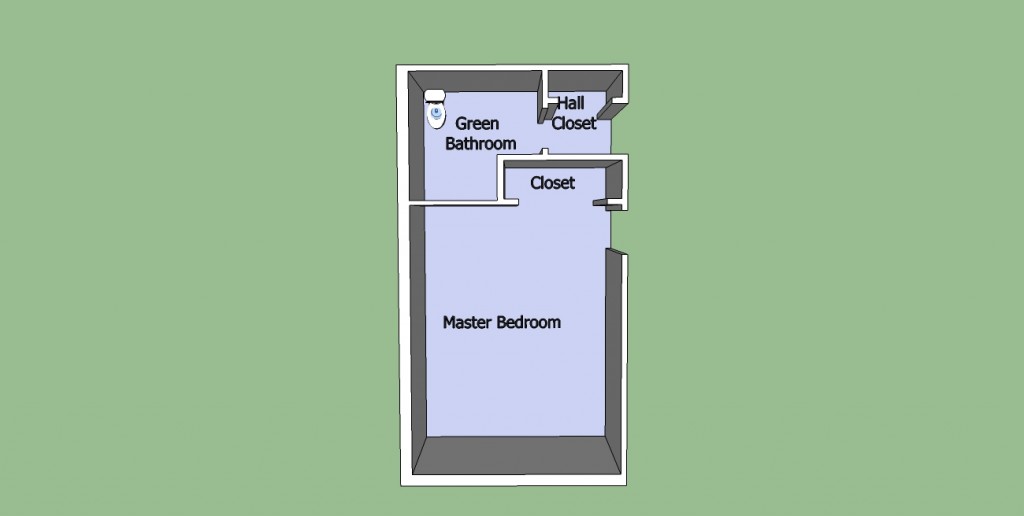
What we currently have is the one renovated full bathroom, off the living area, and the other larger bathroom (a/k/a the green bathroom a/k/a the Master-ish Bathroom) off the hallway. However, the Master-ish Bathroom does share a wall with the largest bedroom, therefore we have entertained delusions of turning the hall and hall closet into a walk-in closet leading into the bathroom from the bedroom.  Here are some pictures so that this might make a little sense:

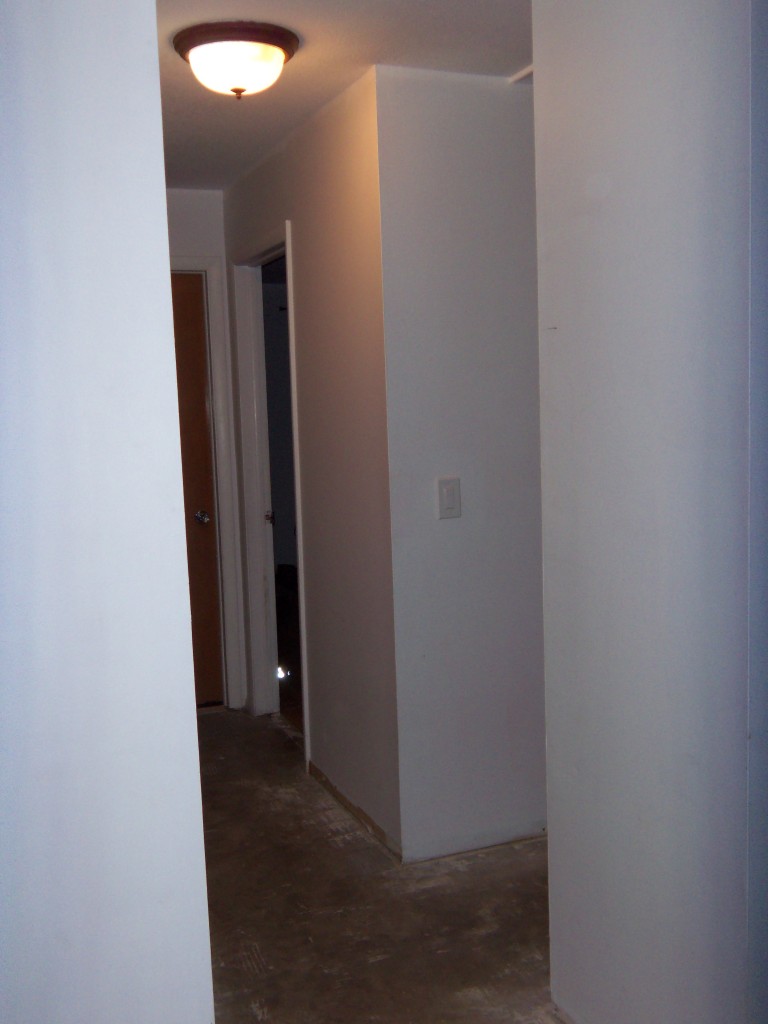
The hallway in question. The first opening on the right leads to the bathroom. The other door on the right leads to the largest bedroom.

The hall leading to the bathroom, with a closet (missing doors, of course) and bathroom door.

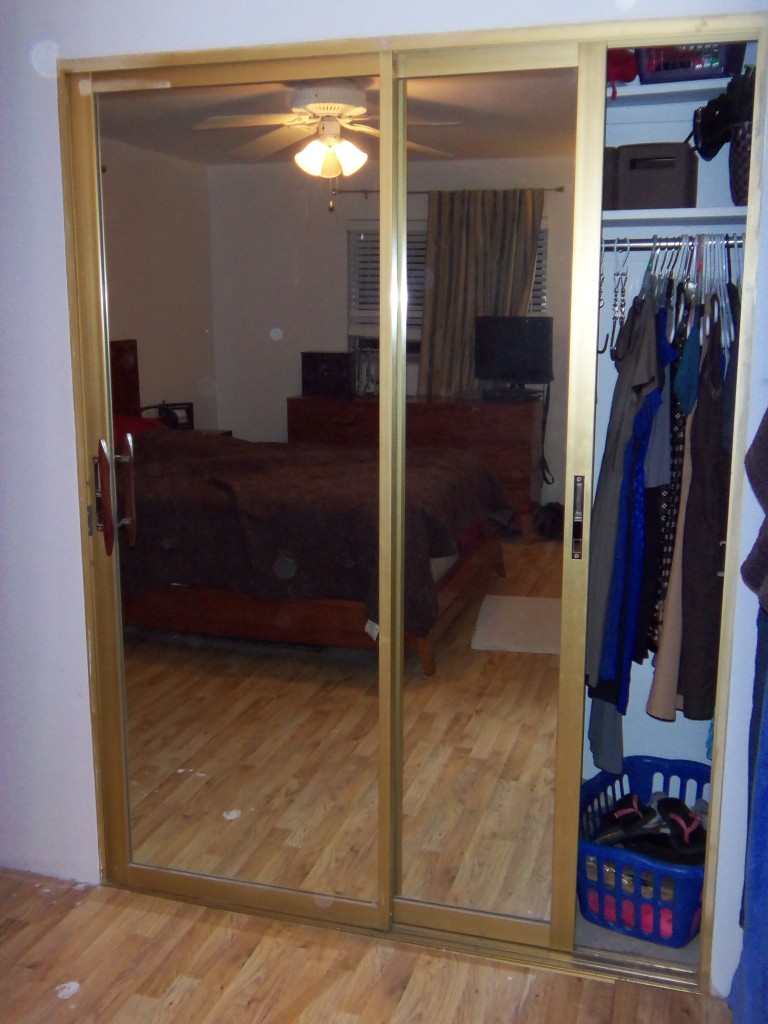
The closet in the Master-ish Bedroom.

The back of this closet is the wall on your left as you are walking into the Master-ish Bathroom (and the hall closet would be on your right).  I hope this is making sense, because I am confused, and I live here. Also, I quickly realized I would not be able to take this last photo without showing most of the bedroom, so I straightened up quickly, which involved kicking shoes behind the bed and putting the laundry on the bed away. I also opened the sliding doors a bit for perspective (and to take me out of the picture!).

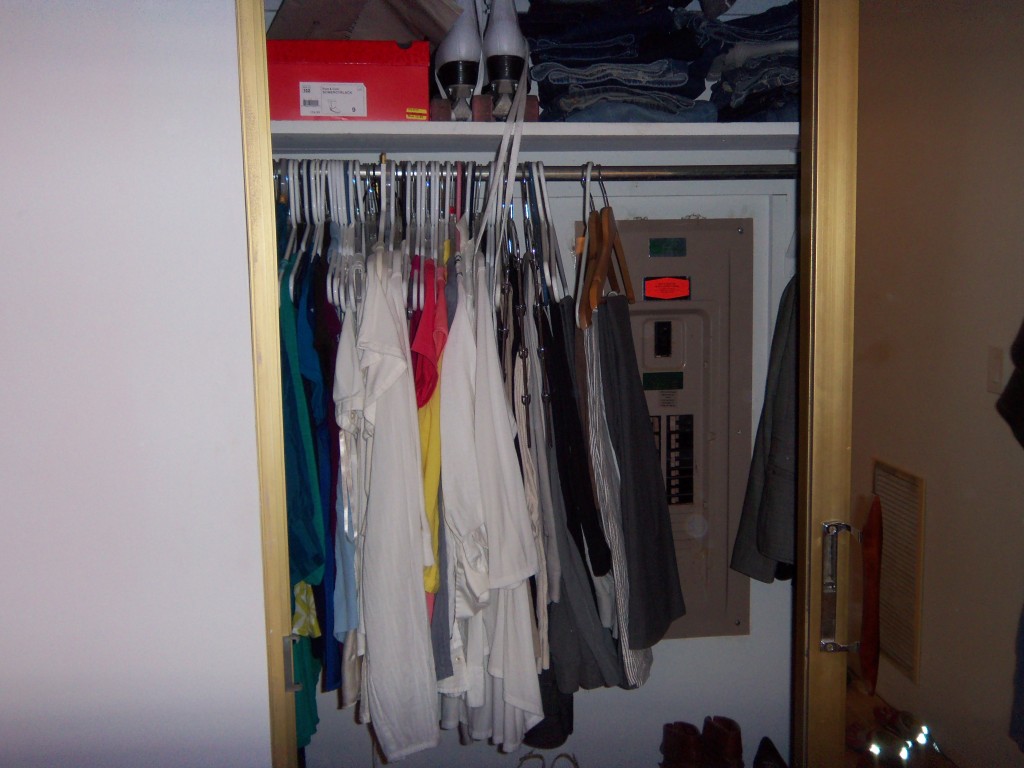
Here is the big problem:

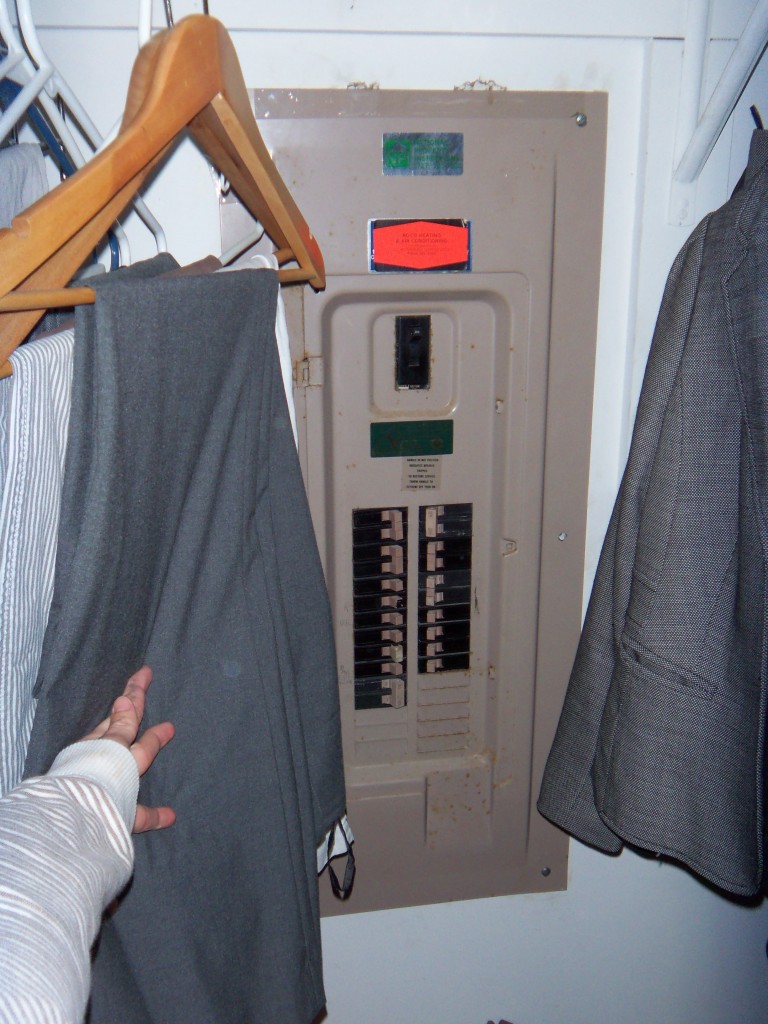
That, my friends, is a breaker box.

This is what we have to do every single time we play with electricity in the house. Which is actually very often, unfortunately.

I had The Boy do a quick drawing on Google Sketch-up, to show the before and after of the future layout. This is what we currently have:

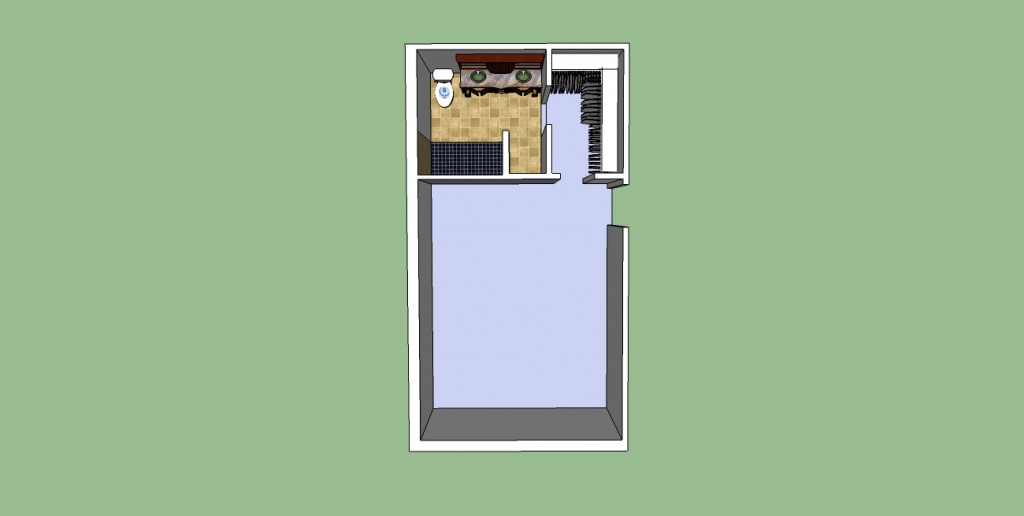
And this is the goal:

The idea is that the breaker box will stay in the closet, turned to be inside the wall on the left when you walk into the master closet, but otherwise unchanged. We confirmed that the power main is coming in from the top of the box, therefore in theory we should be able to pivot it and locate it in the new wall that is built. I am sure this is one of those things that sounds WAY easier in theory than in reality. We will let you know!

Pumpkin + Nutella = Party in Your Mouth!

This is a recipe post. My first, and possibly my last. Compose yourself and hydrate, because you are not hallucinating.

I had a culinary epiphany while tipsy. Although I do not condone cooking while drunk for safety reasons, I encourage great ideas while under the influence. Write them down, and if they seem remotely reasonable the next day, give it a go.

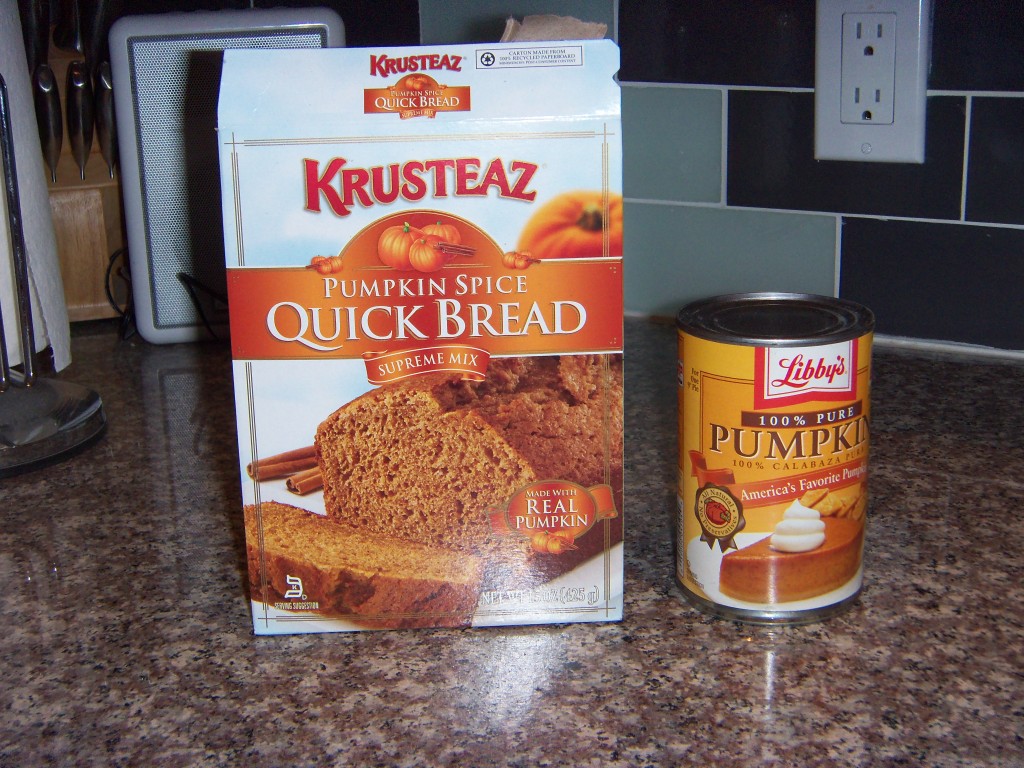
I read a pin that said you could substitute all of the “wet” ingredients that go into a regular box of cake mix with one can of pumpkin. It sounded easy, but I didn’t have any cake mix. I was not qualified to drive to the store, and The Boy was not home, so I was stuck. Then I remembered that I had a box of Krusteaz pumpkin spice quick bread I had been meaning to make, and I decided to do that instead. Then I discovered I had no eggs, so I couldn’t make that. Well, dang. Then: EPIPHANY. I could replace all of the “wet” ingredients in the pumpkin bread with a can of pumpkin. I felt like a mad scientist, and even let out an evil laugh. Then I was glad I was home alone. The Dog doesn’t judge.

But here is where things got crazy. I have been trying to figure out how make cookies with a Nutella-filled creamy center since the Nutella cookies I made. I have a bake off coming up with the Tampa Bay Lady Bloggers (they call it a “cookie exchange,” but I know a bake off when I see one!) that I wanted to make them for. So I practiced.

Ingredients:

One box of Krusteaz pumpkin spice quick bread mix (seasonal item, so buy it now!)

One can of pumpkin (15 oz.)

Nutella

Melon baller

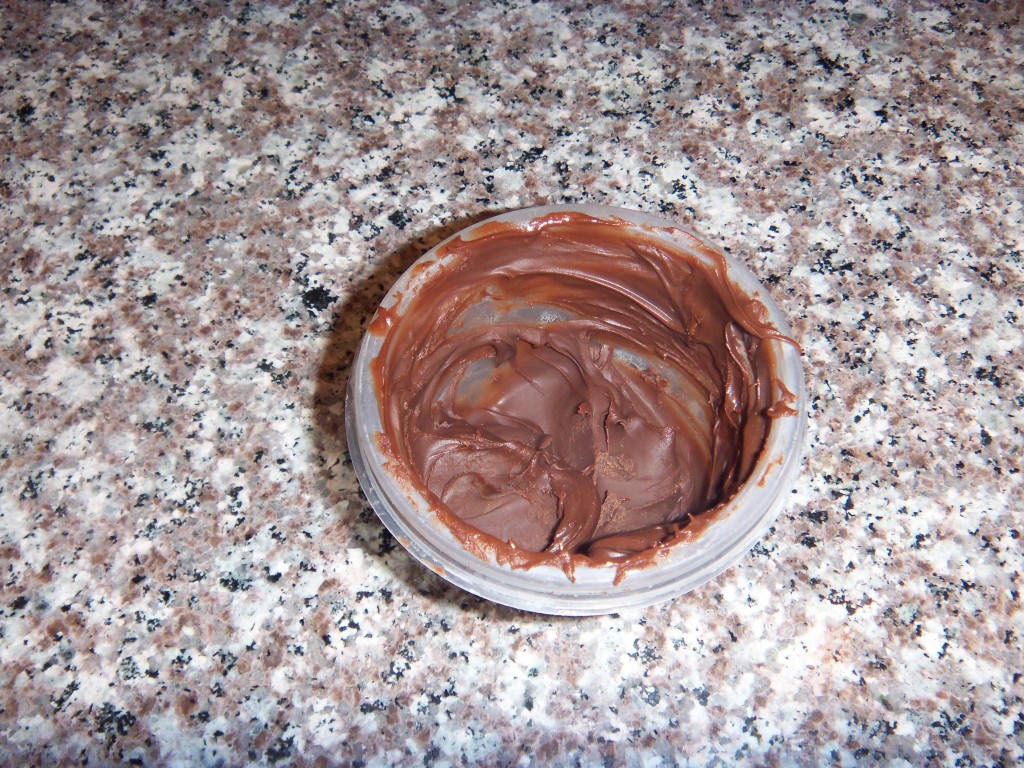
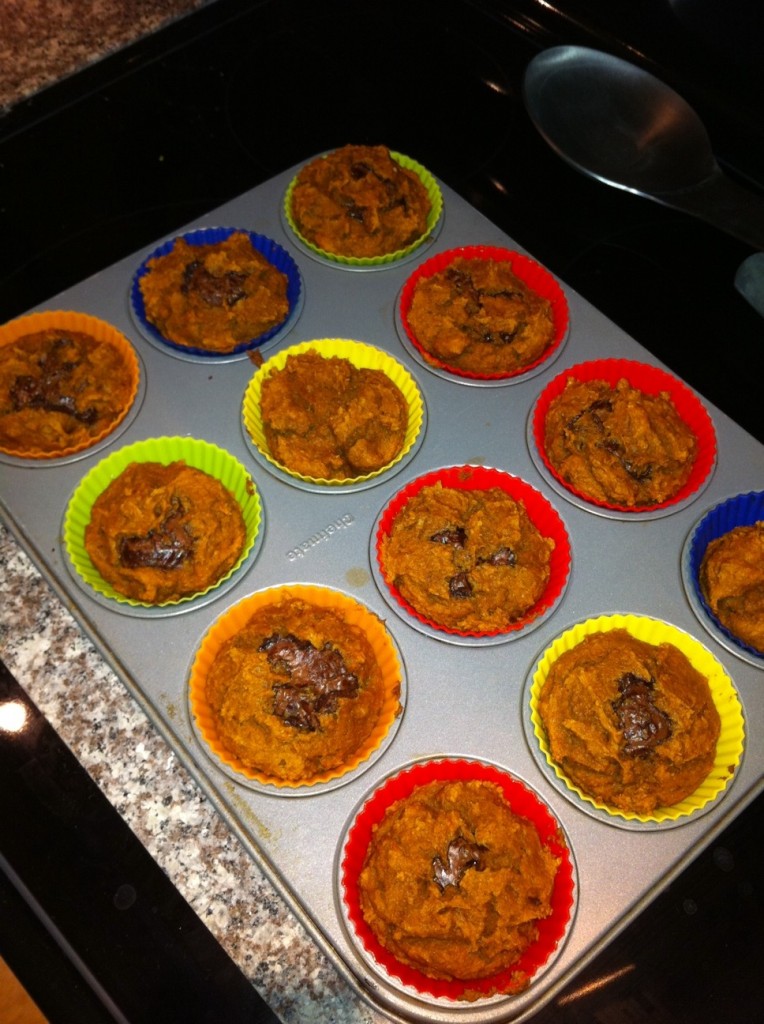
First I spooned a few tablespoons of Nutella into a small plastic container, and put it in the freezer to harden. I mixed the Krusteaz mix with the can of pumpkin, and spooned those into a greased muffin pan (I actually used my silicone reusable muffin holder things, which are awesome). Then I retrieved the Nutella from the freezer, and scooped out balls using my melon baller.

You want it to be hard enough to scoop out clean, but if it has been in the freezer too long, you can just let it sit for a few minutes to soften up. I found that about 30 minutes in the freezer was a good amount of time. There is a window of opportunity for scoop-ability. You may have to play with it a bit. Accidents can be eaten.

I then shoved the Nutella balls into the raw muffin mix as it sat in its little muffin cups (is there a term for these things? I can’t think of it). I used my finger to cover the Nutella ball so it was just not showing from the top. Then I baked my muffins for about 17 minutes. You can do the poke it with a stick test to determine if they are done, being careful to avoid the creamy Nutella center.

Then hold on to your socks and your bodily fluids when you dive into the first one.  Holy crap they are amazing – so moist and flavorful and NUTELLA.  And so easy. If I can do it, honestly anyone can. Even a drunk house plant.

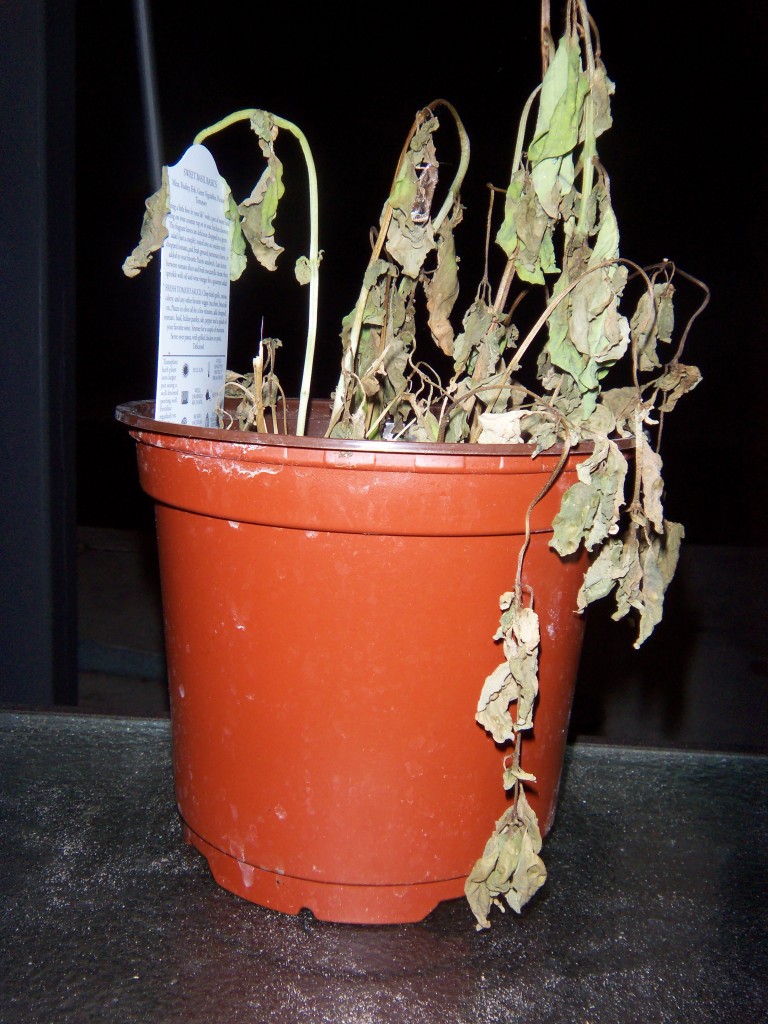
Sad plant

I’m not as think as you drunk I am.