Controlled Demo: Great Success!

It has been previously noted that I prefer to demo a room in a more controlled manner than you may have seen on tv shows on the DIY network, or HGTV.  On those shows, the host grabs the homeowner, hands them some sort of beat-stick (crowbar, hammer, sledgehammer, baseball bat…any heavy blunt object really) and says “here, throw this hammer through that window!”

(Side note:  man, that makes me think of the bowling ball scene in ‘Dazed and Confused’ – “that bowling ball did NOT go through that damn window!”)

Inevitably, that hammer DOES actually go through the window.  The sledgehammer goes through the drywall.  The baseball bat goes through the tile on the wall (and then severs the ligaments of the homeowner swinging the baseball bat, an aspiring minor league pitcher.  Whoops.  Did anyone else see that episode of Bath Crashers?)  Then the show does a little cut to what appears to be thirty seconds later and there is no mess, and the area is nice and tidy.

After having demoed (real word?) a kitchen and now a bathroom, I can tell you that the ratio of “demo time” to “clean up that mess” time is roughly 1:47.  When you use a big whackin’ stick to break stuff in a “fun” manner, it makes a HUGE mess.  When you take your time, use smaller tools, and pre-cut the drywall, it makes less of a huge mess.  The Girl and I don’t have a squad of thirty workers waiting just off-camera to clean up after us.  We have The Dog.  The Dog, while furry and energetic, is relatively useless where home renovations are concerned.  Exhibit A:

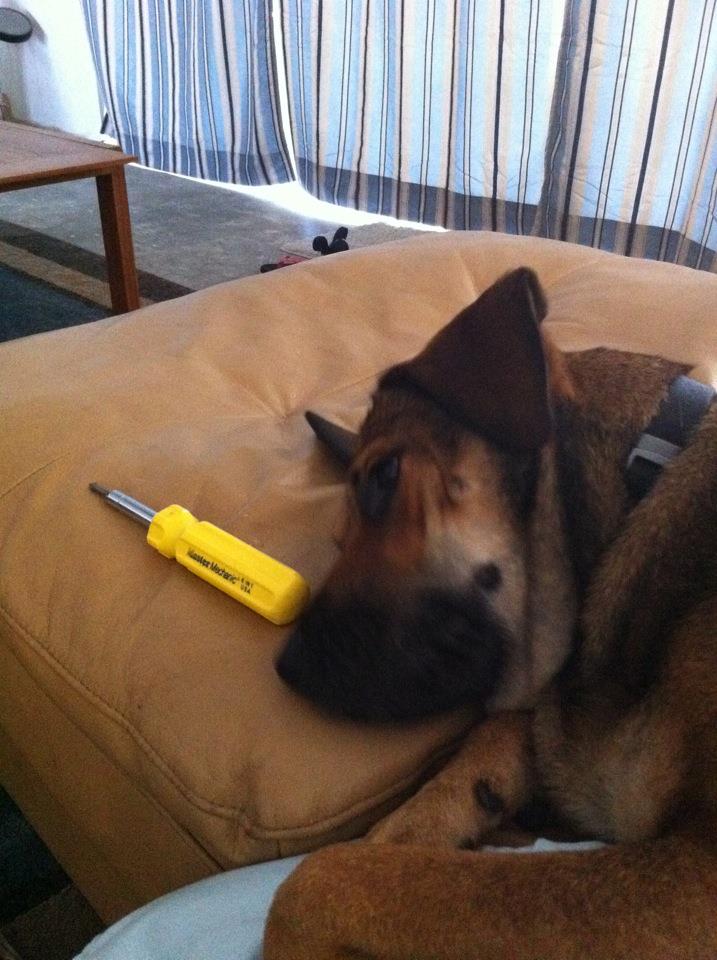
“This doesn’t smell very delicious.”

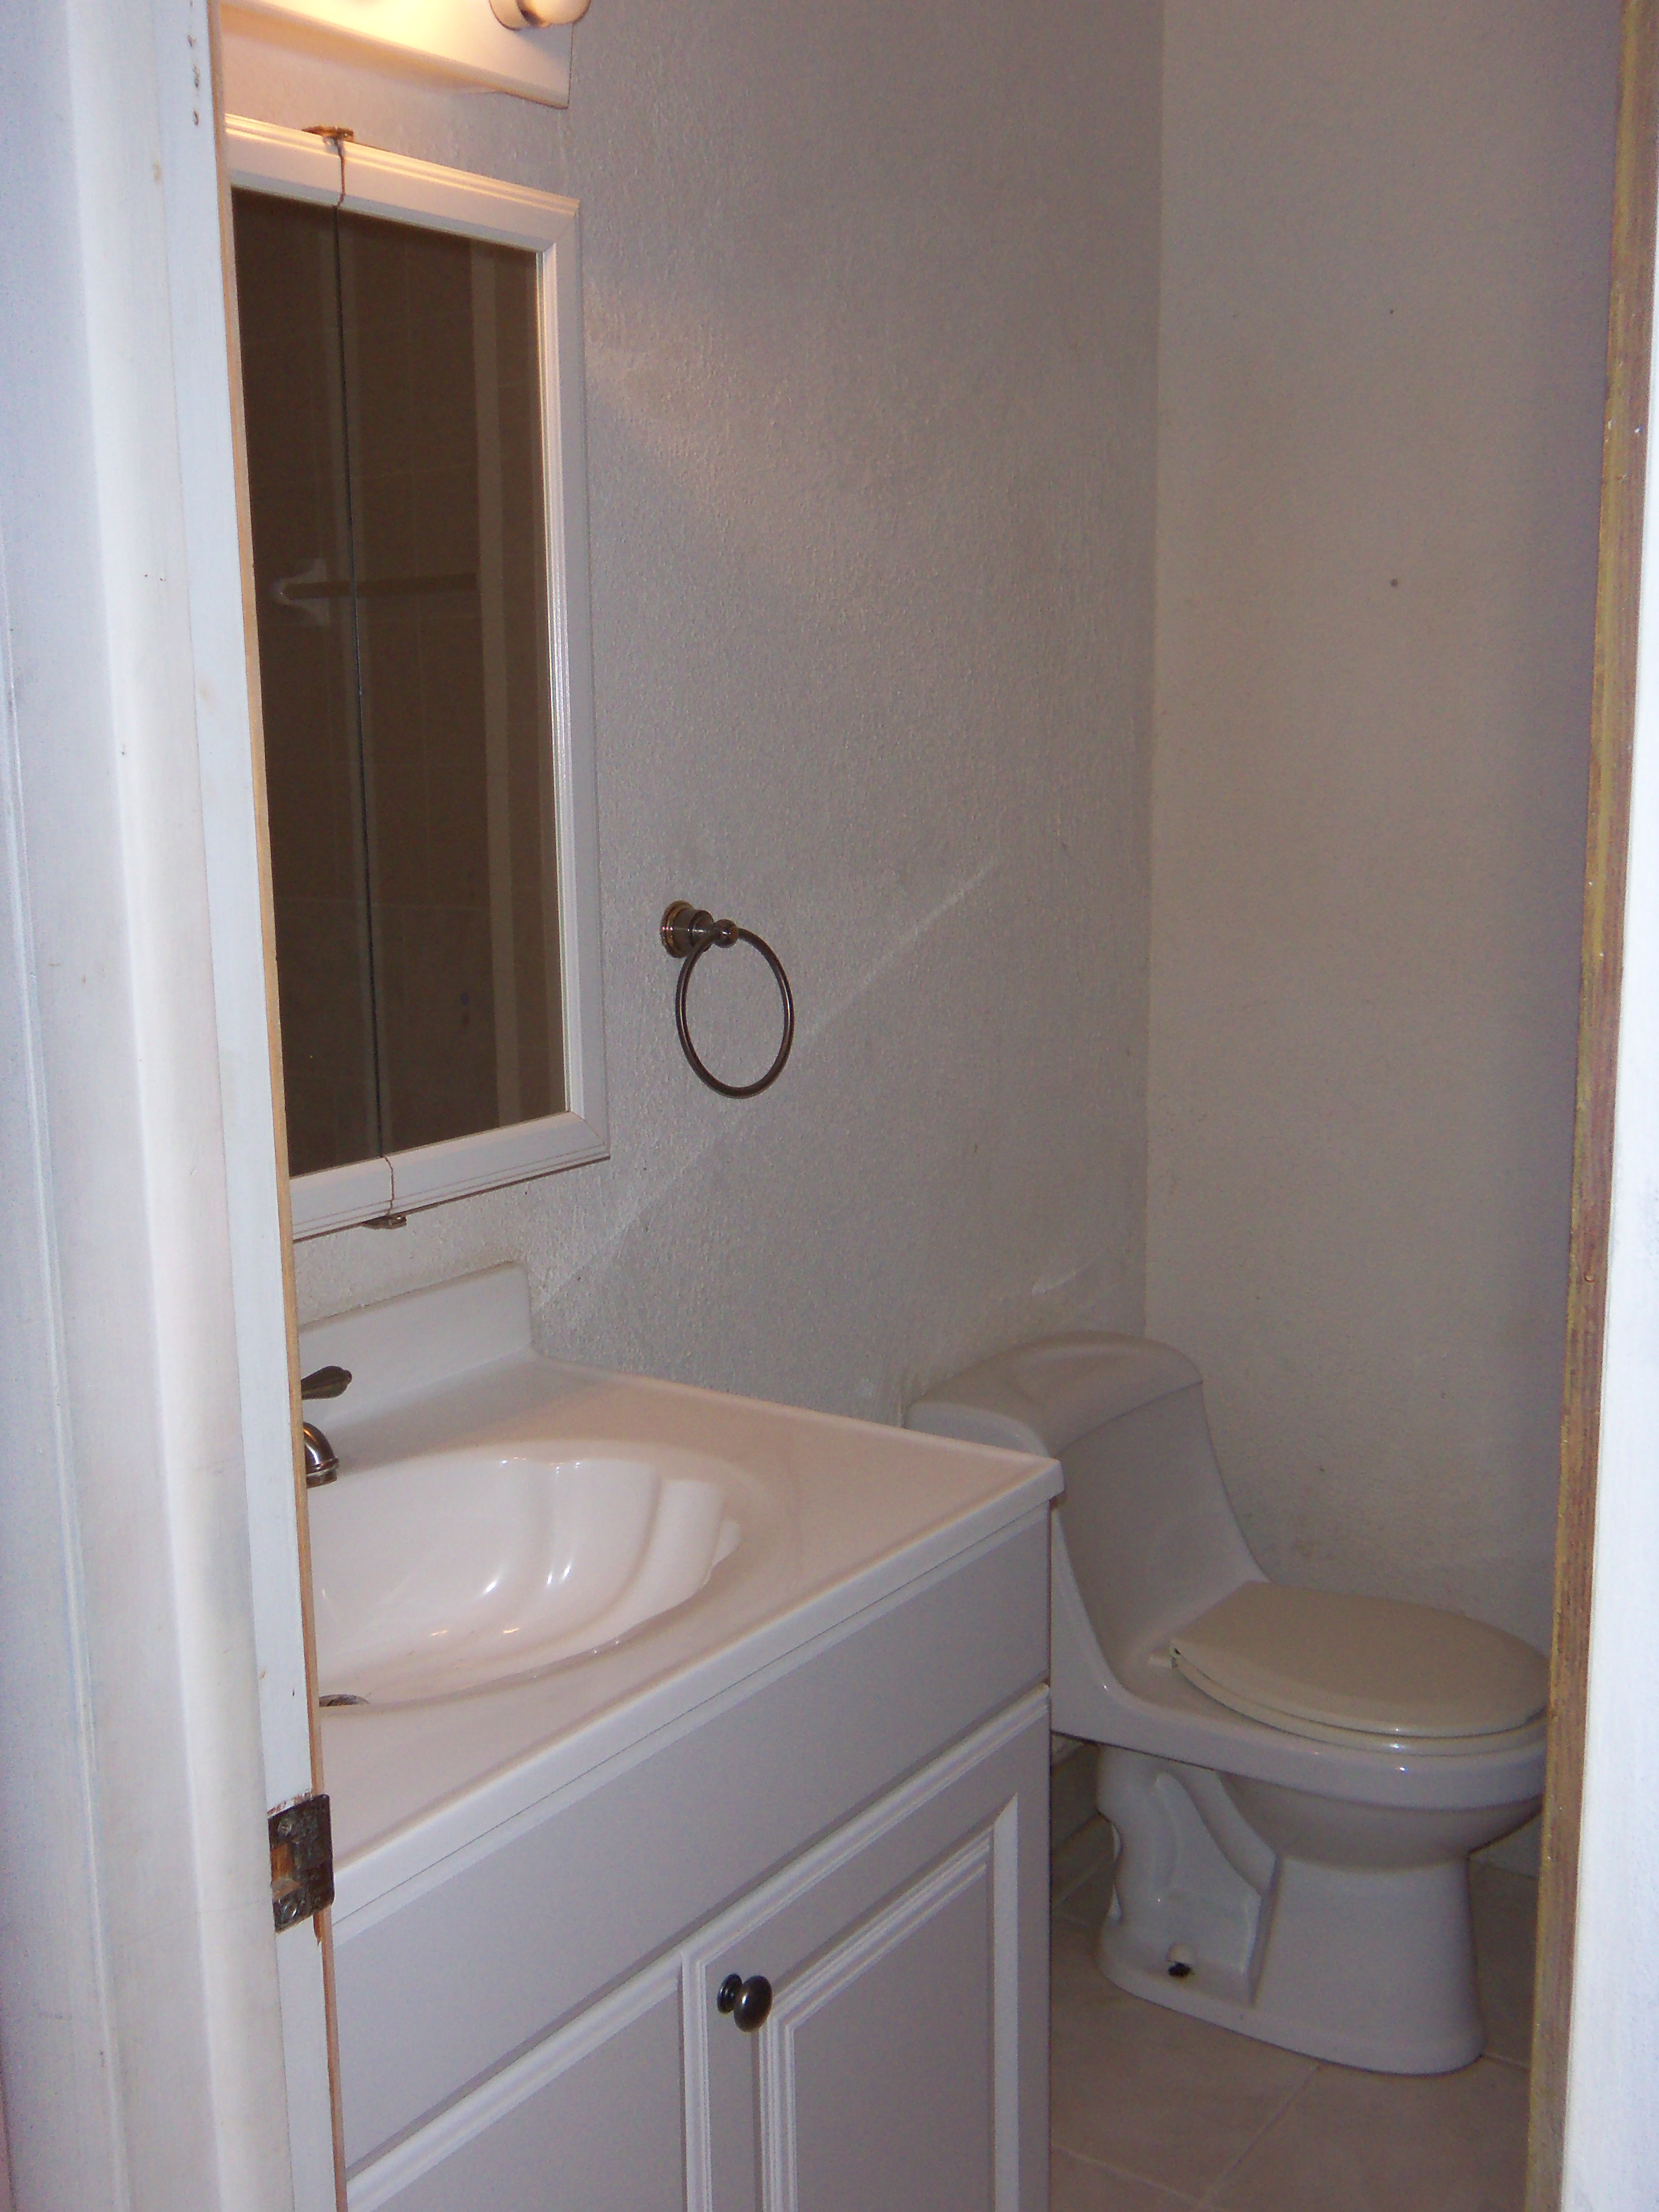
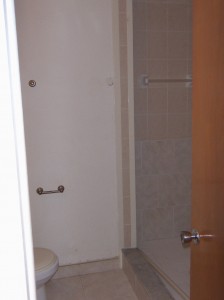
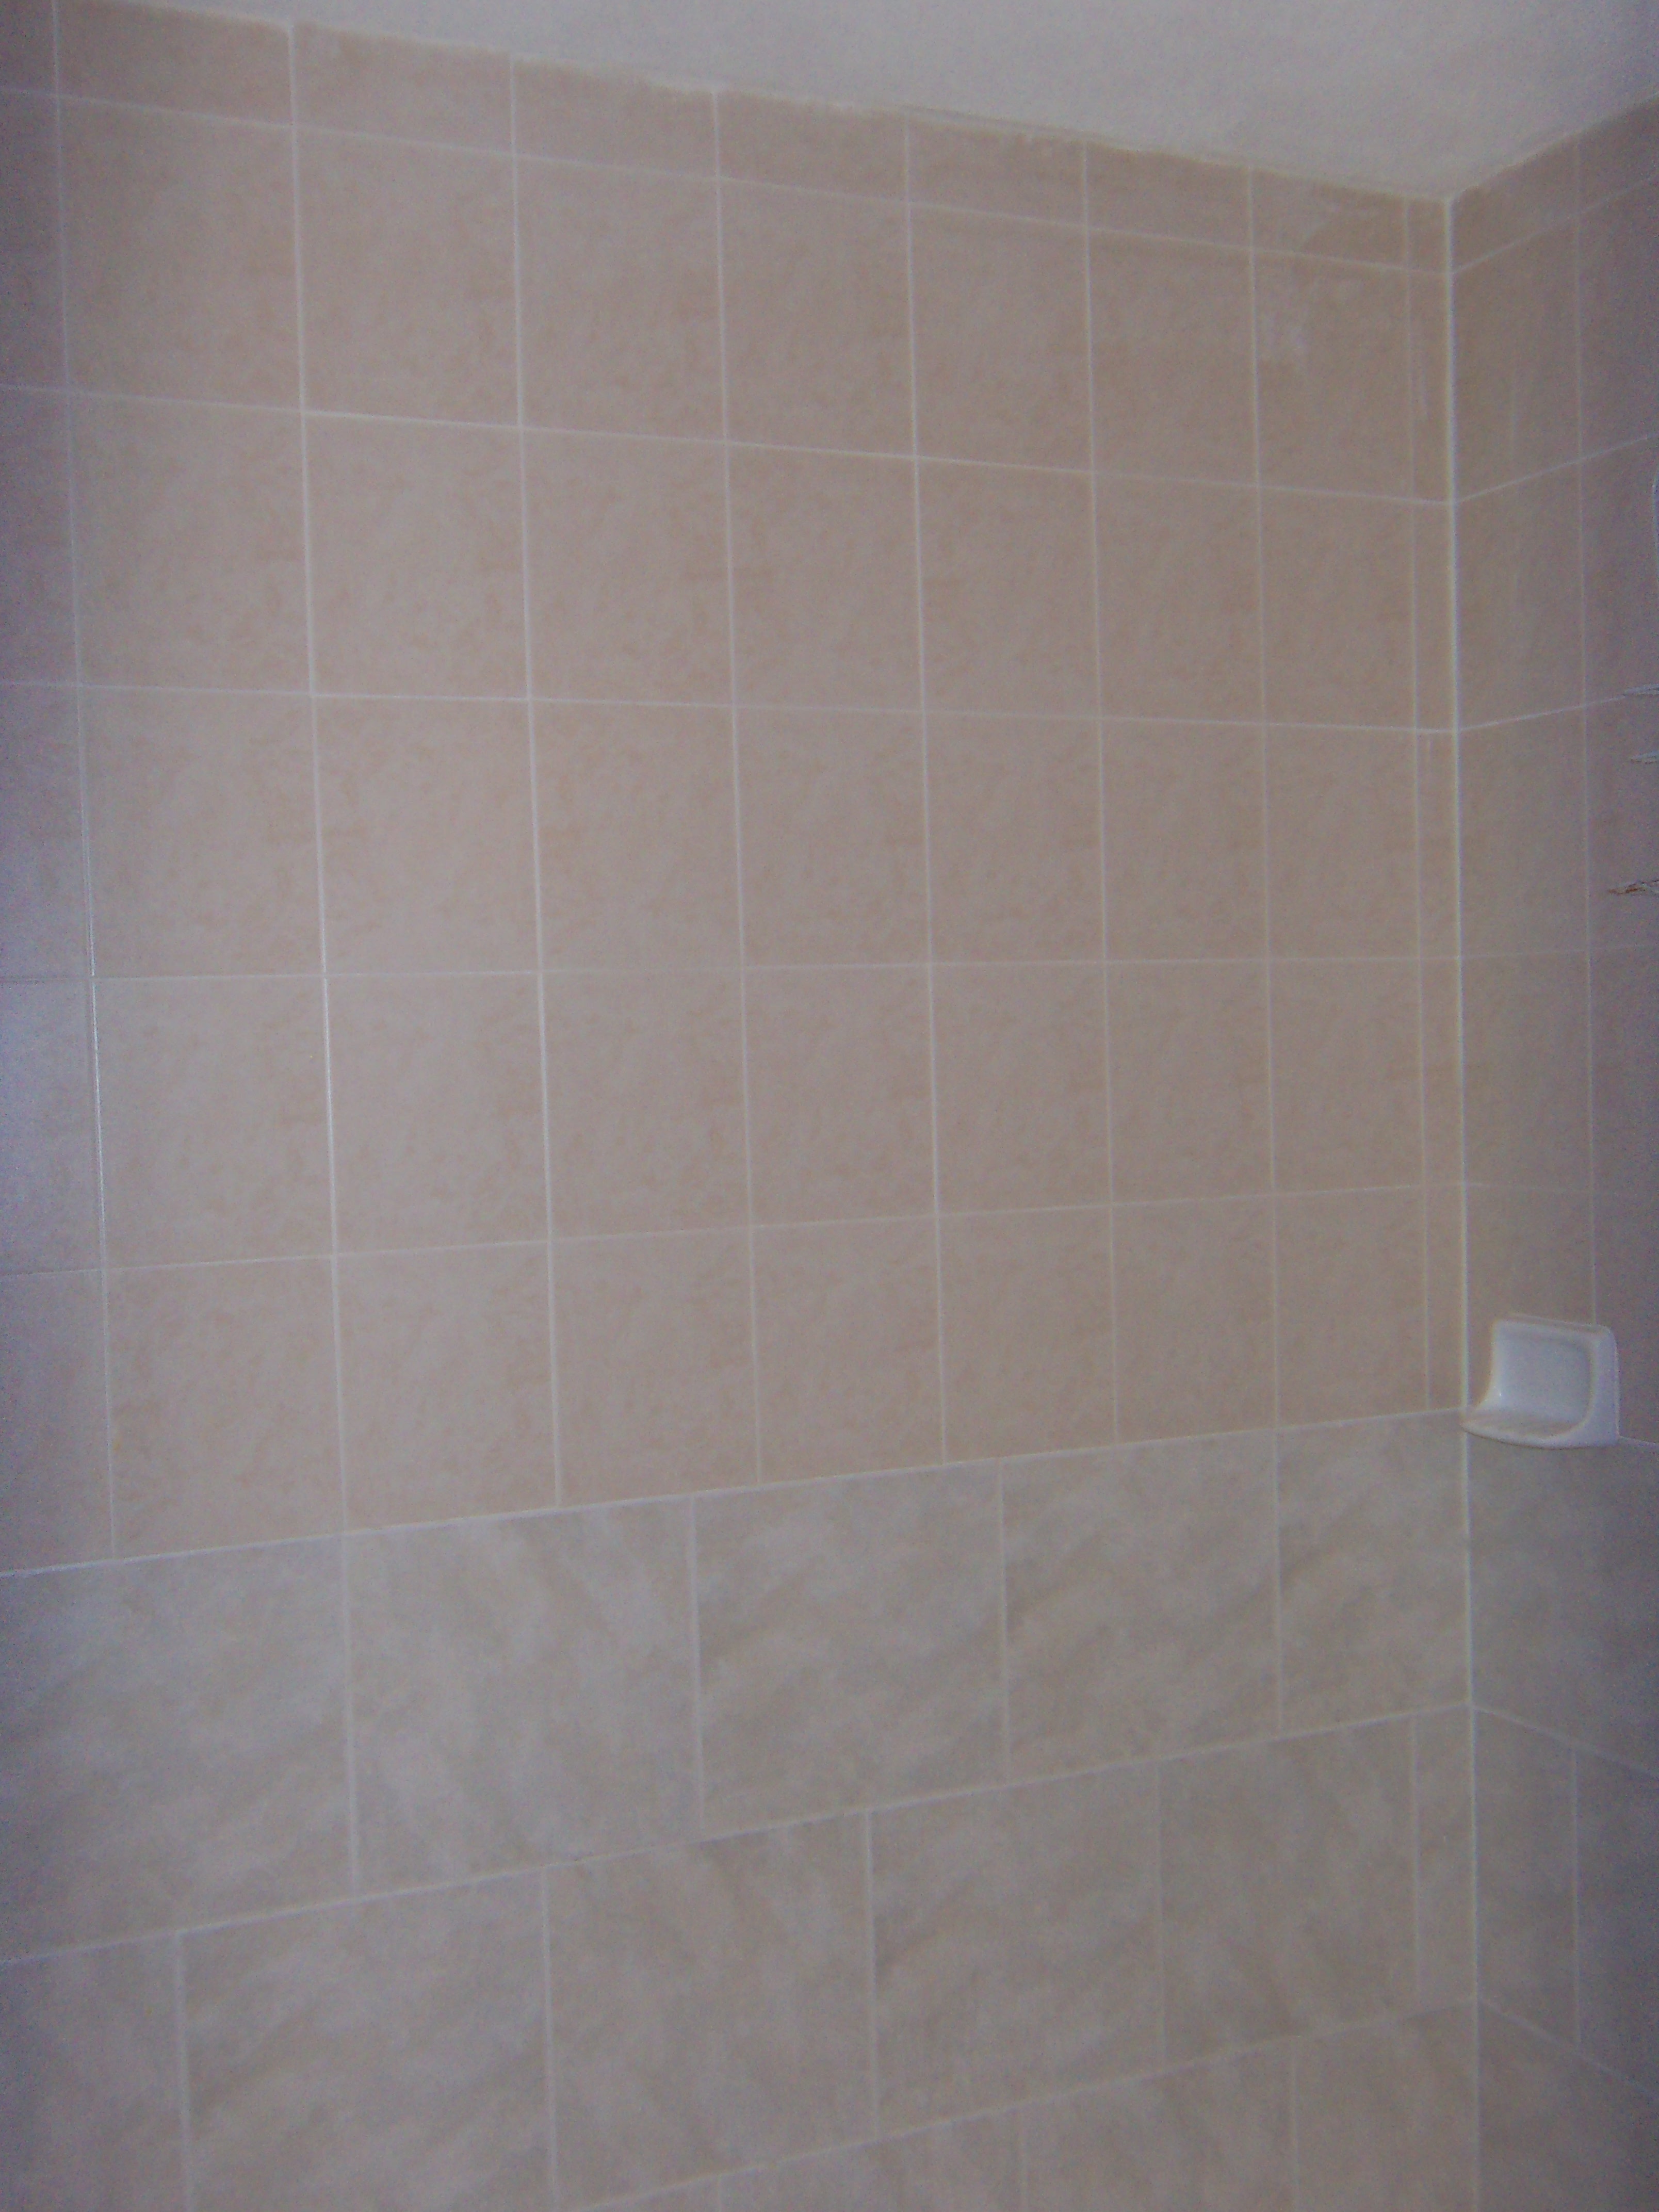
That being said, let’s talk about the bathroom.  Ironically, this was the NICER bathroom in the house, but didn’t really have a working shower, so it had to be the first to go.  Let me clarify.  It DID have a shower, but that shower was approximately 5 feet wide and 137 feet long.  Someone, at some point, took a perfectly good closet and knocked out some walls, put down some tile (poorly, I might add) and threw up a shower spout.  Except the shower spout leaked, and because there was only one spout, and the shower was so humongous, the back two-thirds of the shower were really useless unless you wanted to just stand there and watch the water fall out of the spout and not actually get wet.  Here are some photos:

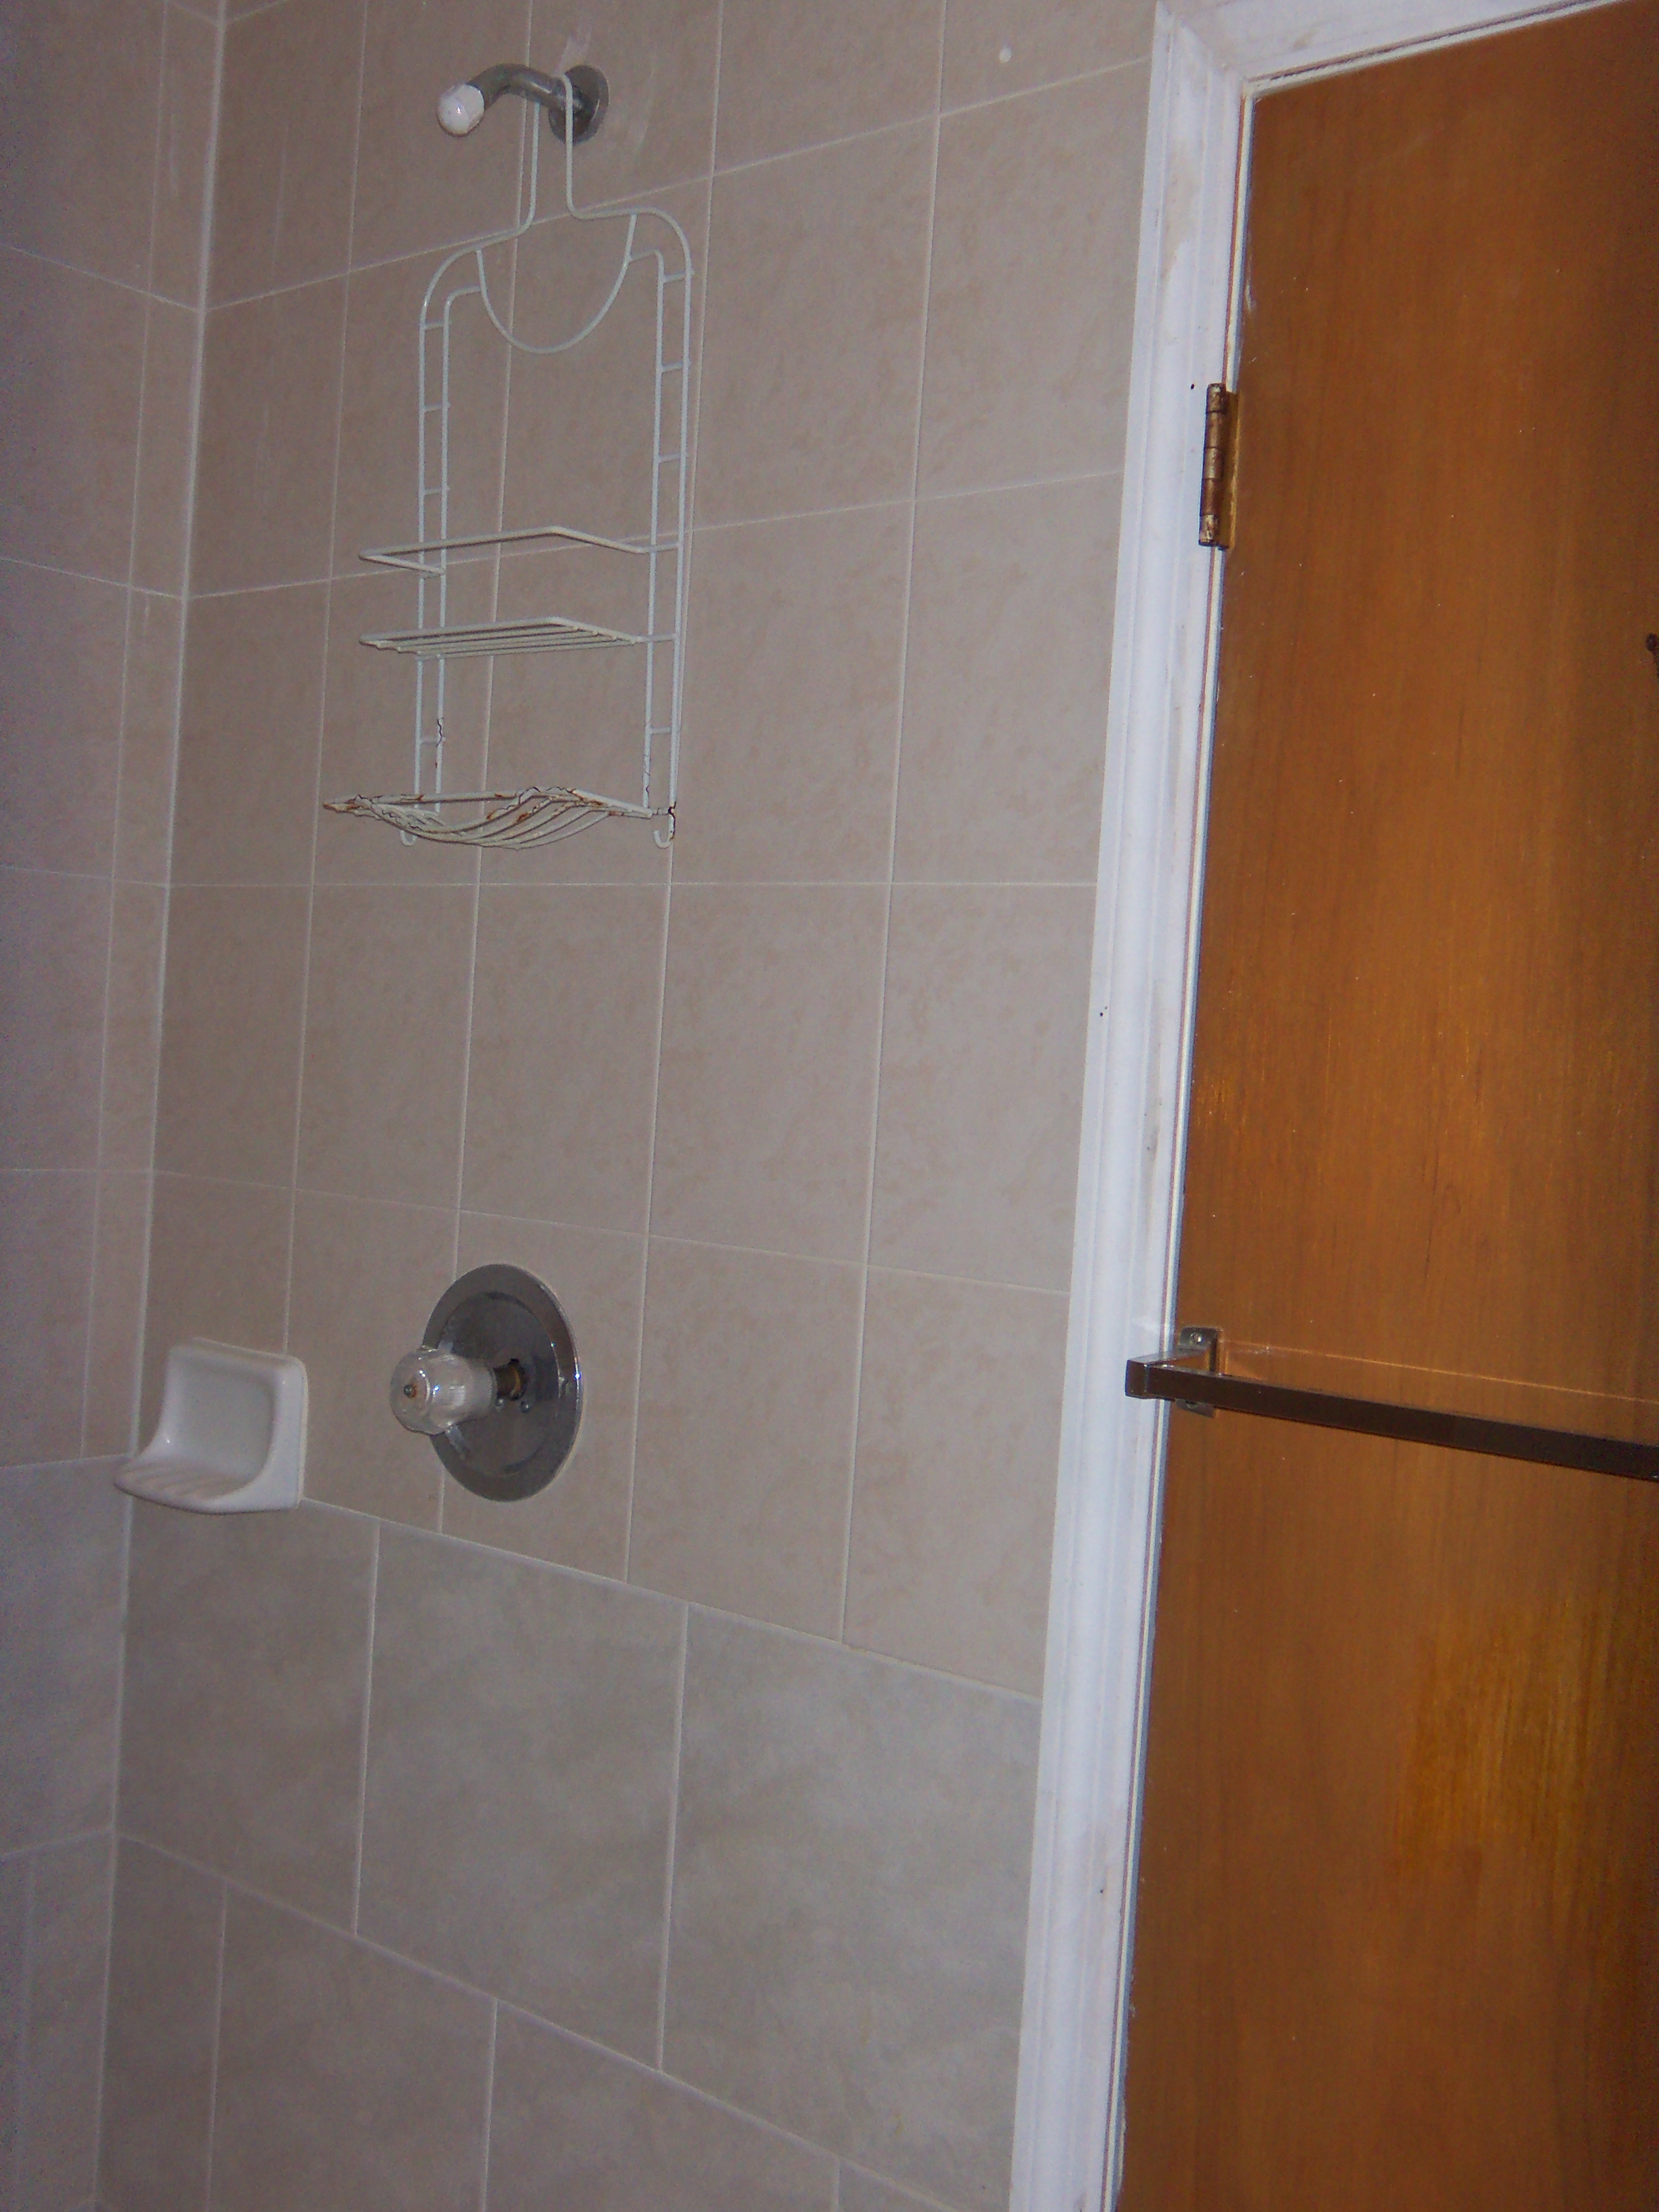
So…DEMO! (controlled, of course)

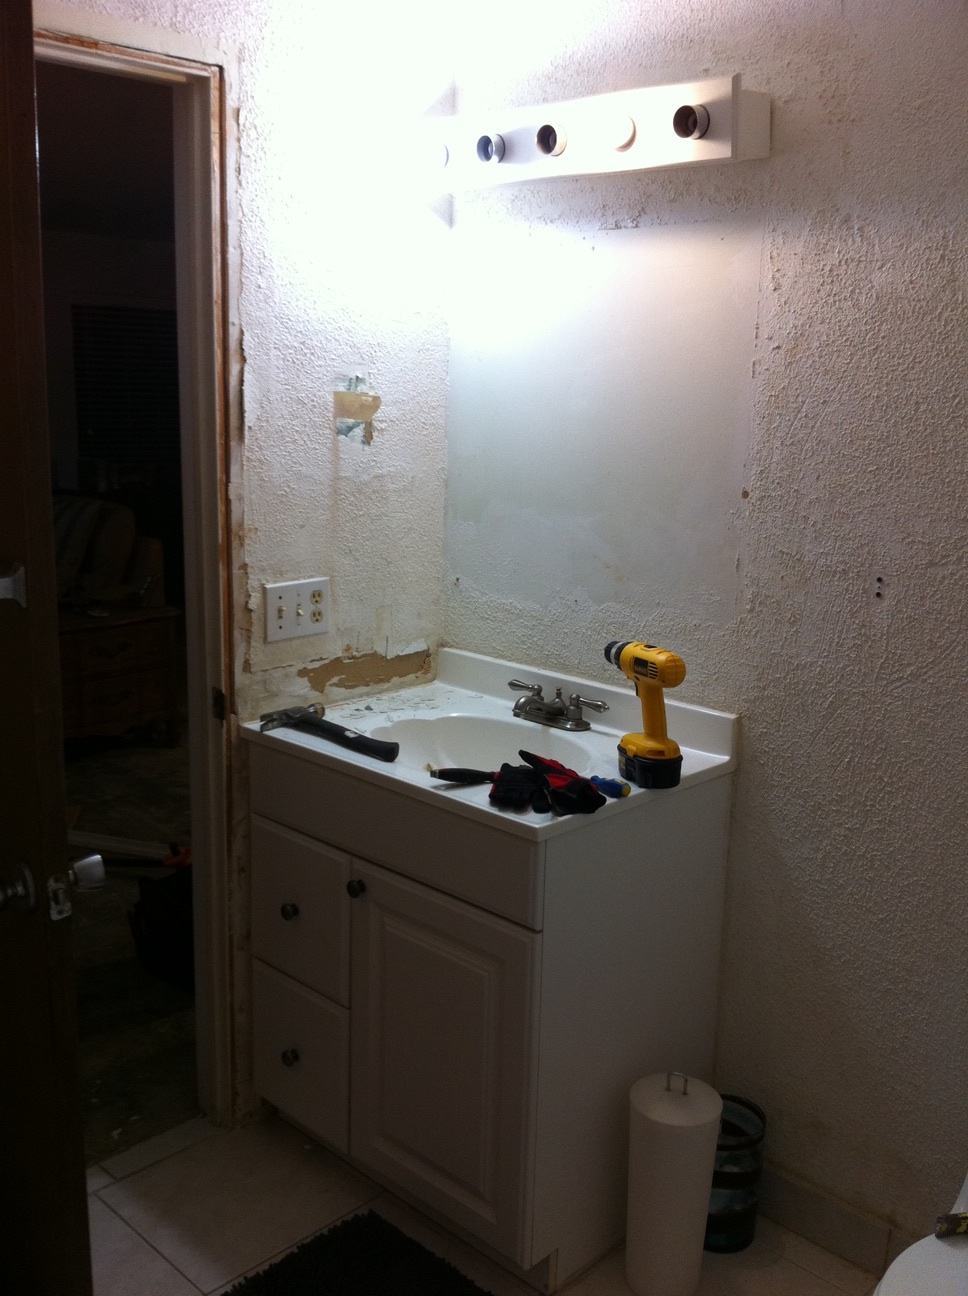
First, we had to remove all of the fixtures.  The sink, vanity, toilet, and light fixture.  Less sledgehammer, more screwdriver.  I got a fever, and the only prescription is more screwdriver, am I right?

Next, the shower.  For this, we bothered the neighbors.  Let me first say that our neighbors are terrific.  They edge our lawn (because we don’t have an edger), they fixed our hose after the OTHER neighbor ran it over with a lawnmower, they were very gracious when The Dirty Dog dug under the fence and into their yard, and they lent me a pneumatic hammer for the bathroom demo.  It’s loud.

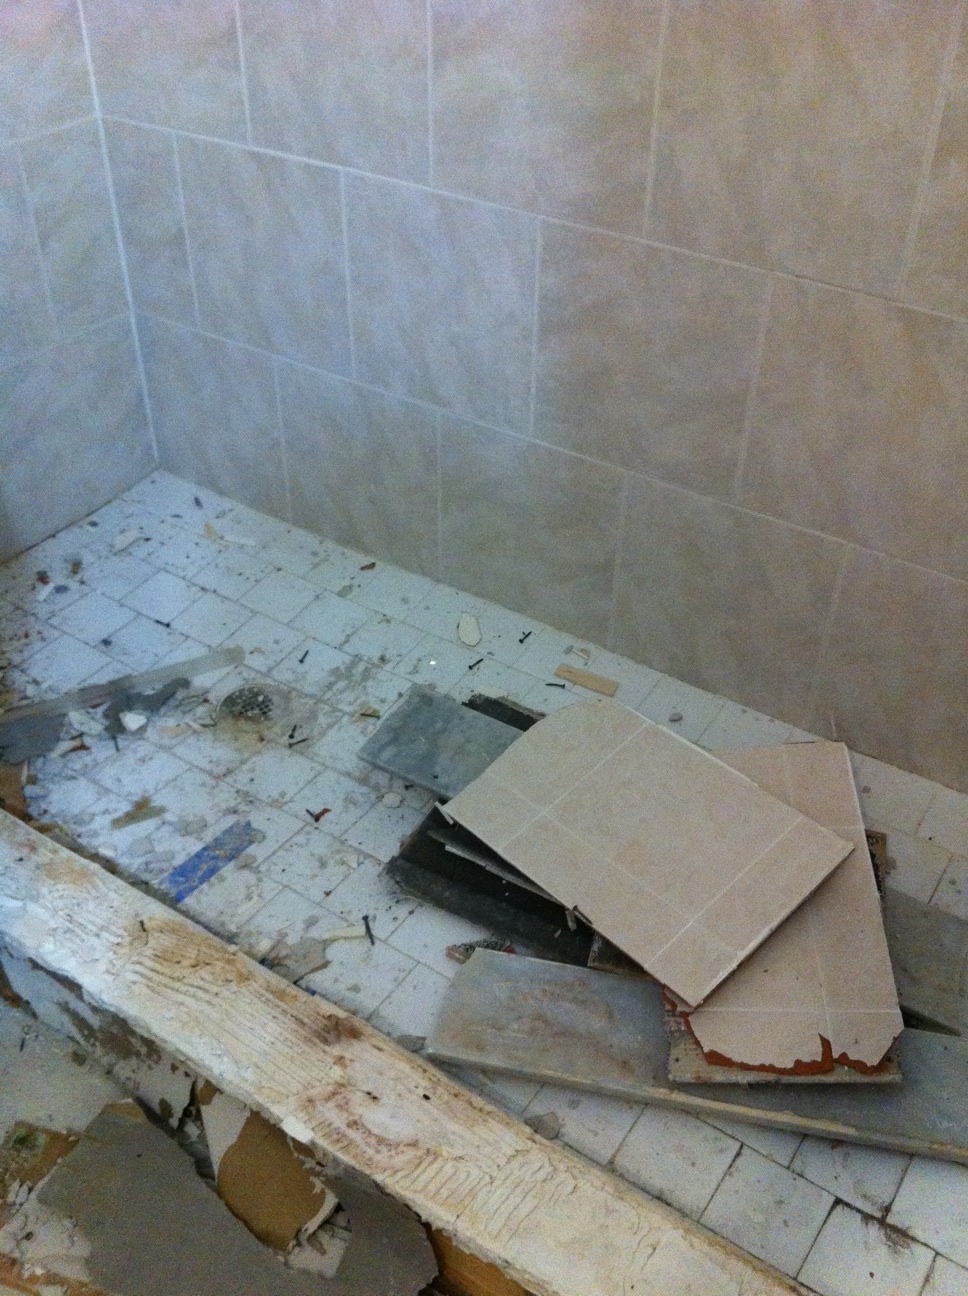
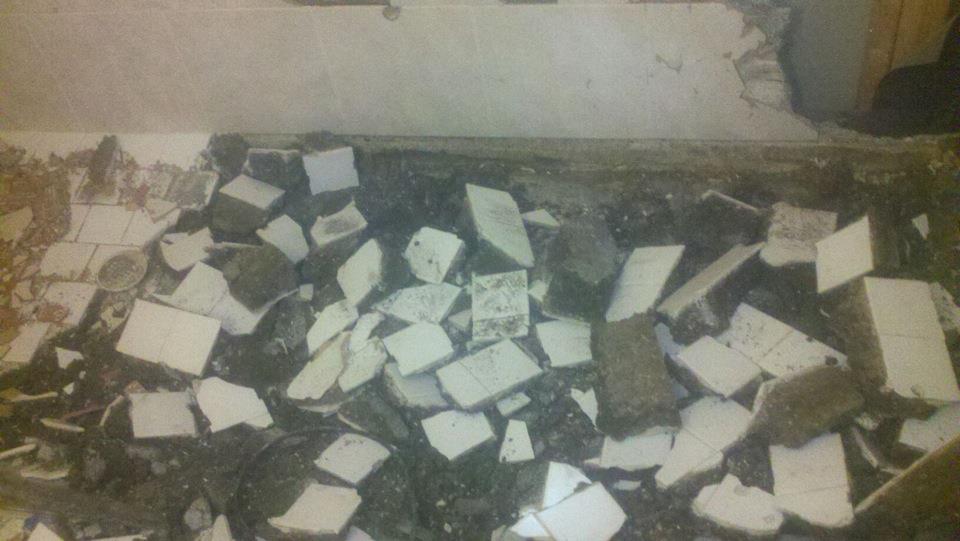
The concrete pad that was poured for the shower broke up pretty easily, but it was obvious that water was getting below the tiles as the concrete was very damp.  So, after about two hours with the hammer, there was a pile of busted tile and concrete where a shower used to be.  And, according to the ratio previously mentioned, there was approximately 94 hours of clean-up to look forward to.

Through the magic of the interwebs, we skip past the clean-up, and go straight to removing the drywall and wall tiles.  Admittedly, there was a bit of uncontrolled demo going on for this.  The drywall behind the vanity area, and the toilet area, came down easily.  Put the claw end of the hammer through the drywall, pull, make progress. Pretty simple.

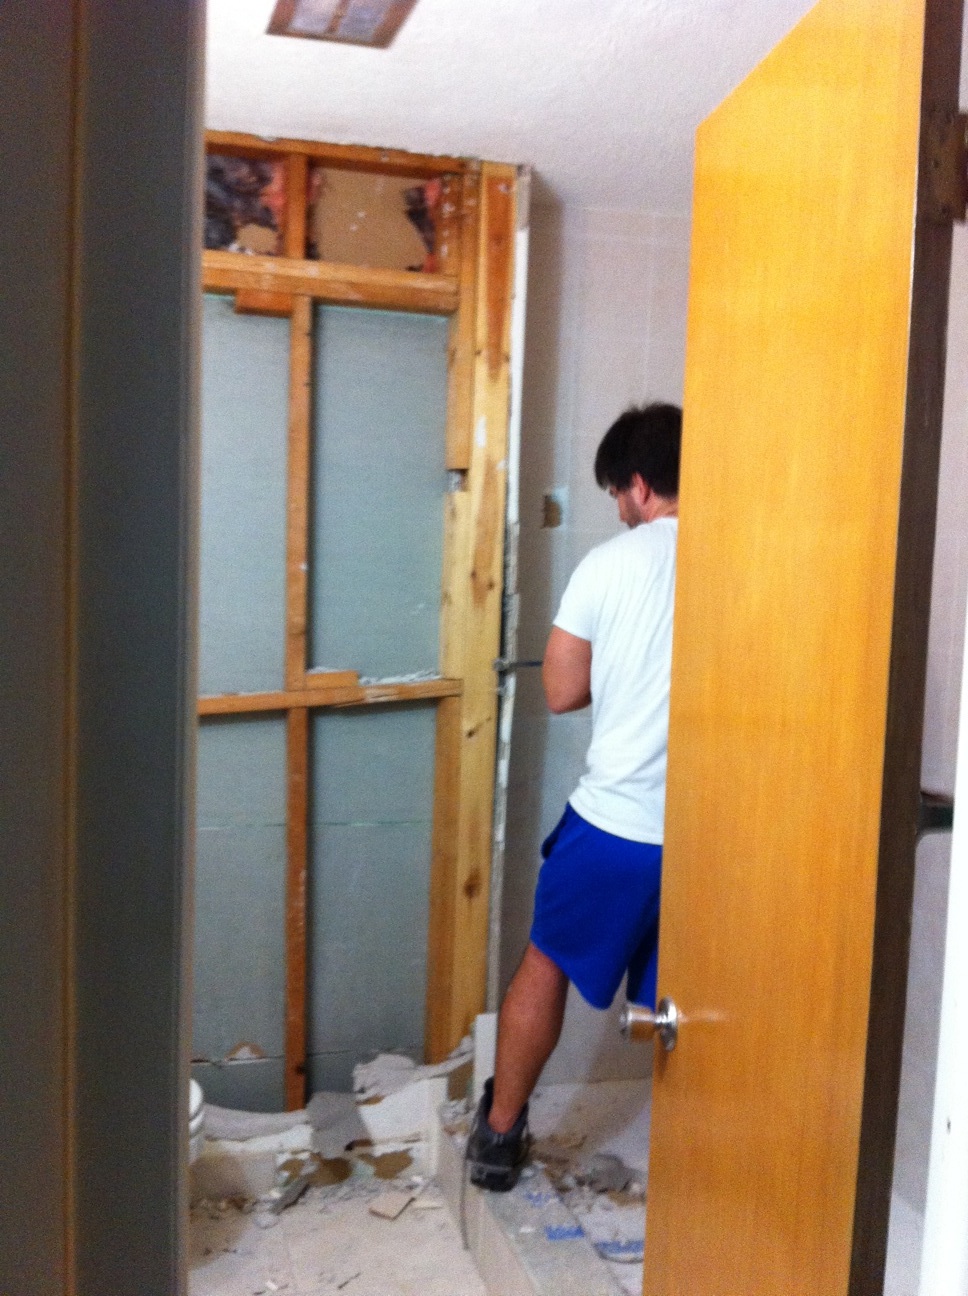
However, the portion of the walls that were tiled and that made up the shower had a wire mesh layer that was attached to the wall studs.  This means that the claw side of the hammer would have to make it through the tile, the concrete backer board, and then the wire mesh.  Not likely, even with an uncontrolled swing of the hammer.

Instead, I managed to make a small hole in the wall after repeated strikes in the same spot.  Tile flew, concrete dust was inhaled, wire mesh was torn.  From there, using a hammer in each hand, I put the claw side of the hammers into the hole, and pulled.  This usually resulted in one or two tiles coming off the wall and shattering at my feet.  It also made small progress with the underlying wire mesh.

Sound exhausting?  Yep.  Took about three days, working a couple of hours a day, plus the clean-up.  Let’s just say that I’m pretty sure the guys who pick up our trash were tired of having to lift the trashcan that was full of concrete and tile.

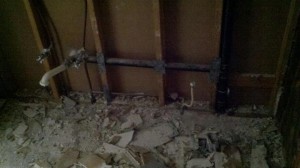
When we were done, our bathroom looked like this:

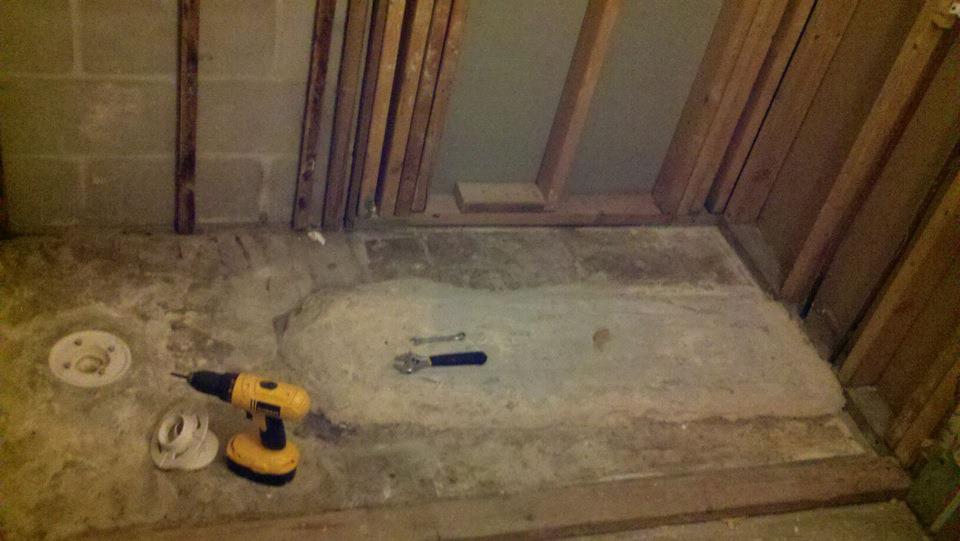
Kinda scary actually.  Breaking stuff is REALLY easy.  It’s also fun.  It has an element of instant gratification.  But then you realize “holy crap – this bathroom was ugly, but it WORKED, and now…it’s concrete, framing studs, and pipes.”  Small moment of terror, but nothing compared to what was to come.

You may be asking yourself, “what WAS to come?!”  Let me just tell you that neither The Girl nor I have any previous knowledge about home repair.  What you see is what we’re learning.  So, when Miguel, our own personal DIY guru, said “you gotta get a jack-hammer and bust through the concrete so you can move the tub/shower drain,” we were a little apprehensive.  Again, putting a hole in the floor?  No problem.  Fixing aforementioned hole?  Uh…

So, The Girl and I rented a 60-lb jack-hammer from Home Depot.  Use Home Depot for many things, but if you can avoid it, do not rent tools from them.  Find a local rental place – it’ll get you WAY better rates, and service.  Unfortunately, it was a Sunday, Miguel’s time was running out, and we needed to make progress, so Home Depot was the only option.  In about twelve seconds the jack-hammer turned a perfectly good six to eight inch thick concrete slab into rubble.  Plus there was now a hole in our house.

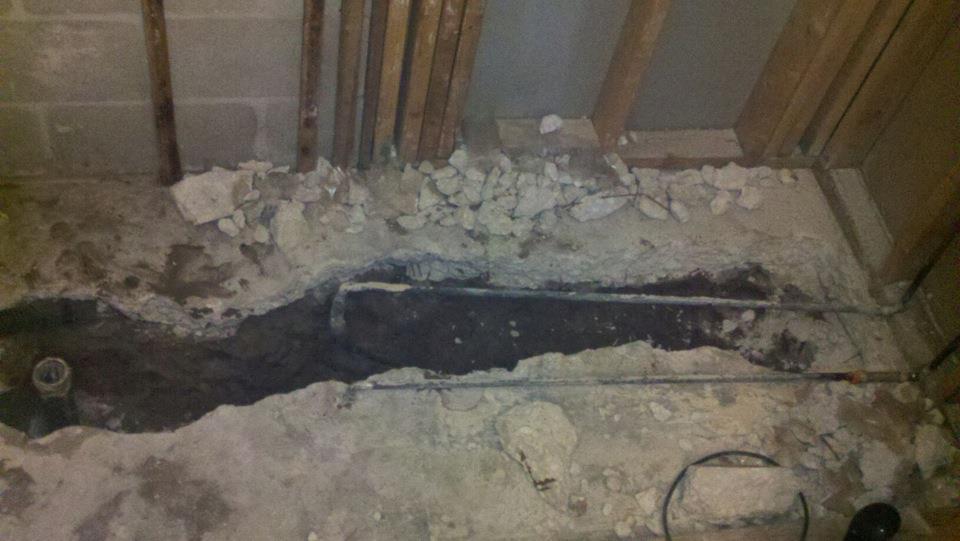
A hole.  In the house.  “Hey, what’s in this room?  WHOA!  Did you guys know there’s a HOLE IN YOUR HOUSE?!”  Like I said, scary.

Once we finished with the jack-hammer, the demo of the bathroom was essentially complete.  (FYI – we kept a lot of the concrete rubble so that we could fill the hole back in with it before pouring in concrete.  It created a more stable base and saved us a little money in concrete.  Another great tip from Miguel!)  We had some drywall screws to take out of the framing studs, and clean up (get yourself a wet/dry shop-vac if you’re doing any demo – they’re cheap and SUPER helpful), but other than that we were ready to start putting the bathroom back together.

Take Out Food

We had very ambitious plans for our new kitchen.  In hindsight, hilariously ambitious. We bought our house on June 30th, and wanted to finish the kitchen before we had to move in on August 1st.  On DIY shows, they renovate an entire room in 3 days (allegedly).  We could do it in a whole month, right?  While working full-time, doing everything ourselves, and moving, right?  RIGHT??

In short, no.  No we could not.  The (somewhat) good news is that a lot of the delay was out of our control.

On August 24th, we started laying tile.  You might be thinking, “wait, I thought they had to move in on August 1st?”  You would be correct.  Let me give you a run-down of the first few days in the house.  First, all of our furniture was located in the garage and on the back patio, stacked on top of each other.  Second, we had guys coming in to texture the ceiling, which is a very messy endeavor, and one of the few things we did not attempt ourselves.  (I am still high-fiving myself for that decision).  So for several mornings, The Boy and I had to wake up early, take a shower, climb over obstacles in the garage (wearing only a towel, which has a mind of its own) trying to find my undies, get dressed, move the bed and a few boxes to the center of the room, cover it with plastic, and leave for the day.  I have never been more happy to go to work.  Oh, and one morning the workers arrived “early”  (5:00 a.m. is not early to me – it is illegal), because the house looked so uninhabitable that they did not realize we were living there.  Good times.  I will stop the complain train there.

Back to August 24th.  We laid tile in the kitchen in a hopscotch pattern:

Most people would start in the corner and work their way out, but The Boy thought ahead a little bit (which is very similar to his Controlled Demo strategizing).  Base cabinets would be around the wall’s perimeter, therefore the noticeable tiles would be where they would transition with whatever floor went in the rest of the house, therefore we wanted to start with full tiles there.  Here are the floors finished and grouted:

This was our very first adventure in tiling.  We took a how-to class at our local Floor & Decor, which was very helpful, but you can really only learn this task by doing it.  The mistake we made was mixing too much thinset at one time and being under the impression that it would dry much faster than it actually does.  We worked like maniacs at warp speed, and as a result, there are many tiles that are not perfectly level.  The lesson learned is to take your time, and do what it takes to get them all level.  I have made peace with it.  The Boy sits on the couch staring into the kitchen and growls on occasion.  He will get over it eventually.

We ordered cabinets, which were supposed to arrive in two weeks. After FOUR weeks of calling and emailing (they were “held up” in customs at the Port of Miami – uh huh), they finally arrived:

If that looks like fun, you are a sadist and need help.  We started assembling these babies in early September, and soon had this:

I put sticky notes on each cabinet as we assembled them so I could keep track of where they went.  It is much easier to hang the upper cabinets first, so that you aren’t leaning over the lower cabinets trying to screw in the uppers.  Eventually we had this:

We actually took this photo as evidence of the fact that we had items in the cabinets, in case they fell off of the walls while we slept.  The Boy and I were both legitimately concerned about this, and made a pact to stay in bed if we heard a large crash in the middle of the night.  True story.

On September 26th, we placed our granite order, which was supposed to arrive in – you guessed it – 2 weeks.  As we waited, we replaced the wobbly ceiling fan with a hanging light over the island (that’s right – we added an island!), and had the bracket for the microwave up.  At this point, the granite was several weeks late.  Shocking!

While we waited for the countertops to arrive, The Boy showed off his amateur electrician skills, and installed four recessed lights:

While we continued to wait for the countertops to arrive, we built a fence in one day, with the incredible help and instruction from one of my closest friends, Jessica:

November 29th was the countertop installation day (estimated time:  2 weeks; actual time:  2 MONTHS).  FYI, granite installers do not take kindly to death threats.  Here is the magic:

On December 1st, we were able to plumb the sink.  It was the worst game of Legos imaginable, and including the dishwasher, garbage disposal, and water line to the fridge, it was quite a challenge:

It is beautiful, and only leaks if you fill the right side with water.  (Update:  The Boy fixed it!)

We also finally tackled replacing that beautiful Monet-esque stained glass window.  Really, it was beautiful, it just did not fit with our decor (sarcasm font).  Unfortunately, I do not have any photos of that day, which is probably for the best.  The Boy does not like to hear the words, “I told you so,” but sometimes they simply must be said.  I will leave it at that.

Finally, miraculously, and with not one materialman, Boy, or Girl harmed, we were able to begin the finishing touches:  a much-debated, pinned, and mulled-over backsplash.  I almost contacted the Gallop people to launch a nationwide poll.  It was a tough call, with infinite options, but I am very happy with the results. Here is prep work, to protect our new baby granite from getting hurt:

We used mastic, which is much easier to work with, comes pre-mixed, and is perfect for tiling on walls.  You simply spread that on with a trowel, and use the notched side at a 45 degree angle to scrape it, and then press the tile on.  Here is a progression:

The backsplash was finally grouted, and on February 5th (of the following YEAR), we had our “ta-dah!” moment:

Here is the before/after for comparison (CLICK TO ENLARGE!):

I love it.  Absolutely LOVE it.  I was so happy to have The Boy cook again (that’s right, ladies, The Boy also cooks!).  I’d like to give an honorable mention to the grill, propane tanks, The Boy, and the utility sink in the garage for their hard work during this long ordeal.  It was all worth it.  For those keeping score at home, our one month project actually took over 5 months to complete, from laying floors to Ta Dah.  However, if you count from our original goal, to actual completion, it took us 6 months, which is 5 months longer than expected.  I honestly went into it thinking we would come pretty close to our goal.  So I guess the lesson is, when renovating on your own and working full-time, don’t think.

You know what I mean.

(Psst – you can check out the budget breakdown for this renovation here!)

I also entered this project in a DIY contest at Not Just a Housewife – check it out!

Demo = YAY!!!! Controlled Demo with The Boy = yawn.

We watch a lot of DIY television. A LOT. It is the source of most of our “knowledge.” In fact, we applied to be on Renovation Realities, but our application was rejected because we were “too experienced.” We LOLed at this pronouncement, and wished we had applied sooner, when there were holes in our ceiling and the kitchen cabinets came flat-shipped in little boxes and the nice guy at Home Depot chuckled at our questions and we stood and stared at things more than we actually worked.

I have a different theory as to why we were not selected. The Boy prefers what he calls “controlled demo,” and he admitted as much on our video application. I think this is an oxymoron and the two words should never meet in a dark alley, let alone in the same sentence. Controlled demo involves a lot of looking, thinking, strategizing, plotting, gesturing, speaking in tongues, Google Sketch Up-ing, planning, and me eventually taking a nap. Riveting television. Those producers are no dummies.

I want to break sh*t, and I want to do it now. That is what the discerning DIY fan wants to see. Therefore, I am going to apologize in advance that I do not have a video of me throwing a hammer through a wall. What I am going to show you is a progression of photographs documenting the careful removal of two walls, all of the tile in the house, and everything in the kitchen (including the bulkheads).  (yawn)

This wall on the left, which forms a very unnecessary hallway from the entry to the kitchen, is completely unaware that The Boy is plotting its demise:

This wall on the left is also slated for removal, and the picture shows the progress of kitchen demo:

Here is The Boy (clothed!!) working on the tile:

You can see in this picture that we had one light switch to relocate (that thing hanging from the ceiling):

The other wall contained several outlets, the AC control, an air return, and an unidentifiable tiny wire that we later determined to be – wait for it – a LAND LINE.  Yes, a telephone line.  This house is SO OLD:

Final shot showing both walls gone, and the bulkheads!

We did all of this work (including cleanup) in the span of one weekend.  The following week, every day after work, we came over and moved everything that was dangling, and re-routed the air return.  (We lived in a house we were renting for a month after closing, to give ourselves time to “finish the kitchen” before we moved in.  Hah.  More on that debacle here.)

Ah, yes.  The air return.  It was our first “what the heck do we do with that??” moment. I went on my lunch break to an HVAC supply warehouse, where they had apparently never seen a woman, let alone a woman in a suit and heels, shopping for HVAC supplies.  The guys were great.  I explained what I was trying to do, and I got a full-on demonstration on the floor of the warehouse.  Never underestimate the power of boobs asking nicely!

Here I am cutting into the return duct:

Next I had to slide this “collar” into the hole I had made, and press down little metal tabs on the outside of the duct to keep the collar in place.  I then climbed into the attic (thus the sweet headband), to tape the junctions so they would be energy efficient and not leak air.  There was a metal box we had to affix to the ceiling, which would hold the cover, but to secure it in place we had to attach short lengths of 2 x 4’s to the existing joists.  Finally, we had this mostly finished product:

Beautiful, isn’t it???  I was in love.  Love hurts, though, and I had to improvise a bandaid out of a napkin and electrical tape:

We finished this in the nick of time on a Sunday night, since we had drywall guys coming to work their magic the next morning.  Here is their handiwork:

And a shot of the missing bulkheads:

The white tile in the entire house (literally everywhere, except 2 out of 3 bedrooms) was ugly, poorly done, and had to go.  After removing all of the kitchen and entryway tile by hand (bent over, crowbar in one hand, hammer in the other, like our relatives – the early upright homo sapiens), we decided to embrace the 21st century and rent a demo hammer.  While I am a huge fan of Home Depot, and shop there weekly, I found their tool rental rates and policies to be steep.  I shopped around and found a small local shop, THG Rentals, that had very liberal timeframes and much lower prices. The employees were very nice too, and made this fun little weekend possible:

Two long, sweaty, 10 hour days later, we had very classy concrete floors in most of the house (which, by the way, we still mostly have).  We rented a Bagster for the first time, and it was perfect for this job.  You just buy the bag at Home Depot, Lowes, etc., put it in an accessible place in the driveway, and fill it to the top.  Then you call your local waste removal (ours is a private company since we are in an unincorporated area), and they charge you to pick it up.  Our total cost was just under $150, which is much cheaper than renting a real dumpster.

So there you have it.  Demolition with The Boy.  Bonus points if you made it through this entire post without nodding off.  Next up is an in-depth look at the kitchen, from tile to cabinets to lighting!