Sometimes it just feels good to make something out of the stuff The Girl and I have laying around in the garage. It is usually inexpensive, and let’s face it: using power tools is a good way to relieve stress. There’s just a very satisfying feeling when you pull down on the mitre saw and the blade eats through the 2×4, and at the end of the day, you’ve made something…even if it’s just a pile of cut up 2x4s.
But, in an effort to be more productive than just turning one large piece of wood into several smaller pieces of wood, I’m going to take some otherwise useless leftover flooring and turn it into a rustic picture frame.
AAAAAAAAAAND…..the inevitable “The Boy takes time to mathify and be boring and plan a whole bunch instead of just cutting and gluing” portion of the episode. Skip ahead if you’re not interested in the mathitude and just want to see whether or not I end up with as many fingers as I start with after using all sorts of spinning blades.
First things first: figure out what size photo you want to frame. In this case I’m framing a photo that is 24 inches wide and 16 inches tall. If you decide to tackle this kind of project, I would recommend starting much smaller just to get used to the process. The width of the frame will be 2 inches on all sides, so the total width is now 28 inches (24 for the picture, 2 for each side) and the total height is 20 inches (16 + (2 x 2)). The only other thing we need to take into consideration is the width of the inner lip. This is what holds the picture inside the frame. When we’re done, there will be a 1/4 inch lip all around the inner edge of the frame, which means we need to subtract 1/2 inch from our width and height totals. This gives us a frame width of 27 1/2 inches, and a height of 19 1/2 inches.
And now back to our regularly scheduled not-boring portion of the post!
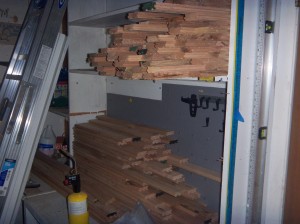
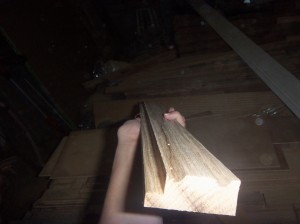
Here are the stacks of leftover wood from the (ongoing) flooring project that had holes or knots in them, which made them unusable for flooring:
This wood has what The Girl and I like to call “character.” Character is not good for flooring, but it IS good for frames! The first step is to pick out four pieces, long enough to make up the sides of the frame. I cut them to length on the mitre saw, leaving me with two pieces of 27 1/2 inches, and two pieces of 19 1/2 inches. So far, so good.
The flooring I used had a tongue on one side, and a groove on the other. I believe that this type of flooring is called tongue and groove flooring. Clever, no? Unfortunately, I didn’t need either the tongue, or the groove, so they had to go.
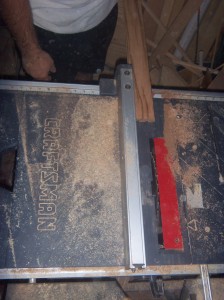
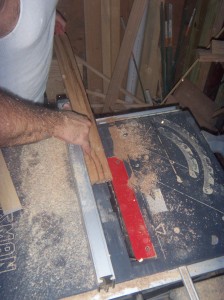
Now, for the dangerous stuff: the table saw. We wanted 2 inch widths for our frame, so I set the rail at 2 inches. Then I ran each piece along the rail with the groove against the rail, essentially cutting off the tongue.
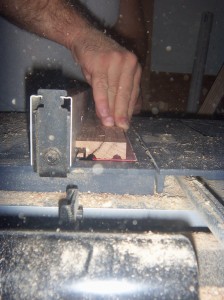
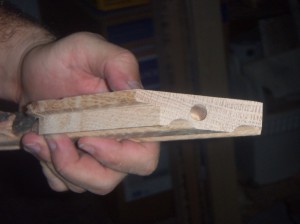
After ripping each of the four pieces to 2 inch width, we needed to make the 1/4 lip on the inner edge. For this, I set the rail at 1/4 inch and set the depth of the blade so that it just cuts above the bottom of each groove. Then I ran each piece across the blade, groove side against the rail.
REMEMBER: the blade is below the board, so you can’t cut your fingers so long as they are ON the board, but be sure you are not pushing at the end of the board or you WILL cut your fingers (off).
Result: four nice, smooth, pieces of wood with a 1/4 inch lip cut into them. SWEET. Time to cut some 45 degree angles on the edge of each. The side with the lip is the short edge, and the smooth side is the outside edge. Back to the mitre saw.
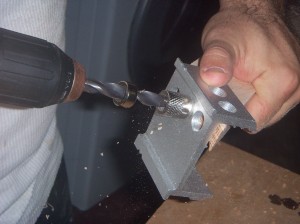
Now that the dangerous stuff is over, it’s time for putting it all together. I’ve used a biscuit joiner in the past, but I was out of the small biscuits and decided to use a dowel jig instead. After using the dowels this time, I will be using them again in the future…much easier. Drill a hole in each side of all four boards and then use a dowel and wood glue to put all the sides together. Set it and forget it. (for a few hours, then remember it)
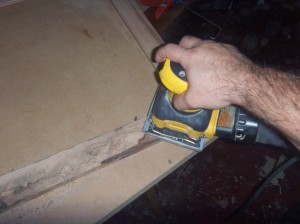
Time to pretty it up. In a very tough and rugged fashion, obviously. I sanded the front of the frame with 60 grit. Then I used a wet cloth (sock) to dampen the freshly sanded edge. This makes the wood swell slightly, and the fibers of the wood will stand up. Once it’s dry again, I hit it with 100 grit to make it extra smooth. BOOM!
Finally, a coat of stain, and polyurethane to protect the wood and the stain. Makes for a very rustic picture frame. I didn’t show it here, but you can pick up hardware for hanging the frame and securing the back of the photo at your local hardware shop. You’re on your on for picking out a photo for the frame!
